I saw this pattern by Crystal Hendrix at Salt Water Taffy and was inspired to create my own pattern with a few changes. I like patterns with a print center square that I call a focal print and then use other colors in the block that are in the focal print or compliment the print. In fact this pattern would be perfect for an "I Spy" baby quilt. I'm also trying to use some of my smaller pieces for this 30 - Block Exchange Group that I am in. I wanted to make 30 different patterns and I am getting close.
This tutorial is for Block 18, but I have four or five blocks that are finished but I haven't written the tutorials for. I will be lost when I make my lost block. This project has just about monopolized my days and nights as I even dream about blocks to make also. And most of my stash is not just scraps, but yardage. But I have several small pieces that are good focal prints. The one I used in this block is a good example. All three pieces were actually small pieces. It would have been interesting to see the blue and green fabrics switched, but since they were different sizes, I couldn't see.
Once you lay the pieces out on a design wall (you do have a design wall, don't you?), the block almost makes itself. In fact it might have gone together faster than any of the 20+ blocks I have made so far since I am discounting the time it took me to unsew (aka rip out) the last strip and turn it 180 degrees. I will point it out to you in the tutorial. And then as I was writing this I realized I had made another big booboo.
This pattern would actually make a pretty baby/toddler blanket. Like an I Spy quilt. The center print is a picture of some animal, thing, or letter for example that they can look for and learn.

HOW TO MAKE A
(using a 1/4 inch seam)
CHOOSE three (3) fabrics solid colors or prints that compliment each other. One piece can be a focal print - a design that draws your attention to it.
CUT - one(1) - 4.5" square for the center focal point
- one (1) - strip 2.5" x 4.5" and one (1) strip - 2.5" x 10.5" and two (2) - 2.5" squares from one of the complimentary fabrics
- three (3) - 2.5" squares, and one (1) strip - 2.5" x 4.5" and one (1) strip 2.5" x 6.5" , and two (2) - strips 2.5" x 8.5" from the other complimentary fabric

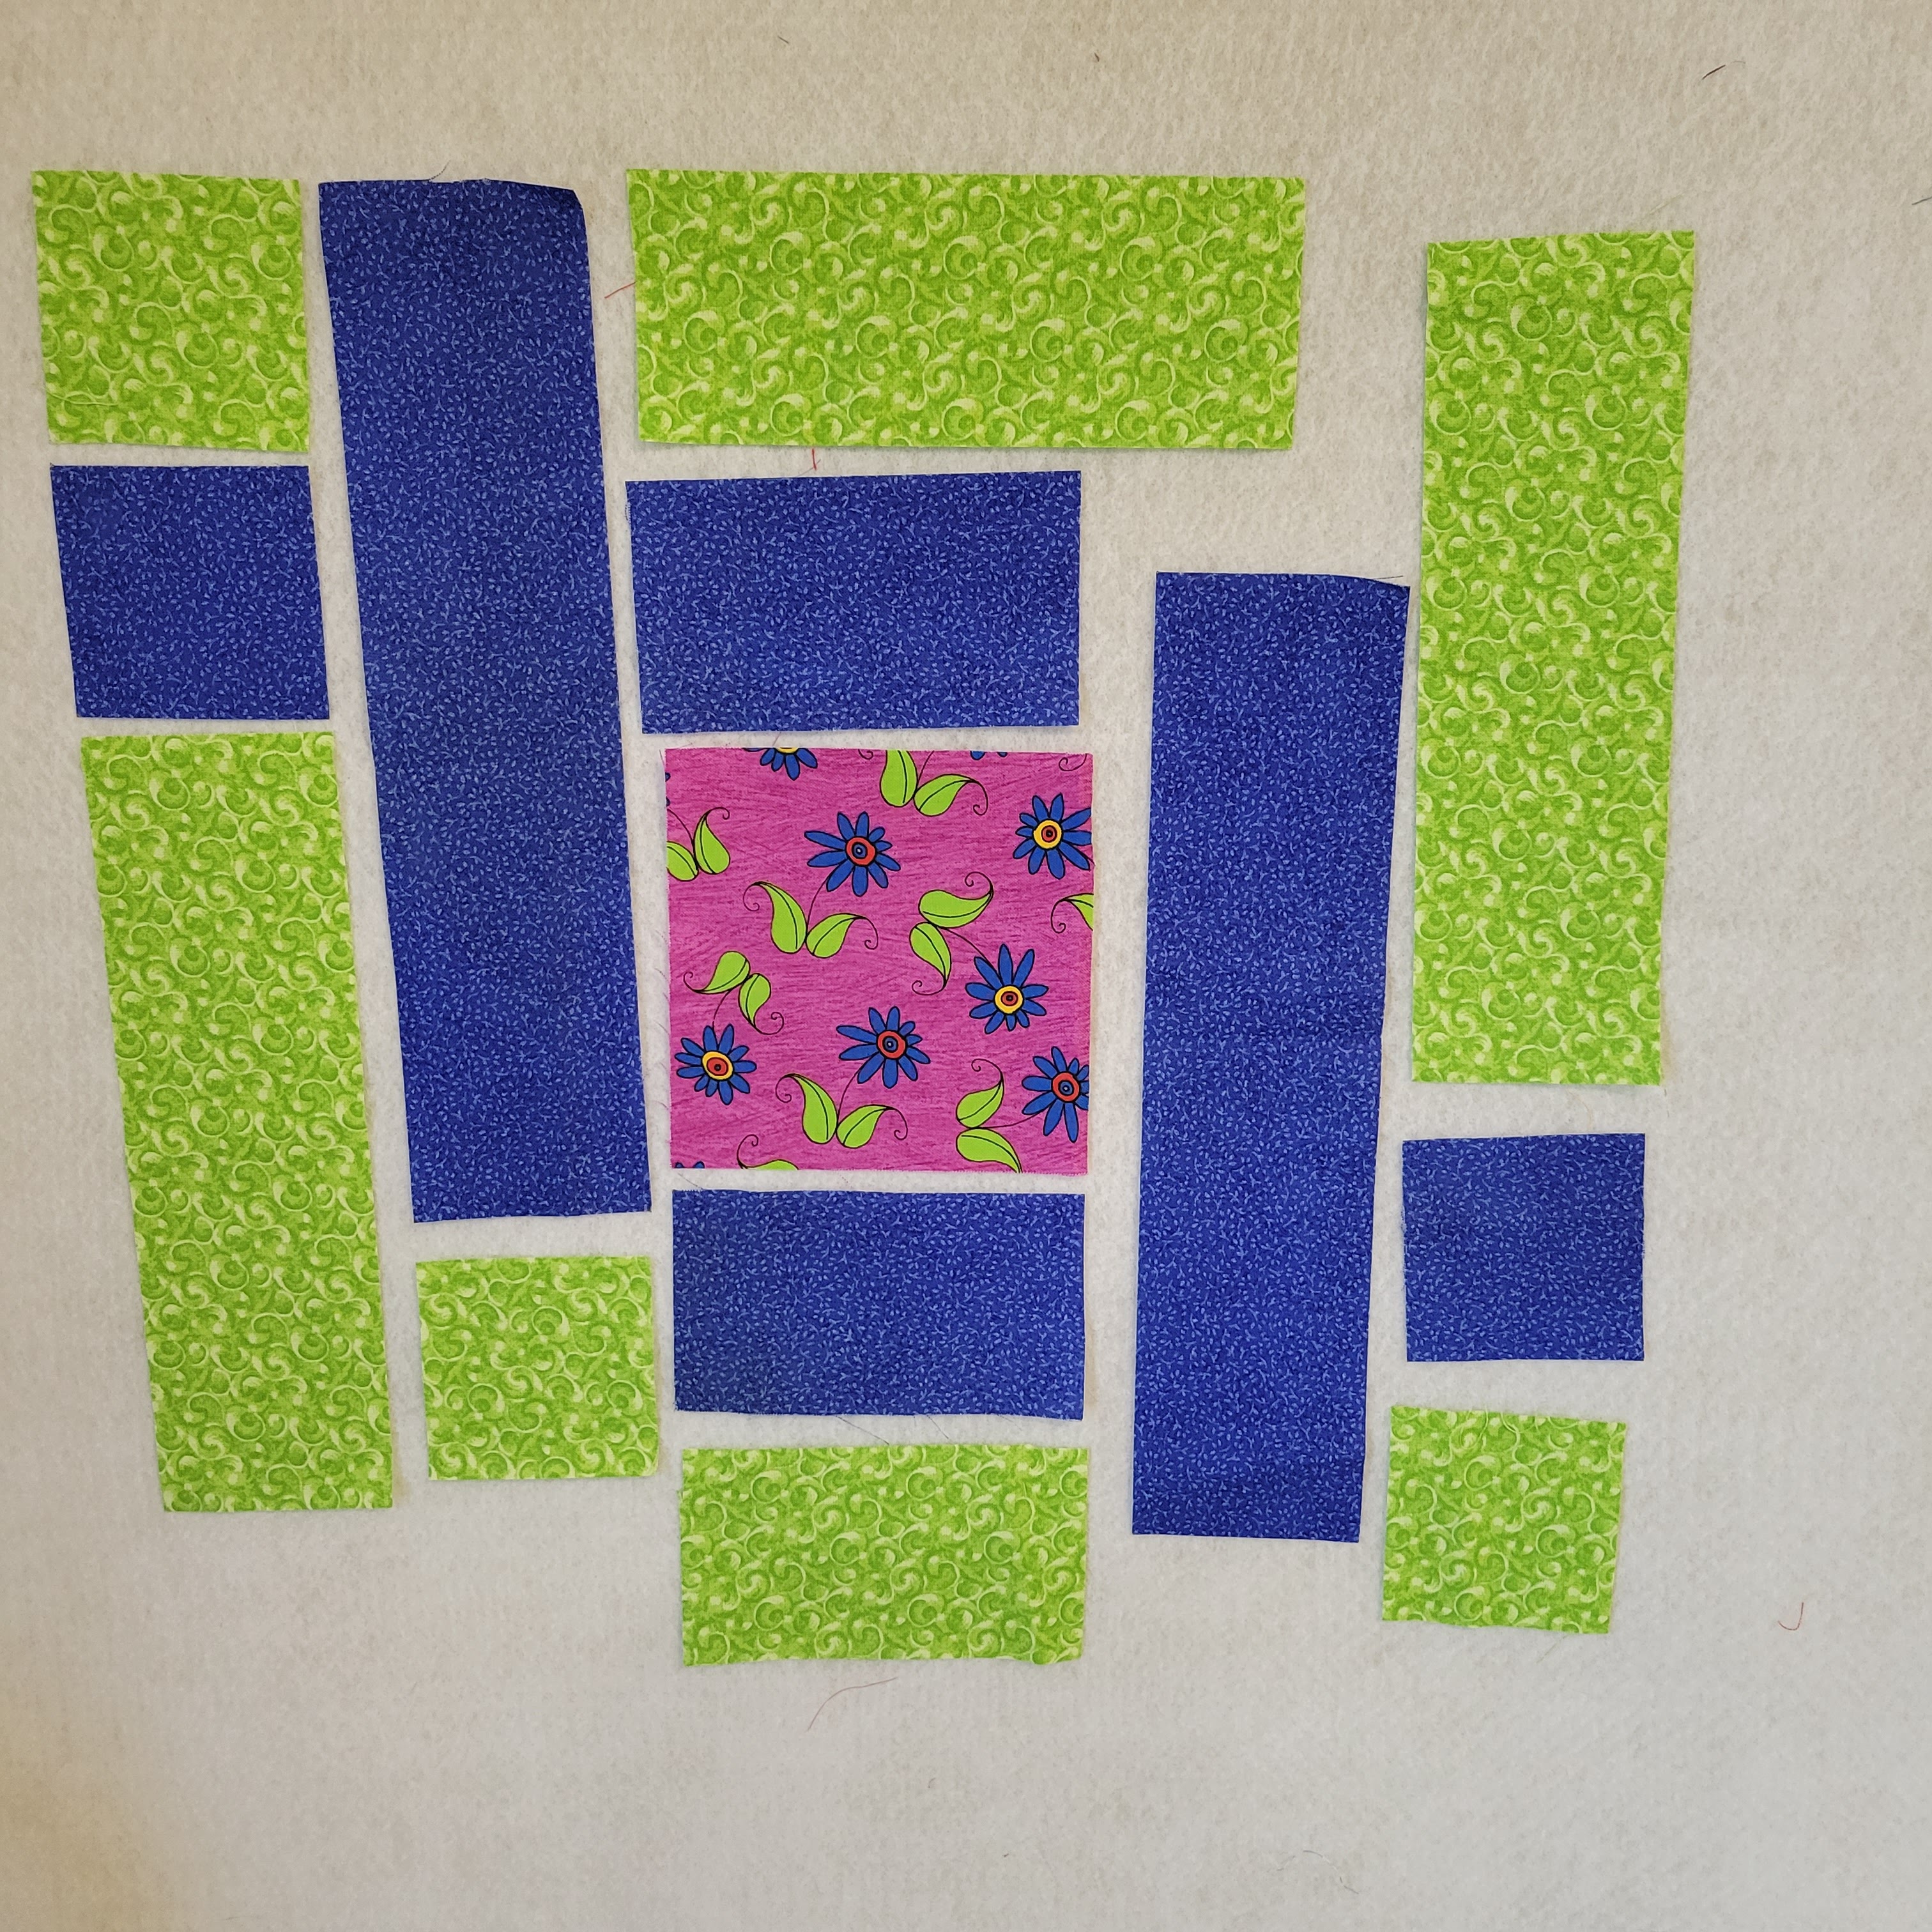
Arrange the pieces on a design wall according to this drawing:

I used the letters "W" and "P" for the two complimentary colors and it says "dark P" for the focal print.

I started from the left and worked my way across to the right. Sew the first column first - 3 pieces. I PRESSED toward away from the dark square because that was the way they seemed to want to be pressed. Then make the next column with the two pieces. I sewed the second column correctly but when I placed it back on the design wall, I placed it incorrectly.

The first picture is the wrong way and


The next column is a wide one and I only sewed the bottom four (4) pieces. I added the top green rectangle later.


Next add the fourth column which is the blue long strip in my picture.


Now you can add that green rectangle we skipped to the top of this section. View from the wrong side.


Return it to the design wall.

Now I sewed the first two columns together not catching my mistake.

And finally the last column.


I squared it up with my 12.5" square ruler and trimmed off the little bit of excess.

TO CORRECT MY MISTAKE I had to unsew the first two columns and then the second column from the center section.

Then holding the two strips together at the top, I carried it to my sewing machine and resewed the first two columns and repressed them. Then before I sewed anything else, I took them back to the design wall to make sure I hadn't done them wrong again.

Then satisfied I picked up the top edge of the first two and the rest of the block and sewed the block back together and pressed again.

So instead of this...

the block looks like this!
OTHER BLOCK PATTERNS YOU MIGHT BE INTERESTED IN:
Block #31 Log Cabin Quilt Block
Block #1 Disappearing Nine-Patch Quilt Block
Block # 10 HEATHER'S PENNSYLVANIA
BLOCK #12 SUZETTE'S INDIANA PUZZLE
No comments:
Post a Comment