Monday, January 29, 2024

SANDI'S OATMEAL APPLE MUFFINS

 The Kansas City Chiefs are going to the Super Bowl again, the fourth time in the last five years! I just had to get that off my chest!

I know all of you might not be professional football fans, but I just had to express my excitement. We haven't had our best regular season year, but you can't ever give up on the Chiefs. 

That's a good lesson for a lot of things.

I've been quiet for over a week, but after yesterday and the delicious Cafe Treats we served at church, I will have some recipes to share this week. I even found myself in the kitchen on Thursday afternoon making some cookies for just us.  I say for just us, they were so delicious I decided to take a dozen of them over to one of our neighbors. I will be sharing that recipe later this week.

Today's recipe is my good friend and fellow baker's recipe I named Sandi's Oatmeal Apple Muffins. She sent me a text earlier last week saying she would make some really scrumptious no bake butterscotch cookies for the Cafe Treats for Sunday. Then when she brought them to me on Saturday, she told me she had decided to make these Oatmeal Apple Mini-muffins and then take some of them to her mother who is in rehab after being in the hospital for several days. She said she had made them for her daddy and made them sugar-free but didn't this time.

 I checked them out but refrained from doing a taste testing until Sunday after I gave people a chance to select them. It was really hard too. A man who dropped by the Cafe asked what they were and I told him along with the names of some of the other choices and he said, "I think I will try one of these. They are speaking to me." I thought that was cute.

It would be easy to make them with no sugar added by substituting a zero sugar yellow cake mix, no-sugar-added applesauce and apple juice.

They were super delicious. I loved the added crunch from the chopped apples too. Hope you will give them a try. I don't think you will be disappointed whether you made them with or without the sugar added ingredients.

PRINT RECIPE.


SANDI'S OATMEAL APPLE MUFFINS

1     yellow cake mix

3     eggs

1     cup applesauce

1     cup quick oats

1/2  cup apple juice or cider

1     teaspoon cinnamon

1     large finely chopped apple

Preheat the oven to 350 degrees F. Spray muffin pans with non-stick cooking spray.

In a large bowl, thoroughly stir together all of the ingredients until well blended.

Fill muffin cups 2/3 full.

Bake mini muffins for 15 to 20 minutes or regular sized muffins for 25 to 30 minutes.

Recipe will make 48 mini-muffins or 24 regular sized muffins.

Note: You may substitute a zero sugar yellow cake mix and unsweetened or no-sugar-added applesauce and apple juice


Tuesday, January 16, 2024

JEAN'S MINT CHOCOLATE DREAM COOKIES

 It has taken me a few weeks to get the recipe from Friend Jean for these awesome Mint Chocolate Dream Cookies, but she has finally come through for me. 

These last few of extremely low temperatures with especially low wind chill that is has been difficult to make myself do anything. I have managed to do at least one thing each day, but otherwise I have spent/wasted a lot of time in my recliner along with either Charlie, or Parker, or both. The are having a hard time getting the energy to run around and/or chase after each other. One day Parker got up between the floors from the laundry room and we couldn't find him anywhere. When I finally discovered where he was, we had difficulty getting him down. Wayne had to remove a short support board so Parker had enough room to get out. He was coming down from a different place than where he went up. (We did finally discover how he managed to get up there.)

Anyway, I can't say enough about how delicious these cookies were that Jean made for the Cafe Treats. I was hoping they wouldn't all be eaten, but they were. In fact, before second service was half over, everything was gone.

The only change I could suggest is using a zero sugar devil's food cake mix to reduce some of the sugar, but you definitely want to use the Andes Mint chocolate candy. I may just have to make some of these myself. If you can't find the Andes Mint Chips, you can chop up the smaller individually wrapped Mints to make 3/4 cup.

PRINT RECIPE.


MINT CHOCOLATE DREAM COOKIES

1      pkg devil's food cake mix

2      eggs

1/2   cup oil

1      teaspoon mint extract

1      cup semi-sweet chocolate chips

3/4   cup mint chocolate bits

Preheat the oven to 350 degrees F. Grease or line baking sheets with parchment paper. Set aside.

In a large mixing bowl, combine the cake mix, eggs, oil, and extract. 

Mix on low speed for 1 minute or until well blended. Dough will be stiff.

Stir in the chocolate chips and chocolate mint bits.

Drop dough by 1 tablespoon cookie scoop about 2 inches apart.

Bake for 8 or 9 minutes or until firm around the edges.

Cool for 1 minute before removing from sheet to wire rack to finish cooling.

Here are some pictures of our "children", Charlie and Parker.


"OUCH"


I've also been working on two Blankets of Hope... Unfortunately, the weather prevented the group from meeting last week so I've not been able to finish them. 


Thursday, January 11, 2024

FUN MARSHMALLOW BARS

 To see the expressions on the kiddoes' faces Sunday at the Cafe Treats was priceless! I didn't even get one because I wanted to make sure they all had a chance. 

The recipe calls for a devil's food cake mix. Baker Cindy said next time she would use a brownie mix so you can consider that if you decide to try them.


PRINT RECIPE.

FUN MARSHMALLOW BARS

1     package devil's food cake mix

1/4  cup butter, melted

1/4  cup water

1     egg

3     cups miniature marshmallows

1     cup milk chocolate M&Ms

1/2  cup chopped peanuts (optional)

Preheat the oven to 375 degrees F. Grease a 9 x 13 - inch baking pan. Set aside.

In a large mixing bowl, combine the dry cake mix, butter, water, and egg; mix well.

Press into pan.

Bake for 20 to 30 minutes or until a toothpick inserted near the center comes out clean.

Sprinkle with the marshmallows, M&Ms, and peanuts if you are using them.

Bake 2 to 3 more minutes or until the marshmallows begin to melt. 

Cool on a wire rack.

Cut into bars.


Monday, January 8, 2024

ORANGE COOKIES


We are already through the first week of 2024. I hope 2024 is being good to you so far. As the second week is starting it appears that winter is finally going to show its ugly face. We have had a couple of light snows and a few days of cold temperatures but not like it will be by this weekend. I am hoping that the weather forecasted for today and tomorrow won't develop or at least be as bad as forecasted because Blankets of Hope quilt ministry is supposed to meet for the first time this year on Tuesday afternoon. We only meet twice a month, so I really hate when the weather prevents our meeting.

It was nice this weekend when I didn't have to make a Sugar-Free or No-Sugar-Added option for the Cafe Treats yesterday at church. Friend and Baker June had sent me the recipe of the Orange Cookies that she planned to bring earlier in the week. That meant I could focus on making the Heartstone Inn Muffins. Yesterday was the one-year anniversary of my bringing two treats for the Cafe and starting what became the Cafe Treats. The recipe came from the B & B in Eureka Springs, AR called the Heartstone Inn. We have never stayed there but driven by it on several different trips to Eureka Springs. I always love looking at recipes from Bed and Breakfasts. This recipe really appealed to me last year when I asked if I could bring something to offer with the coffee in the Cafe at church because it made so much. The recipe will keep for 6 weeks in the refrigerator so I will be making them for the next several weeks. 

The recipe June used was advertised for diabetics. She was basically making it for a low-sugar option so she used a whole egg instead of the egg substitute. If you didn't need those restrictions, you can just use 3/4 cup sugar and a whole egg.

The cookies were so cute and tasted good. They disappeared rather quickly so I think others agreed. I hope you will give them a try.


PRINT RECIPE.

ORANGE COOKIES

1-1/2     cups flour

1           teaspoon baking powder

sugar substitute equivalent to 3/4 cup sugar (June used Splenda)

2           teaspoons grated orange peel

1/4        teaspoon salt

1/8        teaspoon ground nutmeg

1/2        cup margarine spread (70% vegetable oil)

1/3        cup chopped raisins

1/4        cup egg substitute (June did use 1 large egg)

2           tablespoons orange juice

Preheat the oven to 375 degrees F. Spray baking sheets with non-stick cooking spray. Set aside.

In a medium bowl, combine the first six ingredients (dry ingredients) ; mix well.

Cut in the margarine until mixture resembles coarse crumbs.

Stir in the raisins.

Add the egg (substitute) and orange juice; mix well.

Drop by teaspoonfuls onto baking sheets. Flatten with a fork dipped in flour.

Bake for 13 - 15 minutes.

Makes about 30 cookies. 


Thursday, January 4, 2024

A NEW BLANKET FOR HENRY

 It has been a while since I shared a tutorial for a new quilt, but this one is surprising easy and looks awesome when it is finished. I liked it so much that I made one quickly for Henry, our ten year old grandson in CO. I can't wait to make another one for Blankets of Hope, the quilt ministry at church.

I just love when I see a picture of a finished quilt especially if it looks challenging but discovers it really isn't when I see what the pattern is. I so enjoy "patterns". When I taught math in middle school, I was always telling the students to look for the pattern.

Back this fall, I took a day trip with two quilting friends to Hamilton, MO to a quilt show. We didn't see as many quilts as we thought because I was helping one of them who is new to quilting to look at the quilt and find the pattern. By the end of the day, she was doing really well. 

Henry living in CO is a Denver Bronco fan so a few days before we left to go to have an early Christmas with them, I decided to make him a blanket using some scraps I had left over after I made a Blanket of Hope for a young man at church who was very ill. I asked his mother if he liked the Chiefs (we do live in Kansas City afterall) and she said, "No. Actually he likes the Denver Broncos." I had to order the fabric because our fabric stores sell Chiefs material. I did have to buy some more blue and orange flannel because I was out of it for Henry's quilt.

I didn't have enough time to completely finish it before we left, but I got the top made, sandwiched it with backing, machine quilted it, and sewed the binding on. After we got to CO, I handstitched the binding down in the hotel that night and gave it to him the next morning when we saw them. 

This is the best picture of the quilt top for you to see how pretty the pattern is. It looks like a Bronco square is resting on top of blue and orange squares/blocks.


 Here it is hanging over the railing which is where quilt tops usually "live" after I get the top made but before it is finished as a quilt. It does usually end up back here after it is finished until the group meets.


Here it is as it went with me to CO with the binding sewed on with the machine. Many of my friends sew the binding down also with the machine, but I like to finish the binding by slipstitching it down by hand. It is so relaxing for me and gives me a chance to enjoy the quilt.


This binding was a piece in my stash that I have had a long time. It worked perfectly though with its navy background and small orange flower with a little added green leaf. 

And finally a picture of the finished quilt showing the backing. If you look closely, you can see how I machine quilted it. Since I made the blanket a little bigger than my usual lap-sized quilts, I purchased an oversized throw and it worked perfectly. I didn't use any batting since the blanket was thick and the top was mostly flannel.


My quilt/blanket consisted of sixteen 12-inch finished blocks and a top and bottom 3-inch finished row that is a partial block. I hope that is easy to see. The secret to the pattern though is that it is sewed together in 6-1/2 inch rows and not this 12-inch finished block.


Let start at the beginning with the cutting...just two ways of cutting.

The focal square is a cut 6-1/2 inch square from the print that I wanted to "showcase". I cut sixteen of those. I did this by cutting three 6-1/2 inch wide strips across the width of the fabric (wof) and then cutting six 6-1/2 inch squares from each strip. I had enough of the fabric, that I could "fussy cut" (chose where I was going to cut) where I cut the strips to feature either the word Bronco or the horse's head. (I initially cut twenty squares but settled on just using sixteen of them.)


I arranged the squares on my design wall to make sure I didn't have two similar blocks next to each other.

With the blue and orange flannel fabrics, I cut 3-1/2 inch wide strips across the wof from each color. I sewed two strips together, one of each color and made a bunch of these. They will form what looks like the blue and orange squares that the Bronco squares rests on. This technique is called "strip piecing".


I pressed them open and

then cut across in either 3-1/2 inch pieces (called a twozie*) that will be used with the 6-1/2 inch focal print square 
or

6-1/2 inch square pieces also a twozie* that will be used in rows with other 6-1/2 inch square twozies*.

That's it. After I have all of my pieces cut,  I go back to my design wall and lay the pieces out in the pattern. Look at the picture on the right at the top row above the blue line. This row consists of the 3-1/2 inch twozies* and the 6-1/2 inch focal print squares. (There is a twozie* before and after each focal print alternating for a checkered board effect. As you look at the picture you can see the fourzie** that forms with the twozies* since they come before and after the focal print. The row consists of four focal prints squares and eight twozies*.
or

eight of the 6-1/2 inch square twozies*  cut from the orange and blue wide sewed strips. (just below the blue line) Every other square is inverted to give a checkered board effect.

To further show making the row with the focal print, first sew two of the twozies* together alternating the colors to make a fourzie**. (four squares sewed together) (I know you can't see this in the picture.) Press the seam to one direction.

Then sew the fourzies** between the focal print starting and ending each row with a twozie*.

I did the same for the other row of just 6-1/2 inch twozies alternating across for the checkered board look. The top three rows are sewed in the picture, but not sewed together even thought it looks like it in the picture. I usually wait until I have all of the rows made, but you don't have to.

When you are ready to sew the rows together, the only seams that you have to match are the ones between what is the 12-1/2 inch block. To make this easier, I resort to my normal way of pressing seams...the odd numbered rows, I press back toward the beginning of the row and the even numbered rows, I press toward the end of the row. This allows me to "nest" the seams. 


I finished the top by repeating a  row of the 6-1/2 inch square twozies* and sewed one on the top and the other one on the bottom. 
To machine quilt the blanket, I first sewed an asterisk in the center of each focal square. This was a fancy stitch on my machine that made a line of these. I just stopped it when it finished the asterisk. Look closely - it is below the big C in Broncos and the ER in Denver.
I made sure I had the layers flat and pinned it in each corner and then pinned the center where I would stitch the asterisk. 
After that I machine stitched along the seams of the 12-1/2 inch block horizontally and vertically with a wavy pattern my machine will make.


Depending on the look you want for your quilt, if you want it to look 3 dimensional, if you want to use prints instead of solid colors for the background, choose small prints  so that the seams won't stand out. You also should not chose a directional print since you are alternating/inverting the background pieces. 

As I said earlier, I know I will be making another quilt by this pattern for Blankets of Hope.*** I would love to see pictures of your finished quilt, if you decide to give the pattern a try. If you have any questions just ask in the comments. 

My finished quilt/blanket for Henry was 48 x 54 inches.
 
It consisted of five rows of the 6-1/2 inch square orange and blue fourzies** (eight 6-1/2 inch twozies* sewed together

and four rows of the 3-1/2 inch twozies* before and after each focal print. (eight 3-1/2 inch twozies* on each row and four 6-1/2 inch focal print squares.

If you do the math, from the 3-1/2 inch x wof strips, I started with each color and cut thirty-two 3-1/2 inch twozies* and forty 6-1/2 inch twozies*. So I cut about 10 strips of each color, orange and blue - 3-1/2 inches x wof from approximately 1 yard of fabric of each color. I had a yard of the Bronco focal print.


* a twozie or two squares sewed together

** a fourzie or two sets of twozies sewed together. The four smaller squares can be four different colors or two different colors arranged with the same colors/prints sewed* diagonally from each other.

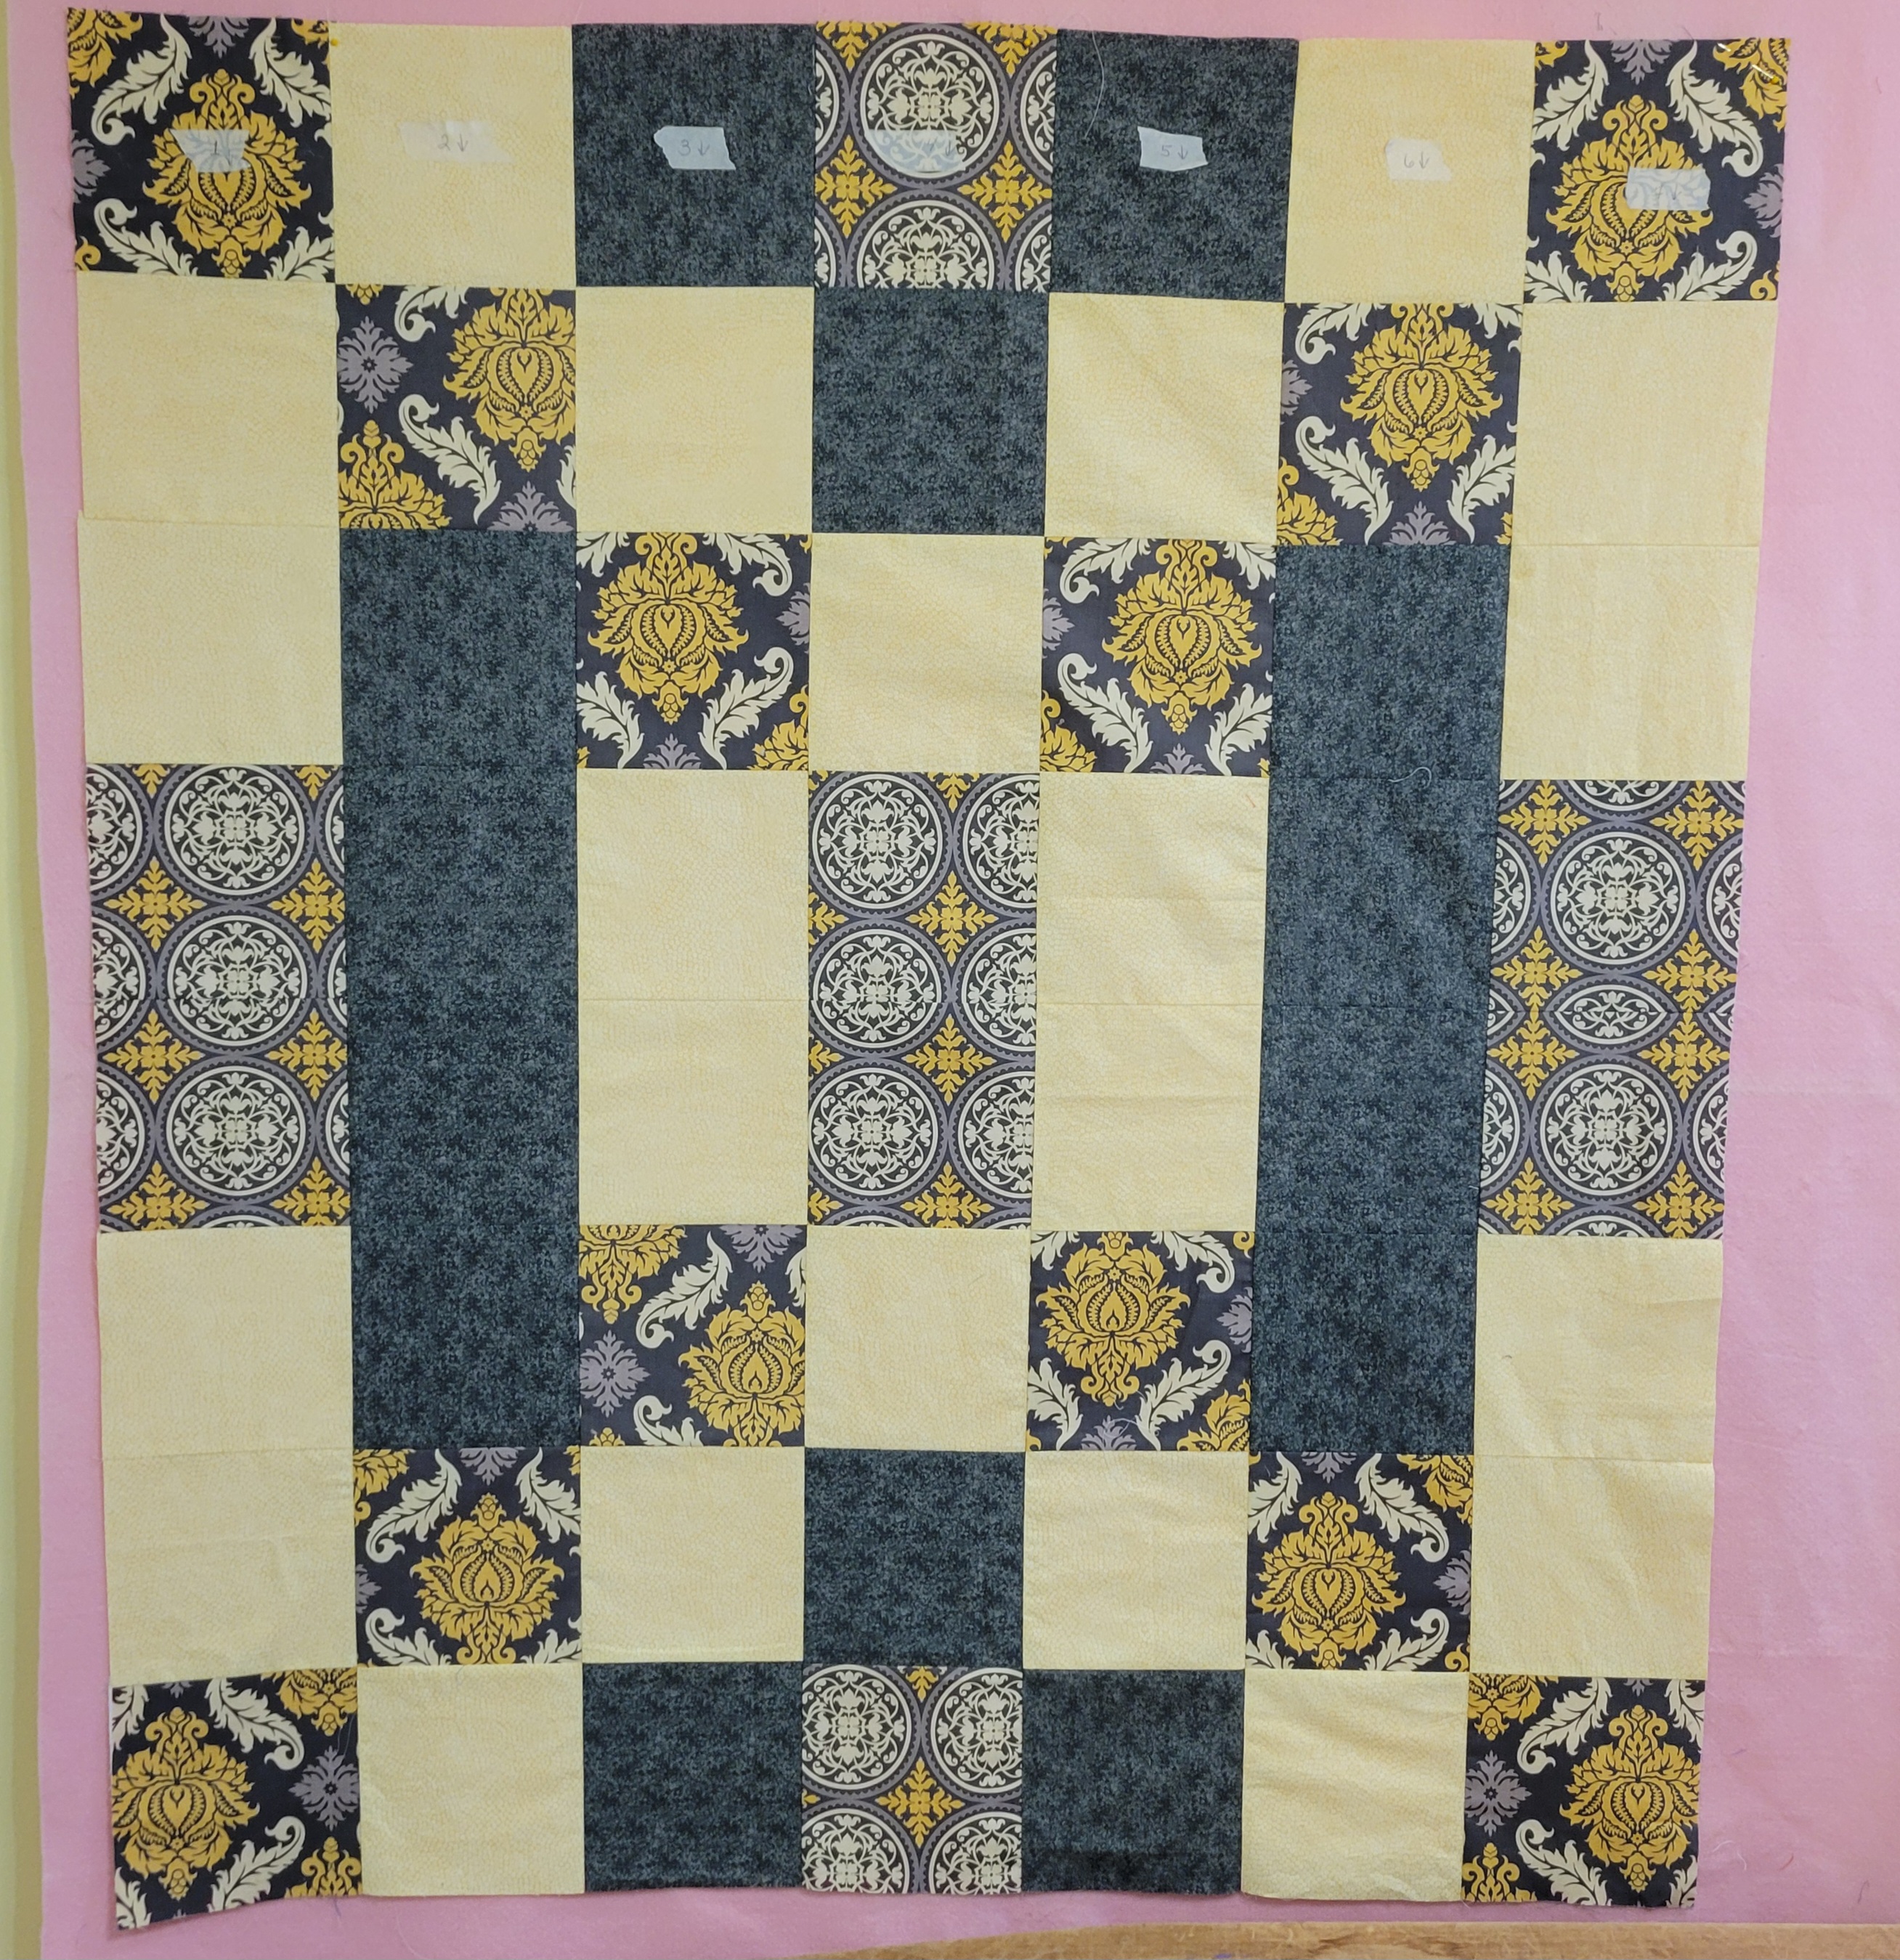
*** I picked out three pieces for the Blanket of Hope. What do you think?

Monday, January 1, 2024

CHOCOLATE CHIP BARS (SF)

 I'm not sure where 2023 has gone but it has gone so quickly. Next week I will have a personal celebration for starting something that turned into the Cafe Treats at Platte Woods United Methodist Church. I was hoping I would start something when I asked if I could bring something for the Cafe to go along with the coffee. I just didn't realize I would be heading it up. I started asking a few friends if they would be willing to make and bring something - cookies or mini-muffins - and leave out any nuts so no one would be concerned about eating anything. I put out a volunteer sign-up sheet and to my surprise people signed up. How exciting! 

We started with just three people volunteering each Sunday (each brought 3 dozen of whatever) and a month later we were up to five volunteers. Now we usually have at least seven different treats. We now try to have at least one gluten-free treat and one zero-sugar treat. It is always a popular place in the welcome center and that not just because of the coffee and hot tea while that is welcomed. The hot cocoa and spiced tea has been quite popular this winter.

Saturday afternoon I wanted to make something sugar-free since I didn't get anything made for last Sunday. I had seen this recipe on Facebook and even though the picture didn't look tempting, I thought I would give it a try. I used a zero-sugar yellow cake mix and no-sugar-added chocolate chips so I would have a sugar-free option.

I used my 8 x 11 - inch glass baking dish so the bars would be a little bit thicker. You could use a 9 x 13 - inch baking dish, but the bars will be thinner. Watch and adjust the baking time if you do decide to use the bigger pan. I cut my bars small to have more to offer. If you needed a gluten-free option, just use a gluten-free cake mix. Just make sure the chocolate chips are also gluten-free.

They didn't look anything like the pictured ones on Facebook which was nice. They all went before the second service was over so I am glad I put one aside to eat later. One of our four ministers enjoyed at least two of them as he couldn't help but grab one whenever he walked by the Cafe. He said they tasted great to be sugar-free. I guess I should add that you don't have to use a zero-sugar cake mix either if you don't want to. In fact, there are several different variety of cake mixes that I can think of that might make a really awesome bar. I'll have to consider that when I don't need them to be zero-sugar.

PRINT RECIPE.


CHOCOLATE CHIP BARS

1     box yellow cake mix (I used a Zero-sugar one. You could use any flavor other than a yellow cake mix, if you like.)

2     large eggs, beaten

5     tablespoons butter, melted (substitute oil if you need dairy free)

1     cup chocolate chips (I used no-sugar-added chocolate chips)


Preheat the oven to 350 degrees F. Spray an 8 x 11 - inch baking dish for thicker bars or a 9 x 13 - inch baking dish for thinner ones with a non-stick cooking spray with flour. Set aside.


Empty the dry cake mix into a large mixing bowl and add the beaten eggs and melted butter.

Beat on medium speed until a dough forms.


Add the chocolate chips and

stir until the chips are well distributed .


Drop big spoonfuls of dough into the baking dish leaving a large spoonful in the bowl.

Press the dough evenly to cover the bottom of the dish.

Then take the reserved part 

to fill in as necessary to cover the bottom of the dish.


Bake for 20 to 25 minutes or until the edges start to turn brown. ( I needed the full 25 minutes since I was using the smaller sized baking dish.)


Cool completely in dish before

cutting them into bars to serve. 


HAPPY NEW YEAR, 2024.