When I started this blog, I wanted to name it My Patchwork Life because that seemed appropriate since I have so many interests and I wanted to share all of them. The problem? That name was already taken. My second thought was My Patchwork Quilt. That one worked.
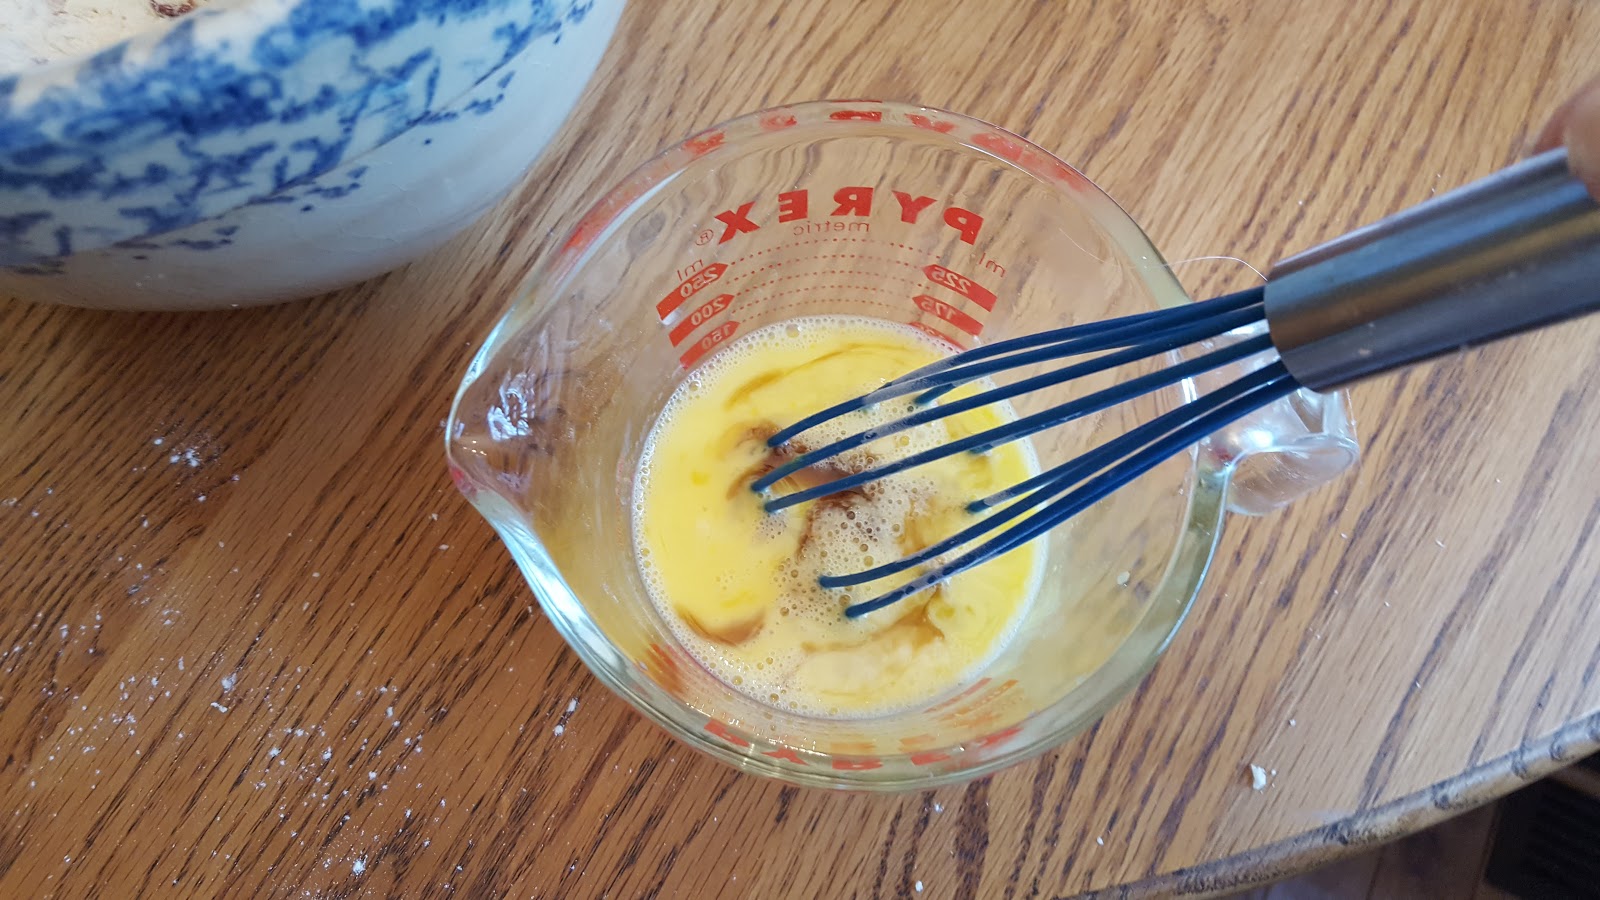
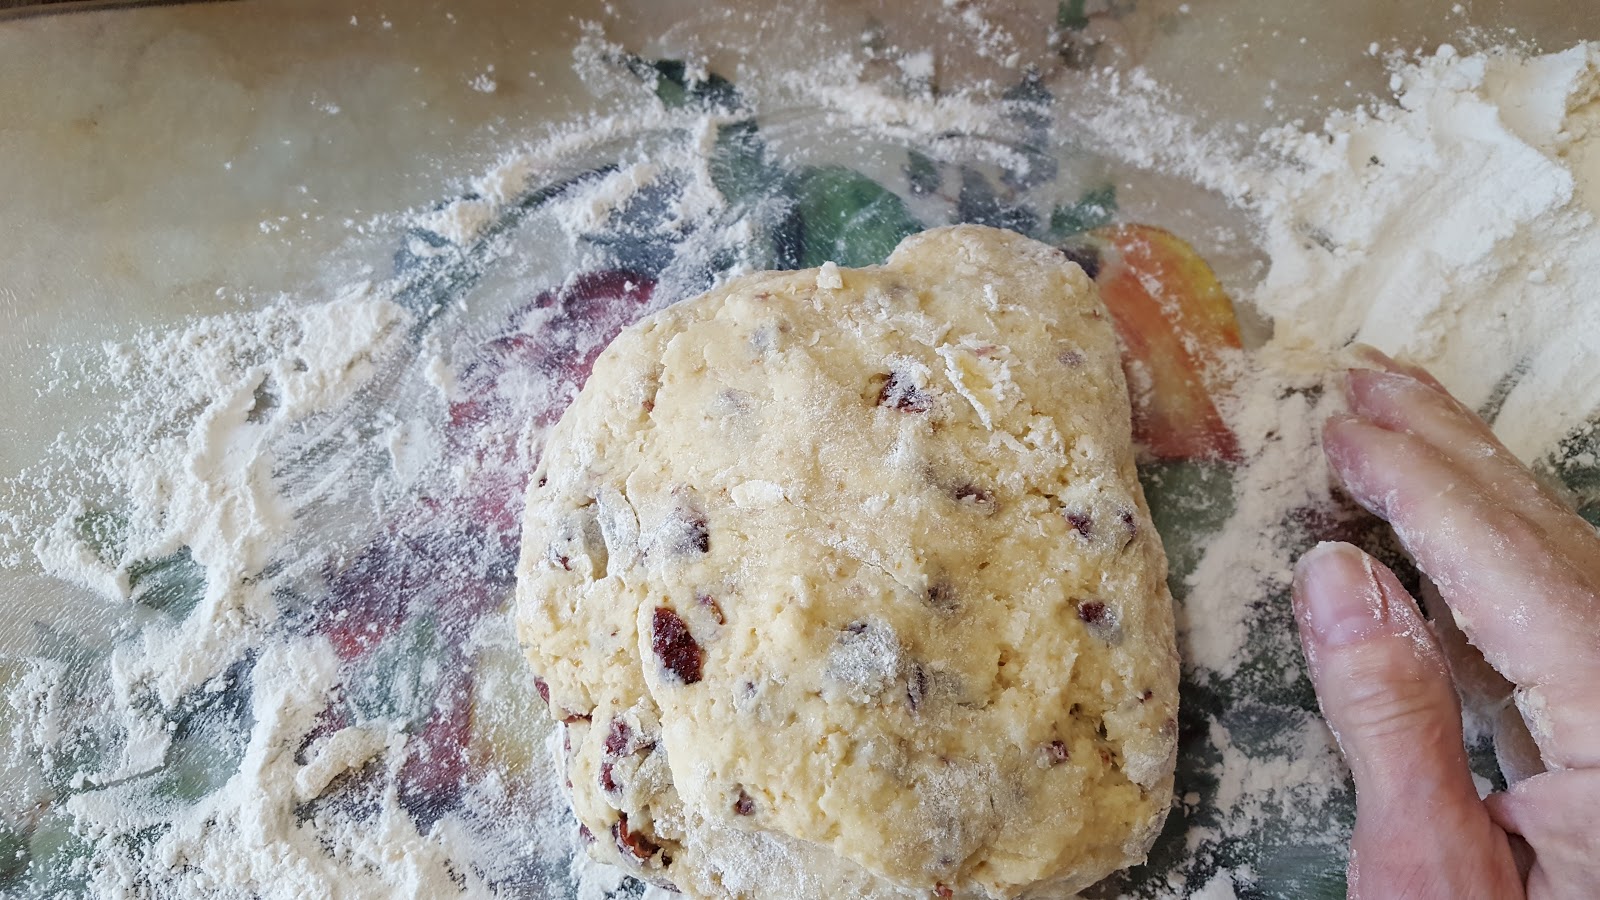
While it has turned out that I have more recipes than any other topics, except for a recipe for a banana bread that I found in the back of a novel about Amish by Kelly Long, my most popular posts are my tutorials for "quilting". (The last time I checked the Moist Banana Bread, an Amish Recipe post, it had been viewed 122,121 times. I shared the post/recipe on Pinterest and the rest is history.)
Since I seemed to be talking about the beginning of this blog, I guess I should say the reason I wanted to do a blog was I wanted to create an easy tutorial for making a rag quilt. I would see tutorial on Pinterest and get frustrated when I read them at how difficult they made it look. I also didn't always agree with their instructions. One tutorial turned into several tutorials for making rag quilts. (The first one is currently my fourth most popular post. Yes, I have done additional ones since.)
For today I thought I would have a patchwork quilt kind of post....a little of this and a little of that.
When the canasta group met at Friend Ellen's house the last time, she served Chocolate Raspberry Cake. She thought she had made it before for us, but I took a picture of it anyway. Turned out she had, but I thought I would share it with you again. You can find the recipe at the above link or link.

When Blankets of Hope met this month, I brought back home two or three "quilts" to finish with machine quilting. I say those words (machine quilting) loosely. I don't do free-motion quilting. I did do some slight curves on a baby quilt I made for my hairstylist's son, but I mainly do straight stitching - stitching in the ditch (that means stitching along the seam), outline stitching (which means stitching usually about 1/4 of an inch from the seams), or diagonally stitching (stitching diagonally across the square). The quilt tops I brought back home to finish are quilt tops I sewed together to make the tops.
One of the quilt tops I had made were made from various strips from 3 to 9 or 10 inches wide. After sewing the strips together, I pressed them so that I could stitch in the ditch when I finished the quilt. Generally speaking you should have stitching no farther apart than your hand width. That meant I needed to sew another "line" down the middle of the wider pieces of material.
Most of the time quilters will use a washable marker or quilting pen to mark where they wanted to sew. I didn't want to bother, so instead I measured where half way was (approximately) and taped where I needed to sew. Then I just used the edge of the tape as my guide for sewing.
Just the quilt top finished...


Here are some of the lap quilts we have finished recently...


Recently my husband and I took our MO grandchildren to a train show at KCI Expo. We thought they would enjoy seeing the model trains and villages and they did.


Here they are pushing buttons that makes the trains runs and the crossing guard drop or ...


Granddad had told them "NOT TO TOUCH"...

They had a great time and so did Grandmother and Granddad.
Last "block" in the quilt....
When we were in TN, we saw a sign on a highway for a historic covered bridge. I love covered bridges. The sign indicated it was only 1-1/2 miles off the road. This is what we found....


This has been fun writing. I will have to do this again sometimes. Hope you have enjoyed it.