Showing posts with label Fish. Show all posts

Tuesday, March 23, 2021

LEMON SHRIMP SCAMPI

 This is the third recipe I had on two opposite pages in my blue binder that I started probably 40 years ago of recipes that looked good and I wanted to try. I didn't mean to wait so long before I actually tried this one because I love shrimp and rice and those are the two main ingredients in this dish.

Wayne was quite impressed when I served it out on a platter. I knew it was more than we were going to eat, but I wanted to get an impressive picture to share with you. As it turned out it supplied us with two and a half meals. I finished the last bit for my lunch one day when Wayne was finishing up something he hadn't eaten all of at a previous meal. It was still very appetizing and was so easy to prepare.

I wasn't sure if I should buy raw shrimp or cooked shrimp since I didn't write that down on my grocery list. The recipe actually just says 3/4 lbs shrimp, cleaned so they probably used raw shrimp. It turned out good with the precooked shrimp. I also did some creative substitutions for some of the ingredients (spices, etc) I just sprayed some butter on for the Molly McButter Natural Butter Sprinkles. Wayne likes spices foods and usually adds spices at the table. This time he didn't.


LEMON SHRIMP SCAMPI


1     cups rice (I used brown rice)

3/4  lb. large shrimp, cleaned (I used frozen precooked)

1     tablespoon olive oil

2     tablespoons minced garlic (I just used garlic powder)

2/3  cup low sodium chicken broth

1     tablespoon fresh lemon juice

1     tablespoon lemon pepper

5     tablespoons Molly McButter Natural Butter Sprinkles

Chopped parsley & lemon slices for garnish (optional)


Prepare rice according to package directions.


Heat oil in skillet.

Saute garlic 1-2 until soft...do not brown. Add in shrimp-cook 1 minute.

(Since I didn't have the minced garlic, I just sprinkled the shrimp with the garlic powder.)

Add broth, lemon juice, butter sprinkles. Increase heat and let boil 2 minutes. Pour and toss into cooked rice. Garnish with parsley and lemon slices, if you like.

(I dished out cooked rice on a platter and

spooned shrimp on the top and then spooned liquid over all. Lastly, I ground some more lemon pepper on top.)

Wednesday, March 10, 2021

AIR FRYER SALMON STEAKS

 Restaurant Quality! That's the rating Wayne gave this Air Fryer Salmon Steaks. He couldn't quit raving about them as he ate his. He loves salmon and cooks it different ways. This was my first time to eat salmon that wasn't in a salmon croquettes.

Friend Julie shared her delight with the steaks on Facebook so I asked her for the recipe since I knew Wayne would probably enjoy them. The recipe calls for 2 salmon filets that are 6 ounces each. Ours were about 4 ounces each. I know one looked half the size, but Wayne said the larger one was thinner. Depending on the size of yours, you may want to adjust the cooking time. We did test the steaks after 6 minutes and they both registered 145 degrees each which if the desired temperature.

Thanks Julie for sharing your recipe with us. Wayne is already talking about trying other kinds of fish in the air fryer.


AIR FRYER SALMON STEAKS

2    salmon steaks, 4 - 6 ounces each

1    tablespoon butter, melted

1    teaspoon garlic powder

1/2 teaspoon paprika

1/2 teaspoon lemon pepper

1/4 teaspoon sea salt

Lemon slices, fresh dill, or parsley for garnish (optional)


Line the air fryer basket with foil that will go up the sides for easy removal. Spray the foil with nonstick cooking spray.


Combine the garlic powder, paprika, lemon pepper, and sea salt in a small bowl.
Brush the butter on top of the two steaks.


Sprinkle the mixture over the top of the steak.

Pat down if you like.


Using a spatula, place steaks on foil skin side down. and set temperature on air fryer to 400 degrees and set time for 6 - 7 minutes. I would recommend pausing at 6 minutes to check doneness. Temperature should be 145 degrees with meat thermometer.
Hold onto the sides of the foil to lift out.


Serve immediately.

Wednesday, May 22, 2019

SOUTHERN FRIED FISH

I always love when I don't feel like cooking and I ask my husband Wayne if he wants to cook some fish and he always says, "Yeah, I can do that." Sometimes he says he will fry me some and bake some salmon for himself. The other night he fried some flounder for both of us. I decided to take pictures while he did it so I could share it with you.


He mixes up a cornmeal mixture that he stores in the closed container that he found in a 1992 Southern Living Annual Recipes cookbook. He says the cookbook opens naturally to the page. (I should check the cookbook out; I might find some other good recipes to make in it.)

Click here for a printable version of just the breading mixture.


CORNMEAL BREADING FOR FISH

2     cups yellow cornmeal
1     cup flour
2     teaspoons salt
1     teaspoon black pepper
1     teaspoon garlic
1     teaspoon paprika

Combine all ingredients well with
a whisk and
store in a closed container.


To fry fish pieces or fillets:

Thaw fish, if frozen, in a large bowl with cold water. (You can also thaw it in the refrigerator, but it takes longer.) 

Heat 3 or 4 inches of oil in a (3 - quart) electric pot (deep fryer) to 400 degrees F.

Measure out some of the breading mixture in a flat dish. (If it is a "fishy-smelling" fish, he will dip the fish pieces first in a bowl of milk) Dip fish pieces one at a time in the mixture making sure it is covered well. 
 

Carefully drop coated pieces into
oil no more than a couple of pieces so they are not crowded and form a single layer.
Fry them 3 or 4 minutes depending on the thickness or til done.


Remove to a pie plate or sheet covered with a folded paper towel.
Store in an oven or microwave on Keep Warm until ready to eat. (My Aunt Virginia puts them in a paper sack and closed the top of it when she fries fish for the family.)


Serve as soon as you can.


Wednesday, September 12, 2018

SHRIMP - CHEESE BITES

I am finally getting around to sharing these Shrimp-Cheese Bites that I made when the Friends' Bridge Couples met at our house back in August. As I have said so many times here, I don't do appetizers that well. Don't get me wrong, when I do, they usually turn out fine, but I am always nervous about them and take too long trying to find something to do. 

I found the recipe for these "bites" in Betty Crocker's DO AHEAD Cookbook. I prepared mine and cooked them to be ready when everyone arrived so I didn't use the directions for "doing it ahead" that I included at the bottom of the recipe. Let me know how they turn out if you do make them ahead.


SHRIMP - CHEESE BITES

1/2       cup (1 stick) margarine or butter
1-1/4    cups flour
1          egg, beaten
2/3       cup chopped cooked shrimp
2          ounces farmer or goat cheese, crumbled
1          egg
1          egg yolk
1/2       cup half-and-half
2          teaspoons chopped fresh or 3/4 teaspoon dried basil leaves

Preheat oven to 375 degrees F.

Cut margarine or utter into flour with pastry blender or two knives in a medium bowl until mixture is crumbly.
(I always use my fingers. Have butter at room temperature and it is much easier.)
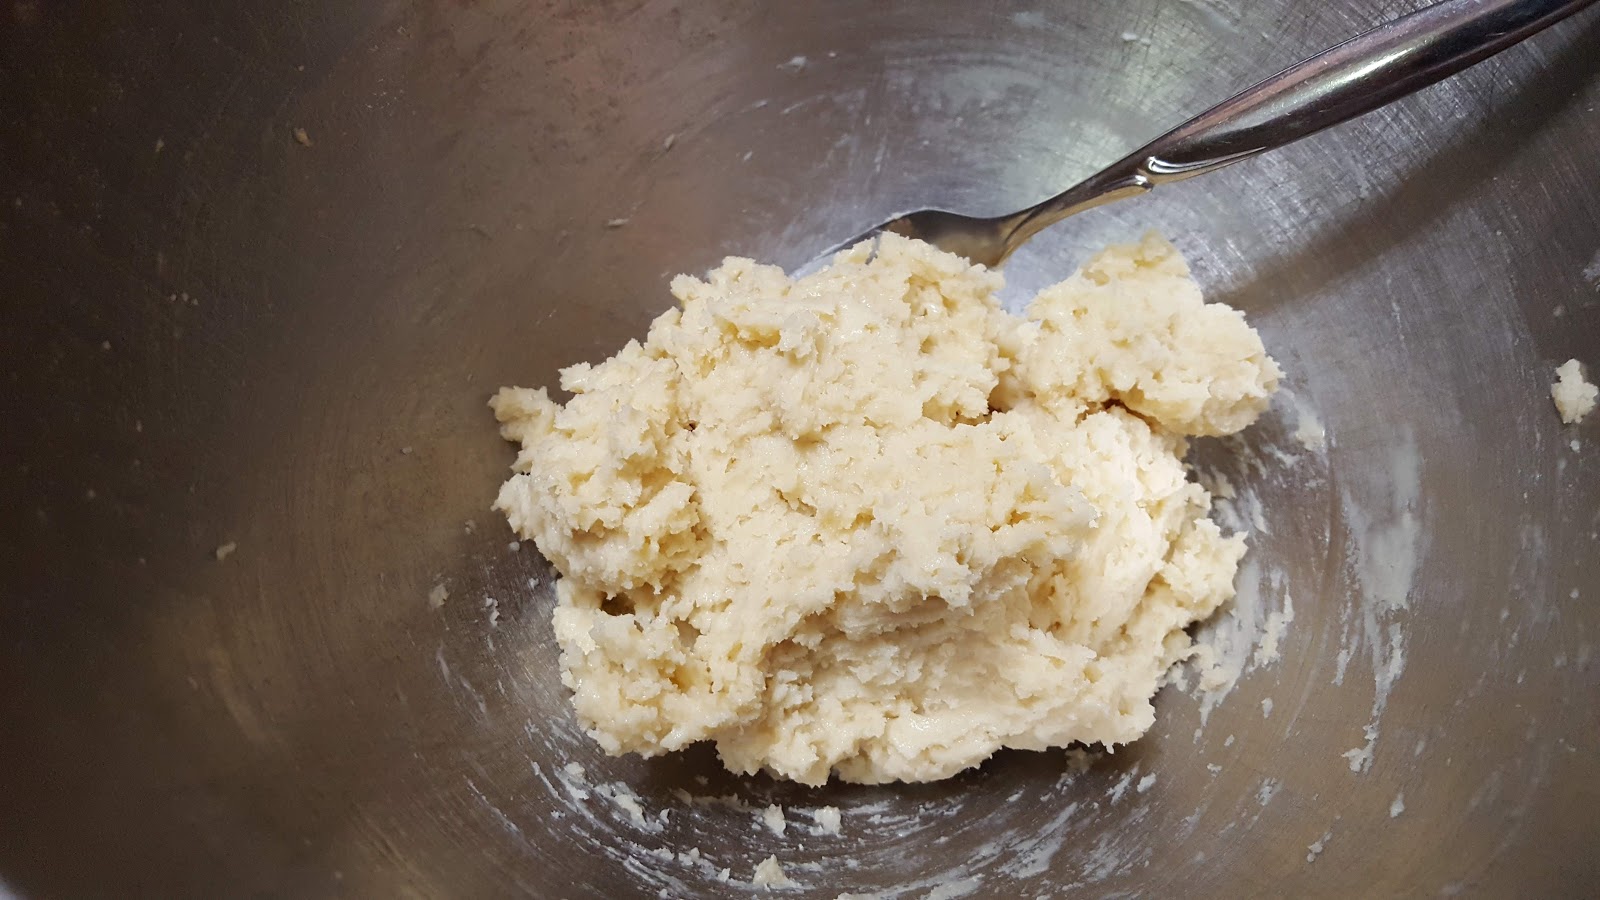
Stir in 1 beaten egg until well mixed;
shape into ball.
Divide into 24 balls.
(I used my small cookie scoop but only made 18 balls. I ended up pinching off a little from each one to make 23 balls. Next time I might just make 18 of them and use the tablespoon of dough for each one as it seemed like I didn't have quite enough to cover the bottom and up the sides of the mini cup.)
Press 1 ball on bottom and up side of each of 24 ungreased small muffin cups, 1-1/4 x 1 inch.
Divide shrimp among cups.
(I used the small salad size cooked shrimp and cut them into thirds.) 
Sprinkle with cheese.
Beat 1 egg and the egg yolk in a small bowl;
stir in half-and-half
and basil.
Spoon about 1 tablespoon of the egg mixture into each cup. (I measured the tablespoon which I am glad I did as I had just enough.)
Bake about 20 minutes or until light brown.
Immediately remove from pan to wire rack.


TO STORE: Refrigerator - Cool bites completely on wire rack. Refrigerate tightly covered no longer than 24 hours.
                    Freezer - Cool bites completely on wire rack. Place in single layer on cookie sheet. Freeze uncovered at least 2 hours. Place bites in labeled airtight freezer container. Freeze no longer than 2 months.

TO REHEAT: From Refrigerator - Oven - About 25 minutes before serving, heat oven to 350 degrees F. Bake on ungreased cookie sheet about 15 minutes or until warm.
                      From Freezer - Oven - About 30 minutes before serving, heat oven to 350 degrees F. Bake on ungreased cookie sheet about 18 minutes or until warm.
                   

Wednesday, May 2, 2018

CHEESY TUNA MAC

When I saw this recipe, I thought it would be a good thing for me to make when the MO grandkids, Madison and Tyler, were "hanging out" at our house Saturday morning. The only problem was I didn't have the cheese spread. Instead I just made them grilled cheese sandwiches. After seeing how good it tastes, I will make sure I have the ingredients to make it the next time they come to stay at our house.

Back in the day when I made that famous mac 'n cheese that comes in a blue box, I often would just add a can of tuna to it. So I thought it was kinda funny when I saw this "homemade" mac 'n cheese with tuna added to it. I am sure I will be making this again as both of us thought it was quite tasty.

IF YOU WOULD LIKE A PRINTABLE VERSION OF THIS RECIPE, CLICK HERE.


CHEESY TUNA MAC

8     ounces (2 cups) uncooked elbow macaroni
2     tablespoons margarine or butter
2     tablespoons flour
1     teaspoon paprika
1/4  teaspoon salt
1     cup chicken broth
6     ounces cheese spread, cut into cubes
1     can (5 ounces) tuna packed in water, drained

Cook macaroni according to package directions. Drain; set aside.


Combine the flour, paprika, and salt in a small bowl.


Melt butter in medium saucepan over medium - low heat (Be careful that you don't burn it.)

Add flour mixture to melted butter;
cook and stir 1 minute. (I removed the pan from the flame and stirred it for most of the minute as it looked like it was going to burn.)


Add broth. (I make my broth by heating a cup of water in the microwave til it boils and then add a chicken bouillon cube and stir it to dissolve.) Bring to a simmer for 2 minutes or until sauce thickens. (Stirring constantly.)


Add cheese spread; cook and stir until cheese melts.


Add tuna to pasta in a medium size bowl;


pour sauce mixture over tuna/pasta mixture;
toss to coat.


Garnish with additional paprika, if you like. (I didn't add anymore.)