Thursday, September 27, 2018

SLOW COOKER BAKED ZITI

Since I needed to take a break, it has been a while since I made an entree for us to enjoy for several days. I had to buy all of the cheeses I needed for this recipe from Reynolds that I cut out of a magazine years ago and glued in my blue spiral notebook that I started a long time ago to keep recipes that I wanted to try. 

It was really good but it makes a lot. It is a good main dish to make when you have family or friends over for a homecooked meal. 

Click here  for a printable version of just the recipe.


SLOW COOKER BAKED ZITI

1       Slow Cooker Liner
1       lb ground beef
1       medium onion, chopped
2       teaspoons dried Italian seasoning
1/2    teaspoon salt
2       jars (apx. 25 oz. each) pasta sauce
1       container (15 oz) ricotta cheese
2       cups (8 oz) mozzarella cheese, divided
1       cup grated Parmesan cheese
1       box (16 oz) ziti noodles

Place slow cooker liner inside a 5- to 6 - quart slow cooker bowl. Fit the liner snugly against the bottom and sides of the bowl; pull top of the liner over the rim of the bowl.
(I didn't have a liner and so I sprayed the inside of the slow cooker bowl with a nonstick cooking spray. The cheese did burn against the inside edge of the bowl in places.

Cook ground beef and onion in a large skillet over medium-high heat, stirring occasionally, until beef is no longer pink.
Stir in seasonings to evenly coat meat;
stir in pasta sauce.
Set aside.


Mix 1 cup mozzarella, the ricotta, and Parmesan in a medium bowl.
(I ended up using my potato smasher to evenly blend the three cheese.)

Spoon 2 cup of meat sauce into the lined slow cooker;
top with 2 cups pasta. (I used two different kinds of pasta to use up what I had.)
Drop half of the cheese mixture by rounded tablespoons, over the pasta; carefully spread over the pasta using back of spoon. (I used my cookie scoop the measure out the cheese mixture and dropped the scoops evenly over pasta.


Repeat layers with another 2 cups of the meat sauce,
then pasta, and 
the rest of the cheese mixture.


Top with the last meat sauce.

Place lid on slow cooker and cook on LOW for 6 to 7 hours OR on HIGH for 4 to 5 hours or until noodles are tender.

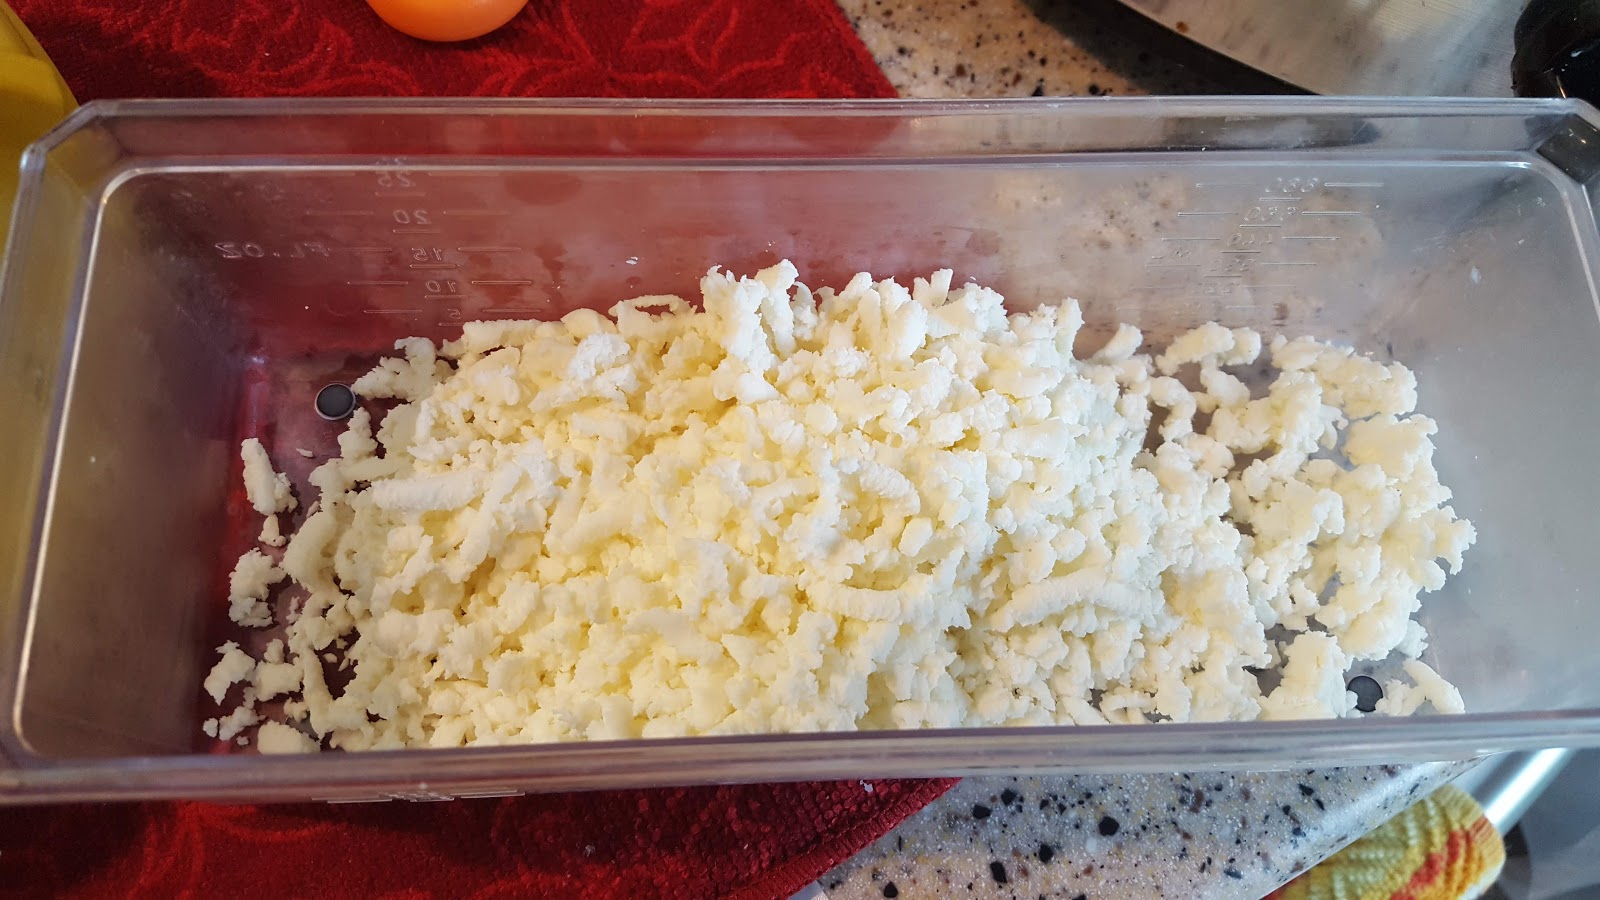
Grate the other half of the mozzarella cheese.


Carefully remove lid to allow steam to escape.
Sprinkle food with the remaining mozzarella (that I grated);
let stand 10 minutes until melted. Serve directly from lined-sow cooker. 


Do not lift or transport liner with food inside. Cool slow cooker completely; remove liner and toss.

Tuesday, September 25, 2018

MINI CARAMEL APPLE STREUSEL CHEESECAKES

While I am taking a break from all my cooking, I am excited to share with you an awesome dessert that Friend Deb served us yesterday at our monthly Farkle gathering. Everyone was so impressed when they saw them, they couldn't believe they were "homemade". She said they were so easy, too. She found the recipe in a magazine while she was waiting to get her allergy shot. I forgot to ask her what magazine it was. (If it is like most doctor offices I go to, the magazine might have been several years old.)


MINI CARAMEL APPLE STREUSEL CHEESECAKES

1       (11 oz) pkg no-bake cheesecake dessert kit, like Jell-O + ingredients to prepare according to box
caramel extract to taste
4       (1 oz) packets apple-cinnamon oatmeal 
1/4    cup flour
1       stick butter, at room temperature
1/4    cup caramel sauce

Prepare cheesecake dessert kit as package directs. Add extract if you using it.

Divide the crust evenly among 6 lined muffin wells.

Pour prepared filling over top of crust; chill at least 1 hour or until set.

Meanwhile, preheat oven to 350 degrees F. 

In a bowl, stir together the dry oatmeal, flour, and butter. Spread crumbles in a single layer on parchment-lined baking sheet. Bake for 10 minutes or until crumbs are golden brown and fragrant.

Unmold cheesecakes. Divide streusel crumbs evenly among cheesecakes. Gently press crumbs into tops.

In heatproof bowl, microwave caramel sauce 30 seconds. Drizzle over cheesecakes just before serving.


Thursday, September 20, 2018

BROOKIES

Since I didn't have a new post to share with you, I thought I would look for an "old" one before I had my Facebook Fan Page and share it with you. I do this often when I want something to share with you. I admit I have passed this post several times and saw it as a draft and just never checked it out. Well, imagine my surprise when I did so and saw this perfectly completed post from 2013. I have no idea why I never published it but am certainly doing so now.

Recently Friends Janice, Fran, and I prepared a dinner to take to our friend Rita's house as she was recovering from a procedure . Janice offered to make Brookies for dessert. She was going to use peanut butter cookie squares, but I reminded her that Rita has a nut allergy. (Her grandchildren love the ones she makes using the peanut butter cookie squares, but you can use any flavor.) For the ones we took to Rita's, Janice used chocolate chip cookie squares.


BROOKIES

To make larger Brookies, use a 3-1/2 x 2-1/2 inch muffin cup pan. Spray heavily with cooking spray.

**Duncan Hines Chewy Fudge Brownie Mix (13 x 9  Family size) 

Mix according to package directions with 3 eggs. 

**24 - pk Nestle's Toll House Cookie Squares

Fill muffin cup and then place a cookie square in the center.

Bake at 325 degrees approximately 28 minutes. 


Cool completely to frost, if you like.


and spread icing on top.  (can of Pillsbury or Duncan Hines chocolate frosting.)


Our friend Carol made them recently for our farkle group and she didn't ice hers.

Wednesday, September 19, 2018

MARBLED GINGERBREAD COFFEE CAKE

I haven't been doing much baking lately. Our Sunday School class had a picnic Sunday, but I made potato salad and Black Bean Salsa, two recipes I have made and already shared here with you. I know. That is really unusual for me, but my husband loves my potato salad and reminded me I don't make it much anymore. I also know he loved the Black Bean Salsa I recently made and shared with you and felt others at the picnic would also. 

But thankfully there is always HPC Thrift Shop and so I had to find something Sunday afternoon after we got home from the picnic to make and take Monday when I went to volunteer. Yes, you are right. My regularly scheduled day to volunteer is Tuesday except the second week of the month when I have Blankets of Hope, the quilt group, at church. Anyway, I've been thinking about changing my "work day" to Mondays and so had signed up for Monday for this week. Next week I will be back on Tuesday as the Farkle group meets Tuesday afternoon on the fourth Tuesday of the month.

Since I wanted to find something that would be quick but awesome, I decided to check out one of the cookbooks I bought Friday when Friend Janice and I went to several estate sales. I have several of Anne Byrn's cookbooks but this one, The Cake mix Doctor RETURNS was a new one. It was still sealed so I couldn't check out the recipes, but knew I wouldn't be disappointed. (and I wasn't). I found several I want to make, but chose this Marbled Gingerbread Coffee Cake to make first. 

It was actually a version in the margin. The original recipe was called Cathy's Marbled Spice Cake. Anne suggested in the margin of substituting ginger for the cloves. I knew my husband would prefer that since he doesn't like cloves. I decided to just sift some powdered sugar on it as Cathy's recipe called for instead of Anne's easy molasses glaze whisking together 1/3 cup molasses with 1/4 cup of powdered sugar and then spooning it over the cooled cake.

The two most common comments I heard from the volunteers were "That is so good." and "It is so moist." Both statements are so true.

Click here for a printable version of just the recipe.


MARBLED GINGERBREAD COFFEE CAKE

1       plain yellow cake mix or plain butter cake (no pudding in the mix)
3/4    cup oil
1       cup sour cream
1/4    cup granulated sugar
1/2    teaspoon almond extract
4       large eggs
2       tablespoons molasses
1       teaspoon cinnamon
1/2    teaspoon nutmeg
1/4    teaspoon ginger
powdered sugar

Place rack in the center of oven. Preheat oven to 350 degrees F. Lightly mist a 12 - cup Bundt pan with oil spray; then dust it with flour. Shake out the excess flour and set the pan aside.


Place the cake mix, oil, sour cream, sugar, almond extract, and eggs in a large mixing bowl. 
Beat with a mixer on low speed for 30 seconds until ingredients are mixed. Scrape the sides of the bowl; increase speed to medium
and beat 1-1/2 more minutes. The batter should look smooth and thick.


Measure out 1-1/2 cups of the batter and place in a small bowl.
Add the molasses, cinnamon, nutmeg, and ginger and stir until combined.
Set this spice batter aside. (sorry the picture is blurred)


Pour the plain batter into the prepared pan.
Pour the spiced batter in a ring on top of it, keeping it away from the edges.
Swirl the spice batter into the plain batter using a long spoon or chopstick.
 
Bake the cake until the top springs back when lightly pressed with a finger, 40 to 45 minutes. (I had to bake mine the full 45 minutes.)
Cool cake in pan on a wire rack and cool for 10 to 15 minutes.


Run a long, sharp knife around the edges of the cake, shake the pan gently,
and invert the cake onto a wire rack.
Let the cake cool completely, 25 to 30 minutes longer.


Slide the cake onto a cake plate (You may need to lift it to loosen it from the rack.)
Sift the powdered sugar over the top, then slice and serve the cake.


Store the cake in a cake saver or loosely covered with plastic wrap, at room temperature for up to one week. Freeze the cake wrapped in foil for up to six months. Let the cake thaw overnight on the counter before serving.

Friday, September 14, 2018

JO JO'S BISCUITS

I make the best biscuits in the world. You don't have to take my word for it. My husband and younger son (and a few more people) have told me repeatedly. Saying that, I am willing to try other recipes that I find for "reportedly" good biscuits. One time I made a different recipe and shared them with our younger son. His comment was, "Why didn't you just make your own biscuits?" Enough said.

Anyway, like Jo Jo (Gaines), I worked on my recipe for quite a while before I found "perfection". I have to admit her recipe was considerably different than any biscuit recipe I have ever seen, but I wrote it down and thought I would give it a try one day. That day happened Wednesday when I decided I would surprise my husband and fix them for breakfast. I had found the pad that I had written the recipe on Tuesday when I was looking for something else. Fortunately I had the self-rising flour and even though I didn't have any buttermilk, I did have some powdered buttermilk that I could mix up some. It wasn't quite the same, but works in an emergency. I also do not buy salted butter and so used unsalted butter. After spreading some soft serve butter on the biscuit before eating, the biscuit was salty enough for us.

The result?  Well, I started this post with the statement that I make the best biscuit in the world. I have to say my husband and I thought Jo Jo's biscuit is a really good biscuit, but still think my recipe is better. In all honesty and fairness to Joanna, her biscuit is a different biscuit and it is worth keeping and making again. I guess you will just have to make her recipe and my recipe for Buttermilk biscuits to see what you think.


Click here for a printable version of just the recipe.


JO JO'S BISCUITS

2     cups self-rising flour
1     tablespoon baking powder
1/2  teaspoon baking soda
3/4  cup (1-1/2 sticks) cold salted butter, grated or cut into 1/2 inch pieces
1     large egg, beaten
3/4  cup  whole buttermilk
1     egg +1 tablespoon buttermilk


Whisk the flour, baking powder, and baking soda together in a large bowl.
Cut in the butter to the size of peas.
(I grated the cold stick of butter and
then used my fingers to work it into the flour mixture.
)


Add beaten egg, stir with a wooden spoon
until combined.


Stir in 3/4 cup buttermilk
until dough forms a sticky mass. If mixture is dry, add more milk one tablespoon at a time.


Cover the bowl and refrigerate at least 30 minutes or overnight.


Preheat oven to 400 degrees F when ready to bake them.


Place chilled dough on a lightly floured surface. Dust hands with flour and pat dough into a circle 1/2 inch thick.


Using a cutter 2-3/4 inches (Mine was 2-1/2 inches in diameter.) cut biscuits and arrange them on a baking sheet lined with parchment paper so they are touching.
Work scraps and finish cutting until all dough has been used.
(I didn't have the parchment paper and used a nonstick cookie sheet.)


Combine an egg with 1 tablespoon buttermilk using a fork.


Brush the biscuit tops with the egg mixture.


Bake 15 to 20 minutes until golden brown. (I did cook them the full 20 minutes.