Even though I know the volunteers at the thrift shop really enjoy the "sweet" desserts I take to them, I know they also really enjoy the "breads" I take. Volunteer Ellie told me last week that she enjoys everything I bring, but she prefers the breads the best because she doesn't like desserts that are "rich" (aka super sweet).
This Blueberry Banana Bread I took last week was one of those breads that I received lots of thanks and compliments on. It was from Sandy Flick of Toledo, Ohio in the 2004 Taste of Home Annual Recipes cookbook. The only change I made was using fresh blueberries that I had frozen. I just took them out of the freezer and spread them out on a thick paper towel to thaw. She also made the bread in three mini loaves and I chose to make it as one big loaf in a 9 x 5 - inch loaf pan.
Click here for a printable version of just the recipe.
BLUEBERRY BANANA BREAD
2 cups flour
1 teaspoon baking soda
1/2 teaspoon salt
1/2 cup shortening
1 cup sugar
2 eggs
2 teaspoons vanilla extract
2 medium ripe bananas, mashed (1 cup)
1 cup fresh or frozen blueberries thawed blueberries
Preheat oven to 350 degrees F.
Spray or grease 3 mini loaf pans or one 9 x 5 - inch loaf pan. Set aside.
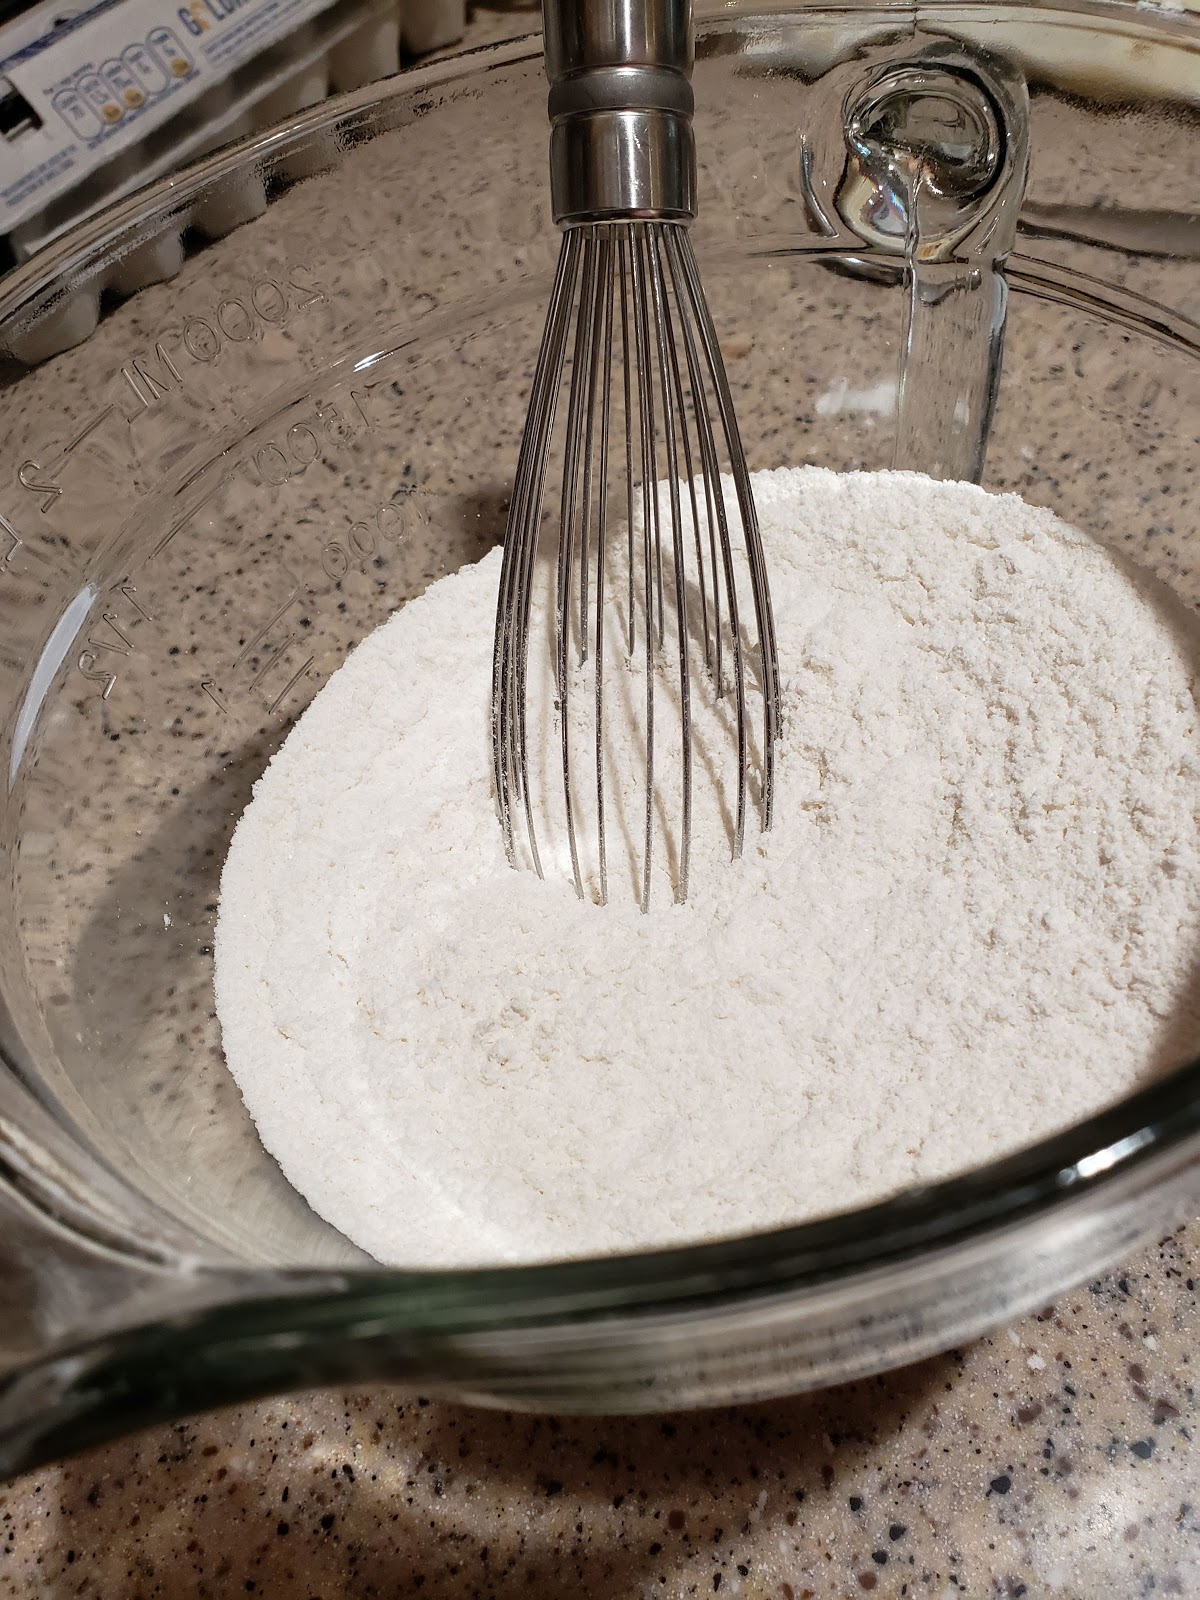
In a bowl, combine the flour, baking soda, and salt with a whisk.
In a large mixing bowl, cream the shortening and sugar til light and fluffy.
Add eggs and vanilla;
mix well.
Beat in bananas.
Gradually add the dry ingredients, beating just until combined.
Fold in blueberries.
Pour into pan(s).
Bake for 30 - 35 minutes for mini loaves and 60 - 65 minutes for large loaf. Check doneness by pressing lightly with fingers near the center or insert a toothpick in center of the bread. The bread should be firm to touch or the toothpick should come out clean.
Cool for 10 minutes in pan on wire rack before removing to finish cooling on wire rack. Wrap in foil to keep.
It's been a while since I had three days in a row that I needed to make a dessert. Two of those days I was making dessert for Friend Fran who was hosting two different gathers of friends, the Farkle/Yahtzee group and the Quilters' Canasta group. The other day was my usual day to volunteer at the thrift shop. I decided to make a Blueberry Banana Bread that got rave reviews. I'll be sharing it next week. For the Farkle/Yahtzee gathering, I made some Butterscotch Fudge Bars that were so delicious. Look for that recipe next week also. I made this pineapple nut cake for the canasta group. I made it in a 9 x 13 - inch pan but cut six extra large pieces. (I took the leftover - two sides - home to my husband Wayne to eat.)
The recipe came from a Taste of Home Healthy Cooking magazine (April/May, 2008). The recipe called for 8 ounces of reduced-fat cream cheese for the frosting, but I used fat-free cream cheese and only used about 6 ounces of the brick.
Click here for a printable version of just the recipe.
MAKEOVER PINEAPPLE NUT CAKE
2 cups flour
1/2 cup sugar
1/2 cup sugar/stevia baking blend
2 teaspoons baking soda
2 eggs, beaten
1 can (20 ounces) unsweeetened crushed pineapple, undrained
1/2 cup chopped pecans or walnuts, toasted
FROSTING:
6 ounces fat-free cream cheese
2 tablespoons butter, softened
1-1/2 cups powdered sugar
1 teaspoon vanilla extract
Preheat oven to 350 degrees F. Spray a 9 x 13 - inch baking pan with nonstick cooking spray. Set aside.
In a large bowl, combine the flour, sugar, sugar/blend, and baking soda with a whisk.
Combine beaten eggs with pineapple in small bowl.
Make a well in the flour mixture and pour in egg/pineapple mixture;
stir with a wooden spoon just until moistened.
Fold in nuts.
Pour batter into pan.
Bake for 32 to 38 minutes. Check doneness by pressing lightly in center of cake with fingers.
Cool completely on a wire rack.
For frosting, in a large mixing bowl, beat cream cheese and butter until fluffy.
Add powdered sugar and vanilla;
beat until smooth.
Frost cake.
Store cake covered in the refrigerator.
I am trying to finish this post while having a major anxiety attack with not being able to hook up my roku to our internet. Now isn't that a ridiculous thing to stress over?! I remember when I was teaching school and the computers/internet became a big part of our day...grades, etc., there were days I wanted to throw my computer out the door. That's how I feel right now but with my TV. We have had AT&T and DirecTV since before time and have never really had any issues, but now all of a sudden, without any notice to us, they have combined the two accounts and all it has done is cause me/us headaches with access issues.
BUT I want to get this post finished and I need to relax or I will have a sleepless night. Sure you are not interested, but I think sometimes that's what you get on someone's blog. (Forgive me.😔)
I actually made this peanut butter bread two weeks ago. Friend Julie who recently had hip replacement surgery hosted our Mexican Train group. We offered to each bring something so she wouldn't have a lot to do to host us. I saw this recipe in The Beverly Lewis Amish Heritage Cookbook and the suggestion to make it and then use it for sandwiches of cream cheese and jelly. I thought that was a rather interesting way to use the bread. Since there were at least six more friends who would be bringing something, I thought it would be best if I cut the slice in half and make smaller "sandwiches".
The girls really liked it and Friend Carol even made sure I knew she went back to get the "other half" which she never does.
Click here for a printable version of just the recipe.
PEANUT BUTTER BREAD
2 cups flour
4 teaspoons baking powder
1/2 cup sugar
1 teaspoon salt
2/3 cup peanut butter
1 cup milk
Preheat oven to 350 degrees F. Grease or spray an 8 - 1/2 x 4 - 1/2 - inch loaf pan or line with wax paper. Set aside.
Sift together the dry ingredients.
Blend the peanut butter and milk with a whisk til
smooth and well blended;
add to dry ingredients.
Stir with a wooden spoon just til blended.
Pour batter into loaf pan and
bake for 45 to 50 minutes.
Allow to cool 5 to 10 minutes;
remove and finish cooling on wire rack. Wrap in foil.
Use for sandwiches of cream cheese and tart jelly, such as grape or currant. I sliced the bread and then cut the slice in half.
Spread fat-free cream cheese on one half.
Covered the cream cheese with some homemade peach jam.
Topped it with the other half of the slice.
I apologize to my readers who have been expecting some fabulous recipes and not finding them. I have lots of excuses to offer, but I guess the two best ones are 1) I have found a new "happy place" and 2) I really want to lose 5 lbs so I haven't been cooking as much. (See pictures below the recipe regarding 1) excuse.)
Because of excuse #2 when I wanted to make some cookies to fill the cookie jar, I chose this recipe for Chocolate Gingersnaps because I could use a sugar-free cake mix and except for the little bit of sugar the dough was rolled in, they are sugar-free. My husband Wayne has even more pounds he wants to lose so he especially likes them.
FYI - I will be in the kitchen more this week because Friend Fran is hosting two gatherings this week and I always make the dessert for her. AND of course, I will have my shift at the thrift shop on Tuesday.
Click here for a printable copy of just the recipe.
CHOCOLATE GINGERSNAPS
sugar
1 pkg chocolate cake mix without pudding in the mix (I used a sugar-free devil's food cake mix)
1/3 cup oil
2 eggs
1 tablespoon ground ginger
Preheat oven to 350 degrees F. Spray cookie sheets with nonstick cooking spray or use non-stick cookie sheets. Put a few spoonfuls of sugar in a small bowl and set aside.
Add the cake mix, oil, eggs, and ginger in a large mixing bowl and
beat until well blended.
Using a cookie scoop (1 tablespoon size),
roll dough into a ball in the palms of your hands, and
then place in bowl with sugar and roll to coat.
Place two inches apart onto cookie sheets.
Bake 10 minutes or until cookies are set.
Remove to wire racks and cool completely.
Here are some pictures of me and my NEW Happy Place. I am having so much fun making pots of pretty flowers and the love-seat glider. I have always wanted a porch with a swing. This is the closest I will ever come, but I am okay with it. I also bought a "new" lamp (a wire bird cage with "birds" inside) but I took these pictures beforehand.
Above the sliding glass door in the kitchen...
The view from my kitchen...
Standing in the doorway...
Can you blame me for wanting to spend as much time as I can out there?

 Spray or grease 3 mini loaf pans or one 9 x 5 - inch loaf pan. Set aside.
 In a bowl, combine the flour, baking soda, and salt with a whisk.
 In a large mixing bowl, cream the shortening and sugar til light and fluffy.
 Add eggs and vanilla;
 mix well.
 Beat in bananas.

 Gradually add the dry ingredients, beating just until combined.

 Fold in blueberries.


 Bake for 30 - 35 minutes for mini loaves and 60 - 65 minutes for large loaf. Check doneness by pressing lightly with fingers near the center or insert a toothpick in center of the bread. The bread should be firm to touch or the toothpick should come out clean.