Thursday, December 31, 2020

GLORIA'S EASY OLD-FASHIONED BUTTERSCOTCH CHRISTMAS CANDY

 Day 6 of my "Gifts from my Kitchen" posts that I made to share with my friends and neighbors. I shortened the name when I shared it with my neighbors to Amish Cracker Candy, but Gloria Yoder of Flatrock, Illinois actually call it Old-Fashioned Butterscotch Christmas Candy. You can read more about it and her family HERE on Kevin Williams' Amish 365 blog. 

I made this candy three times. It is so easy and so good. Wayne really enjoys it. The first time I made it, I used dark chocolate chips. The second time, I decided to get creative and sprinkled half of the crackers with dark chocolate chips and the other half with peanut butter chips. The peanut butter chips didn't melt as nicely as the chocolate so I had to work a little harder spreading them. I ended up spreading the peanut butter into the chocolate. The last time I decided to use an 11-oz package of butterscotch chips. Just like the peanut butter, the butterscotch chips were not ready to spread after 3 minutes. I had to wait almost 10 minutes. I did discover that if I used a plastic knife I could smash the chips and spread them better than anything else I tried to spread the chips with. (Wayne really liked the last ones.) I also used both cinnamon graham crackers and honey graham crackers. Gloria says you can also use saltine crackers.


GLORIA'S EASY OLD-FASHIONED BUTTERSCOTCH CHRISTMAS CANDY

About 1-1/2 sleeves of graham crackers  (or saltines) (I used cinnamon graham crackers and honey graham crackers)

1       cup (2 sticks) butter (Use 1/2 cup or 1 stick for crunchier crackers) (I decided to use 1-1/2 sticks - 3/4 cup)

1       cup brown sugar

1-1/2 cups chips (chocolate, butterscotch, peanut butter) (I used closer to 2 cups.)


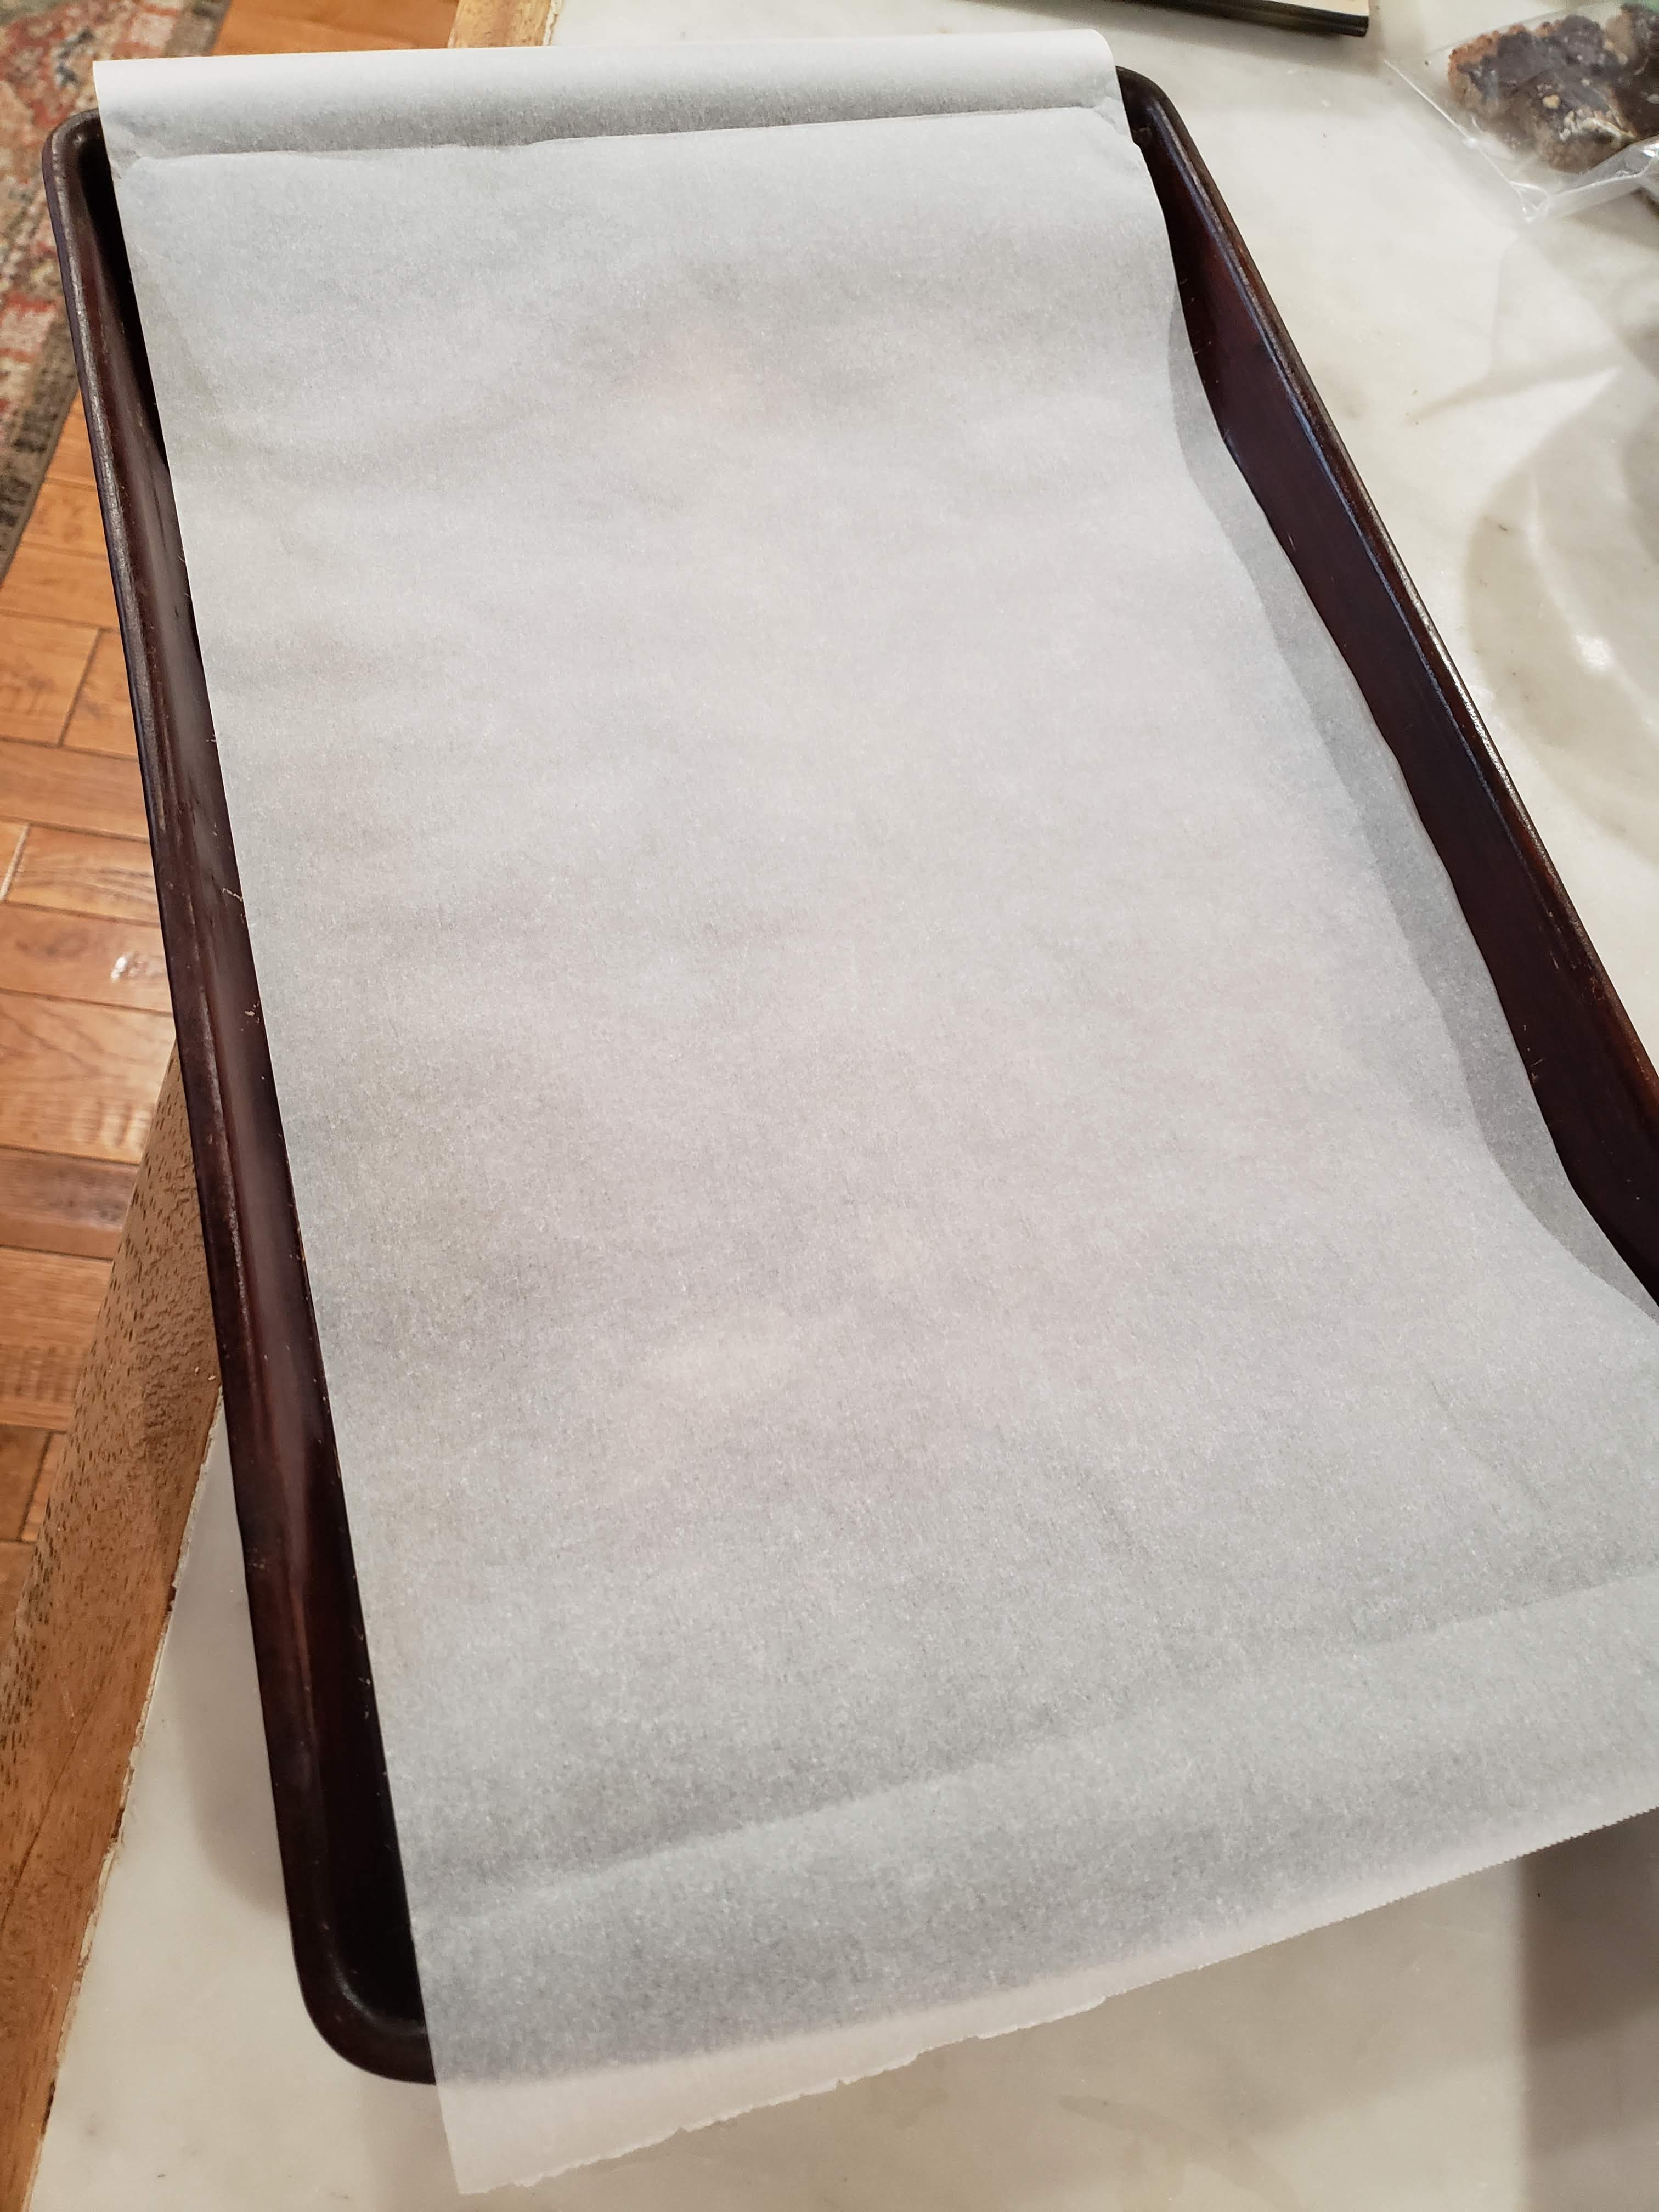
Preheat oven to 400 degrees F. Line a jelly roll pan with parchment paper.


Cover the bottom of the jelly roll pan with graham crackers edges touching.


Add the butter and brown sugar to a medium sized saucepan and

melt butter and brown sugar over medium heat.

Bring mixture to a rolling boil.

(I stirred my constantly to this point.)

Boil for 3 minutes.

Remove from heat and

pour the mixture over the crackers covering them completely.

(Don't pour all of the mixture in the center so it will be easier to spread.


Bake for 5 minutes. Remove from oven and set on wire rack.

Immediately sprinkle chips over hot "crackers" and let set for 3 minutes (more like 10 minutes if using peanut butter or butterscotch chips).

Spread melted chips (They won't look like they are melted, but they are.) over top.

(I found that a plastic knife worked best in spreading the butterscotch and peanut butter chips.)


Cool completely and

then break into sized pieces of your choice.


I can't believe I didn't take a final picture of the butterscotch chips one but I didn't.

Wednesday, December 30, 2020

SANDI'S OATMEAL BLUEBERRY MUFFINS

 In the middle of my passing out my Gifts from the Kitchen, Friend Sandi surprised us with her Oatmeal Blueberry Muffins. What joy! 

Sandi is borderline diabetic so she says she can eat them. She also says she uses fresh blueberries until they get too expensive to buy. Then she will use a heaping cupful of frozen blueberries. Once she thaws them, they are about 3/4 cup. She also processes the oats in her food processor. Otherwise Sandi says the muffins are very coarse. She says she uses whatever yogurt she has on hand. In the ones she made and shared with us, she used a coconut flavored Greek yogurt. If sugar is an issue, you would definitely want to use plain Greek yogurt. Sandi confirmed with me that honey is okay in recipes for diabetics because it has no effect on your blood sugar. Good to know!


OATMEAL BLUEBERRY MUFFINS

3       cups oats, ground in the food processor or blender

1-1/2 cups flour

1       teaspoon baking powder

1       teaspoon cinnamon

2       eggs

1       teaspoon vanilla

1/2    cup unsweetened applesauce

1       5 - oz container Greek yogurt

2       tablespoon oil

1/4    cup honey

1       cup milk

6       ounces blueberries


Preheat oven to 350 degrees F. Spray muffin tins or use paper liners. Set aside.

In a large bowl combine oats, flour, baking powder, cinnamon, and salt. In a separate bowl, blend eggs, vanilla, applesauce, yogurt, oil, honey, and milk.

Stir dry ingredients into the wet ones. Gently stir in blueberries.

Fill muffin cups 3/4 full and bake 16 - 18 minutes. Let cool 20 minutes before removing.

These muffins freeze well. Microwave wrapped in a paper towel 20 to 30 seconds.

Makes 20 - 24 muffins.

Wayne and I really enjoyed them for several mornings with our breakfast. Thanks, Sandi! You're a good friend!

Tuesday, December 29, 2020

BANANA BREAD SUGAR COOKIES

Day 5 of my "Gifts from my Kitchen" posts that I have been making to share with my friends and neighbors. I made these cookies recently using Orange-Cranberry Quick Bread and Muffin mix and they were really good. I had some Banana Quick Bread Mix I had gotten at Trader Joe's and since have made the cookies with it. I really, really liked them. When I ran out of the Amish Ginger Cookies, I gave some of these cookies to one of our neighbors.

They are so easy and as I said in the POST for the Orange-Cranberry Sugar Cookies, you can substitute any Quick Bread and Muffin Mix. I did find just the Cranberry Quick Bread and Muffin Mix, but I haven't made any with it like Friend Lolah did.


BANANA BREAD SUGAR COOKIES

1        pkg Banana Quick Bread and Muffin Mix

1-1/2 sticks of butter, melted

Sugar for coating


Preheat oven to 350 degrees F.


Melt the butter and add it to the banana quick bread and muffin mix. Stir until dough forms. Using a cookie scoop, roll dough in palm of hand and coat with sugar.


Place on non-stick cookie about 2 inches apart.

Flatten with the bottom of a glass.


Bake 10 - 12 minutes.


Remove and cool on wire rack. (The cookies on the left were the first ones I made. I just used a fork to flatten them like you do with peanut butter cookies.)


Monday, December 28, 2020

TACO PASTA (INSTANT POT)

 As I read and learn more about cooking with the Instant Pot, the more creative I am willing to be with recipes. I am almost always in the mood to bake, but I am not always in the mood to cook. There is a difference you know between baking and cooking, you know.

We have always said the $64,000 Question in our house is "What's for dinner?" Remember that show? (I guess I am showing my age.) That's because you have to cook dinner.

Fortunately for me Wayne doesn't mind eating something several nights in a row, if he likes it. So I often find myself looking for a recipe/casserole that makes enough for several meals for us. We can warm them up in the microwave and eat whenever we are hungry.

Two good things I have learned when cooking pasta in the IP is the ratio 1 (cup of liquid):4 (oz of pasta) and cooking time is about half of what is recommended on the box/bag for the pasta. Knowing that you can then be as creative as you want in mixing together ingredients that you like. 

I really wanted to use macaroni for this recipe, but all I had 16 ounces of was penne pasta. I had to settle for it because I can't go to the store.

If you are reading this "hot off the press" on the 28th, we will be in CO Springs celebrating Christmas with our older son Jeffrey and his family. Christmas 2020 is one for the record books for us because of COVID-19. So many of my friends are not being able to be in-person with their families this Christmas while some are celebrating as normal...COVID-19 or not.

DIL Sara's parents both got the virus the first of November. Her daddy is still dealing with some of the results of his getting the virus. Not surprising Sara has had some concerns about our coming for Christmas knowing we would have been with younger son Patrick and his family two days before coming to CO. To ease her concerns and our concerns for safety, we celebrated with Patrick and family on the 16th with exchanging gifts and then have been self-isolating since. That meant no going to the store to get anything. Needless to say, I can't wait until we can get back to a more normal life.

Anyway, with just a few ingredients, I came up with this recipe for Taco Pasta and it served as a main dish for us during Christmas week. 


TACO PASTA  in the INSTANT POT

1      tablespoon oil

1      lb. ground beef

1      envelope of taco seasoning mix

1      can diced tomatoes

4      cups beef broth

1-1/2 - 2 cups shredded cheese (I used Mexican style shredded cheese)


Add the oil to the inner pot and

then break up ground beef and

cook until done.

Use the SAUTE function to do this.


Add seasoning mix (sorry about the steam) and

stir in meat to coat.


Add about 1/4 cup of broth and scrape the bottom of the inner pot to loosen any meat.


Add the rest of the broth and

the diced tomatoes, undrained.

Add the pasta and

press down to make sure it is immersed under the liquid. 


Add lid and close.

Press the Pressure Cook option and

reduce time to 5 minutes.

It will take about 10 minutes for pressure to build (ON).

When pressure has built, the timer will start counting down when it starts to cook.

When cooked, do a Quick Release (QR)

by pressing the vent.

When pressure is totally released,

(this took about 2 minutes)

open the lid.


Add the cheese and

stir to melt. 


Serve warm. 

We sprinkled a little Parmesan cheese on top of serving.

It warms up so nicely in the microwave, too. I put my serving in a microwave container that has a lid, sprinkle a little water on it, cover it with the lid, and reheat for about 2 minutes on reheat - pasta option. Then I sprinkled a little more of the three cheeses on it and allowed it to melt.

Yummy. As good as originally.