Wednesday, November 30, 2016

DOUBLE CHOCOLATE PEPPERMINT CRUNCH COOKIES

Monday after spending the morning bringing the Christmas decorations down from the attic, I had to take a break and make some cookies. 

I recently joined the SAM (Senior Adult Ministries) choir at our church and we have been presenting a Christmas program at 6 different senior living facilities nearby on Tuesday afternoons. Because of a conflict at the church, we decided to gather this Tuesday for a little party back at the church and invited the church's staff to join us. Our director said he would have cookies and drinks for us to enjoy. I offered to help out and he said I could bring a dozen cookies. SO I had those to make plus Tuesday morning is my normally scheduled volunteer day at Hillcrest Thrift Shop. I hadn't planned to make cookies to take to Hillcrest, but after successfully trying a new recipe, I thought, Why not make some cookies to take to the volunteers at the thrift shop.

It has been hard to decide which recipe to share first. The volunteers at Hillcrest loved the Dark Chocolate Peppermint Crunch Cookies and the fellow choir members and church staff really liked the Lemon Pecan Cookies. AND I loved both of them. 

I finally just decided to share them in the order that I made them. That doesn't mean I liked the chocolate ones better than the lemon ones. They are both definitely winners. I think the Andes Peppermint Crunch Baking Chips are a seasonal item so you might want to buy an extra bag for later in the year.


DOUBLE CHOCOLATE PEPPERMINT CRUNCH COOKIES

1         cup unsalted butter (2 sticks)
2        cups + 2 tablespoons all-purpose flour
3/4    cups special dark cocoa
1/2     teaspoon baking soda
1/2     teaspoon salt
1         cup packed brown sugar (I used 1/2 cup brown sugar/stevia blend)
1/2     cup granulated sugar (I used 1/4 cup sugar/stevia blend)
2        large eggs, room temperature
1         teaspoon vanilla extract
1         package (10-ounces)  Andes Peppermint Crunch Baking Chips
1         cup chopped pecans or walnuts (I used a mixture of English walnuts and black walnuts)

Preheat oven to 350 degrees F.

Melt the butter in the microwave.

Sift together the flour, cocoa, baking soda, and salt. (I sifted the ingredients twice.)

Beat butter with the sugars and vanilla in a mixing bowl til smooth and creamy.

Beat in the eggs.

Gradually add the flour mixture and stir on low just until blended.

Add the chips and nuts.

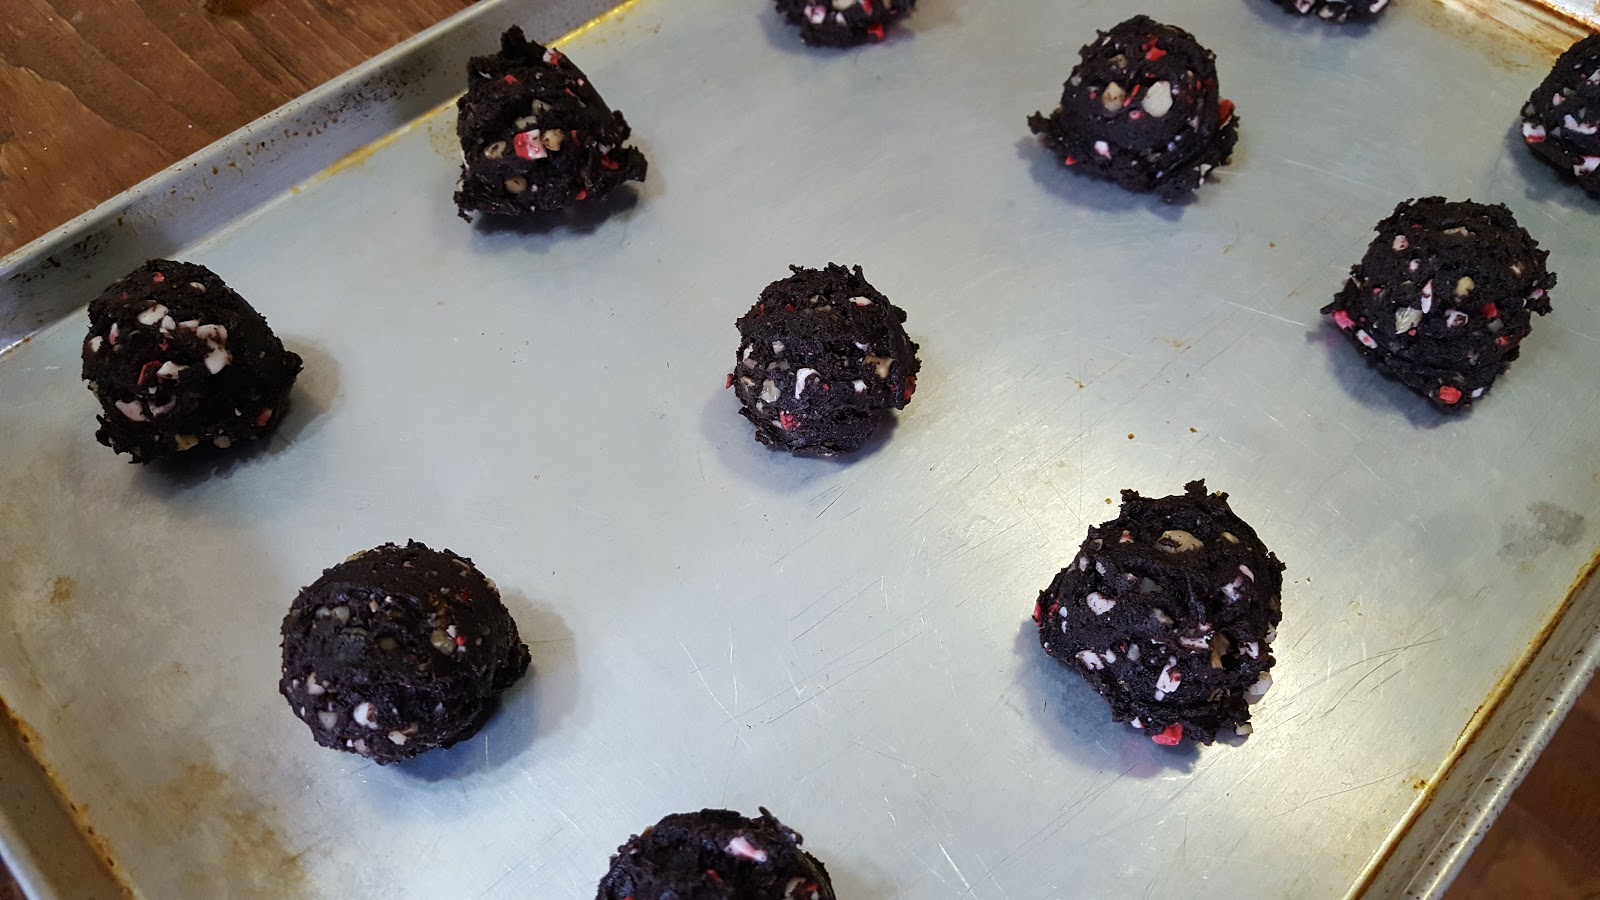
With a cookie scoop (1 tablespoon size), drop dough on an ungreased cookie sheet or one lined with parchment paper about 2 inches apart. (Cookies do not spread but you don't want to overload the cookie sheet.)

Bake for 10 to 12 minutes. Leave on cookie sheet for 1 minute
before you remove the cookies to finish cooling on wire rack.


Hope you will check back tomorrow for the recipe for the Lemon Pecan Cookies.


Tuesday, November 29, 2016

HAM WITH CHERRY SAUCE

Yesterday I shared the baked macaroni and cheese I made for our Thanksgiving dinner we enjoyed Saturday night with our younger son and his family. (The grandkids, Madison and Tyler, requested mac 'n cheese.)

Our son requested ham for the entree. (They had turkey on Thursday when they celebrated with his wife's family.)  I had my husband pick out the ham when we went to the store; he chose a fully cooked bone-in butt ham that looked pretty good.

I knew I had a really good recipe that I shared several years ago that my friend Jane made and served at a dinner group, but I really wanted to find another one to give you a second option. I looked through quite a few cookbooks until I found this Ham with Cherry Sauce recipe in Taste of Home's 2006 Annual Recipes cookbook.

It turned out so good. Everyone kept telling me how good everything tasted. (We are enjoying leftover ham sandwiches and just sliced ham with the leftover cherry sauce, too. I am going to freeze some slices to add to beans and other dishes.)


HAM WITH CHERRY SAUCE

1         fully cooked bone-in ham - 6 to 8 lbs (My ham was 8.95 lbs)
1         cup packed brown sugar
4        tablespoons maple syrup (Add more if you think you need it)
1         teaspoon ground mustard
1/2     cup sugar
3        tablespoons cornstarch
1         cup cold water
1         can (16 - ounces) pitted dark sweet cherries, undrained
2        tablespoons lemon juice
1         teaspoon almond extract

Place ham in a roasting pan on a rack to keep it off the bottom of the pan. (I used my wire rack that I cool my cookies and other baked goods on.)


Score the surface of the ham with shallow diagonal cuts, making diamond shapes.


Combine the brown sugar, maple syrup, and dry mustard in a small bowl.


Rub over ham.


Cover with heavy duty foil and bake at 325 degrees F. for 1 - 2-1/2 hours (the ham should recommend how long to bake the ham to heat) or until meat thermometer reads 140 degrees F and ham is heated through.


For cherry sauce: 

Combine the sugar, cornstarch, and water until smooth in a medium saucepan.


Add cherries.
Bring to a boil; cook and stir for 2 minutes or until thickened. (I didn't take this long as it thickened fairly quickly.)


Remove from heat, stir in lemon juice and almond extract.


Serve with ham.


My husband did a super job picking out the ham.


Monday, November 28, 2016

MICHELLE'S EASY BAKED MACARONI ('N CHEESE)

When I asked my younger son if he had any requests for our Thanksgiving dinner with him and his family, he didn't hesitate to respond back: ham. Then I asked re veggies, etc and he said, "mac an cheese, stuffing, pecan pie". (He said stuffing, but we call it dressing; that's what he grew up to hearing, but probably hears stuffing now. The grandchildren requested the mac 'n cheese.)

While planning how all of this was going to work out and be ready at the same time, I came across this recipe for macaroni and cheese in my Mennonite Recipes from the Shenandoah Valley cookbook collected by Phyllis Pellman Good and Kate Good. Micehelle G. Showalter from Bridgewater, VA said she slipped it in the oven before leaving for church. You see it cooks in a slow oven (225 degrees) for 3 hours. 

Well, I immediately wondered if I could try it in my slow cooker instead (since the ham would be in the oven almost that long but at a different temperature).
For probably the first time since I started this blog, I decided I should try it first. (I didn't want to make it and then it not work out and disappoint my grandchildren. That would have been catastrophic.) My husband said he was real proud of me. 

I have an oven/roaster I bought at an estate sale for my older son's wife, but then she decided she didn't need it when she saw it. Deciding to keep it for myself, I have used it a number of times and am really pleased with it. It serves as a slow cooker, cook, roast, bake, and steam (temperature from 125 degrees to 425 degrees.) I decided I would try the recipe in it. Michelle says to cook it uncovered in the oven, but I decided I would put the lid on the cooker. 

Well, it worked! I was so glad when I took a peak at it at about 2 hours and 45 minutes. It was nice and golden brown just like I think it was supposed to be in the oven. My husband loved it; I was concerned because the macaroni really cooked. Not burned, just didn't look like macaroni so much any more. When I made it for our dinner, I cooked it about 2-1/2 hours.

The big surprise was when my husband and I heated up some for leftovers. We both agreed that we liked it better. The flavor was stronger; actually had more of a macaroni and cheese taste. My concern about the macaroni since it cooked so completely wasn't a problem either when we warmed it up. (I put about as much as I wanted to eat in a bowl, sprinkled a little water over it, covered it with a loose lid, and heated it for 1 minutes at 70% power. It was perfect.)

The first time I made it, I used mild cheddar cheese. For our Thanksgiving dinner, I used sharp cheddar cheese. I would definitely recommend using the latter. It tasted like mac 'n cheese the first time.


MICHELLE'S EASY BAKED MACARONI

3        tablespoons butter
1-1/2  cups uncooked macaroni
4        cups milk
2        cups grated cheese (8 - ounces sharp cheddar cheese grated)
1         teaspoon salt
1/2     teaspoon pepper


In a slow cooker, melt butter (Turn on high to melt the butter or melt butter in microwave and pour into cooker.)
Add macaroni and stir to coat completely.

Add remaining ingredients.
Stir well.


Bake for 2-1/2 to 3 hours if you can set the cooker to 225 degrees.

If your cooker only has High and Low settings, cook on High but check after 2 hours. (The second time I cooked it, I turned it off after 2-1/2 hours and it was perfect.)

Michelle's Oven Prep: In a 2 - quart casserole, melt butter. Stir in macaroni. Mix well. Add remaining ingredients. Bake uncovered at 225 degrees for 3 hours.

For the main course, I baked a ham with cherry sauce. I will be sharing that recipe with you tomorrow. Hope you will come back and check it out. It was so delicious!


Here is a picture of my oven/roaster. (I am not being paid to endorse this cooker.)


Friday, November 25, 2016

BUTTERSCOTCH CHIP PUMPKIN CAKE

It doesn't take long for me to have to get back to reality after a vacation as long as I continue to volunteer at Hillcrest Thrift Shop. 

We got back from our week in the Hilton Head Island, SC area late Sunday night and Monday afternoon I was looking for a treat to bake and take to Hillcrest Tuesday morning when I volunteer. Several times I have had friends ask me what would happen if I didn't take something. (I actually have a couple of times when I went in because no one had signed up to work.) If Mark is working the second thing he always says to me (after he says hello) is, "Well, what did you bring today?" The couple of times I had to say, "Nothing, I just didn't have time." he always says, "That's okay." Truth is I just really love treating them. They are so appreciative and work so hard volunteering. They don't get enough "Thank yous".

I like taking them treats that are made in a 9 x 13 - inch pan or a tube pan. Sometimes I find recipes I really want to try, but they don't make enough. A square pan just wouldn't do it. This Butterscotch Chip Pumpkin Cake sounded perfect. (Actually the recipe called for cinnamon chips but I didn't have any and substituted butterscotch chips and changed the name.) The butterscotch chips were awesome! I love the taste of them with the pumpkin. You could reduce some of the sugar by using a sugar-free yellow cake mix.


BUTTERSCOTCH CHIP PUMPKIN CAKE

1        package yellow cake mix
1        can (15 ounces) solid-pack pumpkin
2       eggs
1/2    cup water
2       teaspoons pumpkin pie spice
1/2    cup butterscotch chip, divided
1/2    cup chopped pecans, divided

Preheat oven to 350 degrees F. Spray a 9 x 13 - inch baking pan with nonstick cooking spray.

Combine the cake mix, pumpkin, eggs, water, and spice in a large mixing bowl. 

Beat on low to initially mix the ingredients, then increase speed to medium and beat 2 minutes. Scrape the sides of the bowl as needed.

Stir in 1/4 cups of the chips and 1/4 cup of nuts.

Spread batter in pan.
Sprinkle top with the rest of the chips and nuts.

Bake for 25 to 30 minutes or until toothpick inserted into center comes out clean. (I did have to bake mine the whole 30 minutes in my new oven.)

Cool in pan at least 15 minutes before serving. (I made mine the afternoon before and covered the pan with the plastic cover.)


Happy Black Friday!

Wednesday, November 23, 2016

OUR VACATION (PART 2) LIGHTHOUSES

What is it about lighthouses that fascinate people so much? When we went to Cape Cod and the Boston area last year, we drove and drove trying around trying to find lighthouses. It wasn't quite as difficult on this vacation trying to find them. 

One of the lighthouses we saw was the one on Tybee Island (Savannah's beach). I have quite a collection of models of lighthouses and several framed pictures including one large poster we bought years ago of the St. Augustine Lighthouse and later had it framed with a double mat for Christmas for my husband. I have towels that I used to have hanging in my bathroom when we lived in CA but am not using in our house here. I have a lighthouse lamp that again I am not using here. Remember when the post office had the stamps featuring lighthouses a number of years ago? We have a framed picture that has 5 different lighthouse stamps on it and then an 8 x 10 - inch picture of one of them. Guess which one it is? Yes, the Tybee Lighthouse.

I took a bunch of pictures (13 in fact) of it from several different views. This one is my favorite. It doesn't show the light keepers' houses. (I didn't put the apostrophe in the wrong place. It had the head keeper and two assistants until the lighthouse was converted to electricity in 1933.)  


Here it is from a different view...


The house in the front was the head keeper's house built in 1881.

The Tybee Lighthouse was built in 1773, being the third lighthouse that was built on Tybee. It burned in 1861 by the Confederates and then rebuilt in 1867 after the Civil War ended. The bottom 60 feet of the lighthouse are the original 1773 lighthouse and the top 85 feet were reconstructed in 1867. 

The lighthouse has 178 steps. My husband and I walked up 100 of them. It is actually an easy lighthouse to walk because after every 25 steps there is a landing (with a window to look out) that allows you to rest if you need to. We could have easily made the last 87 but we decided to stop. (My husband is not very fond of heights and he would not have wanted to walk out and around the lighthouse with me.)

Here are some pictures I took of the view from the 100th step...


We ate lunch at the North Beach Bar and Grill across the street. The food was very good. Its parking lot and access to the beach was closed because the island is using the lot to temporarily hold the debris collected around the island.

These four pictures show the amount of debris....


The blue trimmed building is the restaurant.
  On our way back to Savannah, we saw our second lighthouse - Cockspur Lighthouse. It is on its own little island and was closed to the public in 2015. We passed by it twice but I wasn't able to get a picture of it (and it would have been a good one as you see it as you cross the bridge). The reason I wasn't able to take as many pictures as I usually do is my phone was tied up with a navigational system for the car. Our rental car contained an app (Android Auto) that allowed us a navigational system in the car if my phone was hooked up to the car. That was really great since I am so used to the navigational system that came with my Ford Fusion. But it meant I could do absolutely nothing with my phone during this time. You can see and read about the Cockspur Lighthouse with the link above.

The only lighthouse on Hilton Head Island was the Harbor Town Lighthouse. I took pictures of it from two different views.


There are shops and restaurants in the harbor that you can spend several hours going through.

Our husbands found a place to rest as they grew tired of all the "shopping". We ate lunch at the restaurant in the background called The Crazy Crab. It was excellent; I would highly recommend it.


My husband wanted me to take a picture of him with the 18th hole of the Harbour Town Gold Links, one of the most distinguished PGA tour golf courses.


 We could see the flag for the 18th hole, but not in my picture. Will have to make sure I watch the tournament next year.

The last lighthouse I tried to see was on Hunting Island State Park which is east of Beaufort, SC. It was a little over an hour from our resort on Hilton Head Island. Even though we weren't able to see the lighthouse because the park is closed due to damage from Hurricane Matthew earlier in October, I am glad we went because we discovered the town of Beaufort and its historic district established in 1711. I tried to find a link that would show pictures of some of the beautiful antebellum architecture in Beaufort.  This one shows some with information about them.

This is all we could see of the lighthouse...


You can see and read about the lighthouse here. It sounds really fascinating. Hate that we missed it. We were told that the park will be back opened next spring. Guess we will just have to return to the area so we can see it.

Here are pictures of some other destruction caused by the hurricane... We saw these just before we crossed the bridge into Beaufort.


I have just a few more pictures of the island that I will share with you later this week. It is a beautiful place to vacation.