Thursday, February 27, 2014

CHEWY OATMEAL RAISIN COOKIES


Tuesday while working my shift at Hillcrest Thrift Shop, during a slow period, I picked up a magazine that Kim, the woman who worked before me, had forgotten.  The cover was missing, but after flipping through it a bit, I realized it was a Taste of Home Healthy Cooking magazine. (Remember the Black Forrest Cake I shared last week that my friend Ellen had made?  It was in a TOH Healthy Cooking magazine, too.)

I ended up taking pictures of several recipes that I am anxious to try.  (Taking pictures is a lot faster than trying to write the recipe down.  I also don't have to worry about keeping up with the written - down recipe either.)

Tuesday night after dinner, I knew I had to find something to make for my husband to take to Fort Leavenworth to share in the tax office. After working the three hour shift at the thrift shop (It did get a lot busier before my shift was over....with as many as 4 customers in line several different times waiting.), I wanted to make something that would be fast and easy.  

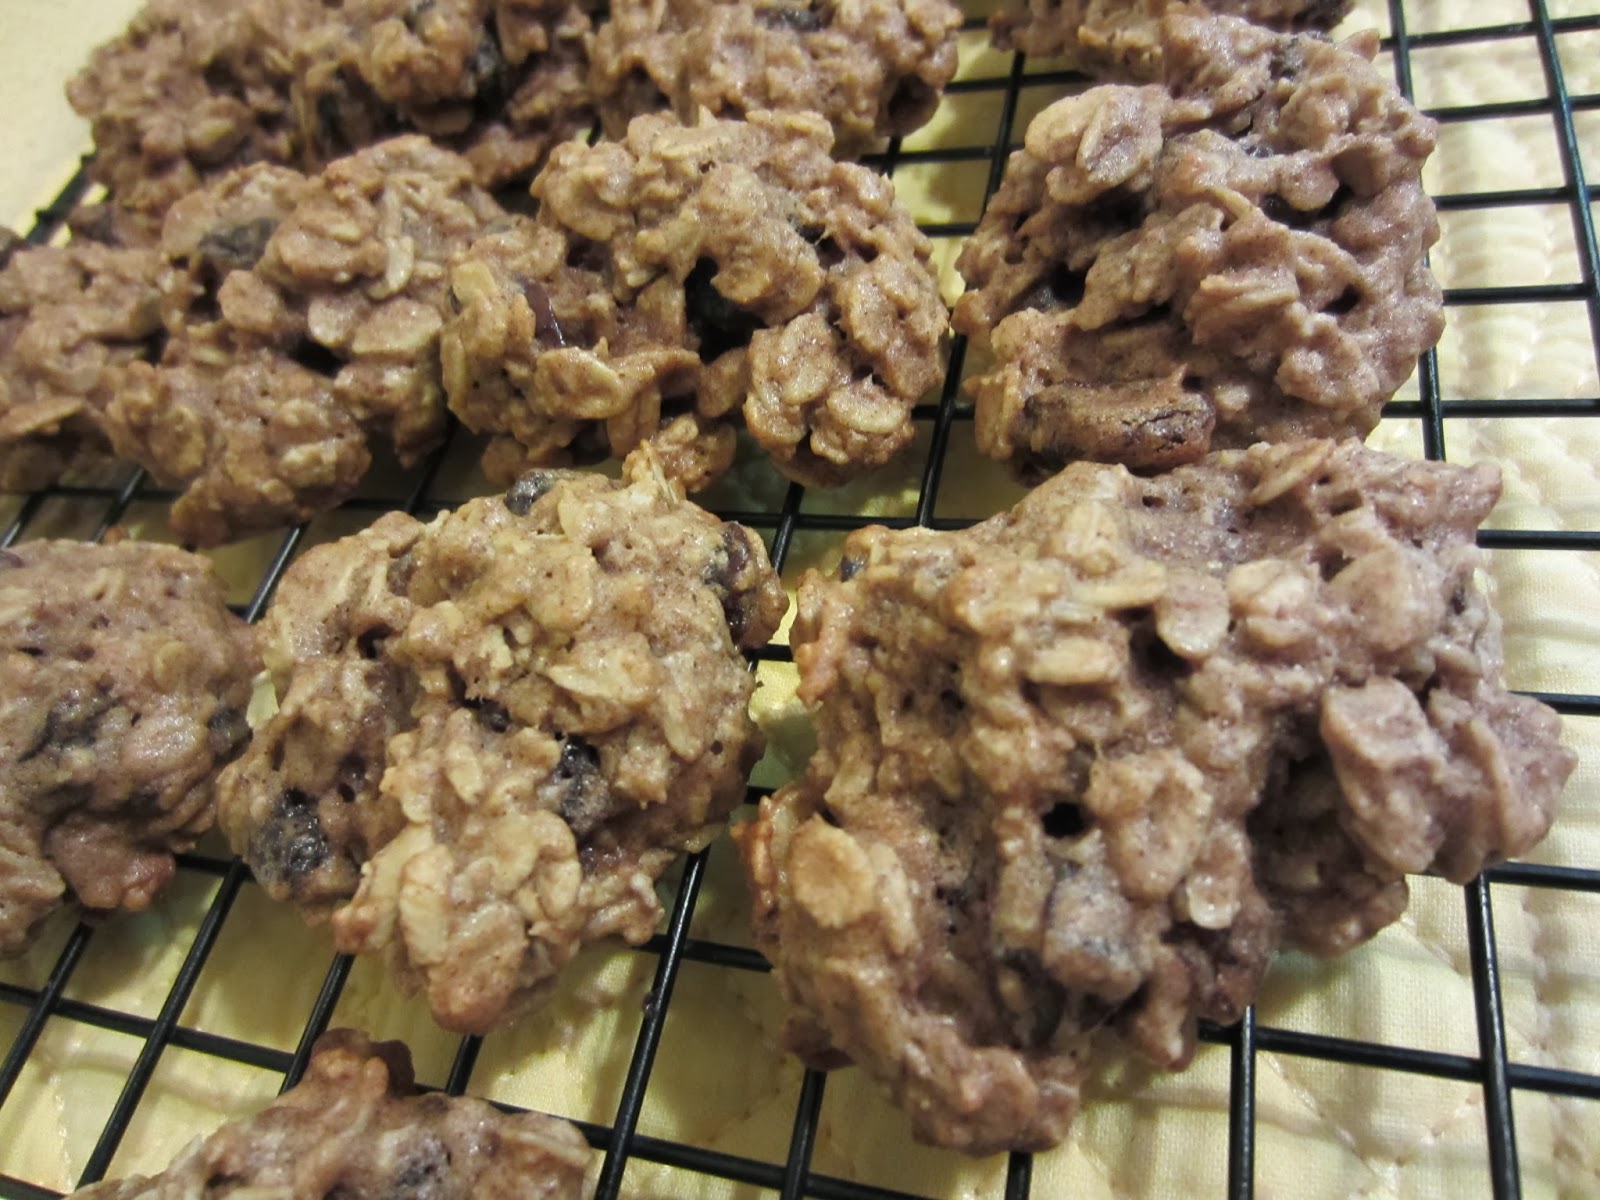
I remembered the oatmeal raisin cookie recipe and decided to try it. I really enjoy making recipes that I don't have to use the mixer, but can use my wooden spoon. (Have I mentioned before I really like fast, easy, and easy cleanup?)

The first thing my husband said to me when he walked in the door yesterday was, "They really liked your cookies.  Several wanted the recipe." I asked him if he told them it was a healthy recipe and he said he did. They are really good (and healthy) and I am glad they thought so, too.


CHEWY OATMEAL RAISIN COOKIES

1/3      cup canola oil
1/3      cup packed brown sugar
2         tablespoons sugar
3         tablespoons water
1          egg white
3/4     teaspoon vanilla extract
1/3      cup all-purpose flour
1/3      cup whole wheat flour (I used whole wheat white flour)
2         teaspoons ground cinnamon
1/2      teaspoon baking soda
1/4      teaspoon salt
2         cups old-fashioned oats (I used rolled oats)
1/2      cup raisins

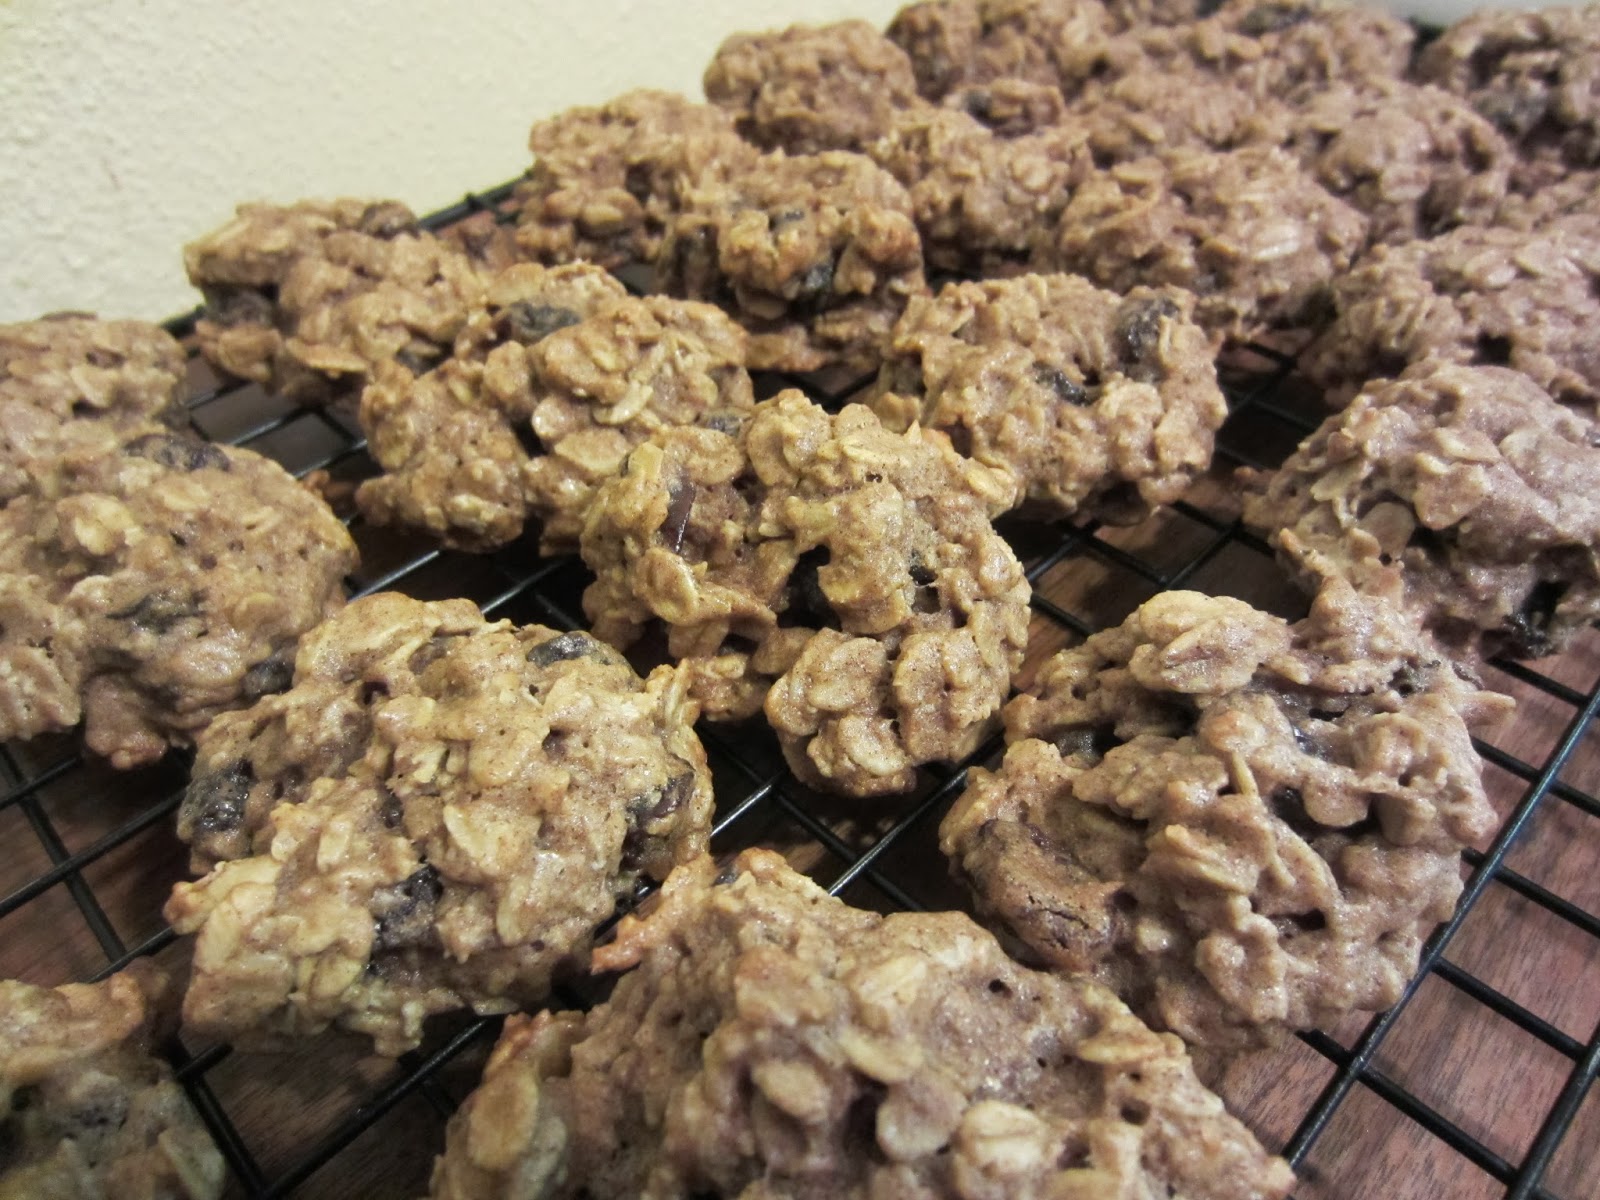
Preheat oven to 350 degrees F.  Line cookie sheet with parchment paper or spray cookie sheet with cooking spray.  (I like to use parchment paper because all you have to do is throw away the paper when finished and the cookies cook evenly and don't stick to the sheet.)


In a large bowl, combine the oil, sugars, water, egg white, and vanilla. 


Combine the flours, cinnamon, baking soda, and salt in a separate small bowl.


Gradually add the flour mixture to the sugar mixture mixing after after each addition. (I added a heaping spoonful each time.)


Stir in oats 


and raisins making sure the raisins are separated.


Drop using a cookie scoop about 2 inches apart on cookie sheet.


Flatten slightly.


Bake for about 8 minutes or until edges start to turn brown. Cool for 1 minutes on cookie sheet.


Remove and finish cooling on wire racks.


Wednesday, February 26, 2014

MINTY SUGAR COOKIES

I made these Green Minty Sugar Cookies yesterday morning to take to Hillcrest Thrift Shop when I went to cashier later. What a welcomed greeting I received when I walked into the community room! The room was the fullest I have ever seen it for lunch. When they saw the plate of cookies, Jim said, "Happy St. Patrick's Day!" Volunteers kept walking by during my three hour shift thanking me for the delicious cookies. I am so glad they enjoyed them. Now I have to come up with something new for next Tuesday.

These are the easiest ever to make. That's because I took the easy way out and used a sugar cookie mix that makes 3 dozen 2" cookies. I also used Andes Creme de Menthe baking chips. They are "to die for". So much better than just chocolate chips. I made the first cookie before I added the green food coloring to show it plain for other times of the year.  

You know you could add red food coloring for Valentine's Day or even divide the dough in half and use red in one part and green in the other part and serve them at Christmas. 

Or divide the dough in thirds and keep one plain, one red, and one blue for the 4th of July. Wow, let your imagination go wild.  I think I will just call them Minty Sugar Cookies.


MINTY SUGAR COOKIES


1            17.5 oz package Sugar Cookies Mix
1/2 cup  (1 stick) margarine, softened
1             large egg
1             tablespoon water
1/2 - 1    teaspoon mint extract(optional)
1/2          cup Andes Creme de Menthe baking chips
10           drops of food coloring (for full batch)

Preheat oven to 375 degrees F. Line cookie sheet with parchment paper (easy cleanup and cookies cook nicely).

Mix mix, margarine, egg, water, and extract in mixing bowl .

Add chips.

Add food coloring and beat until the color has been evenly distributed.

Using a small cookie scoop space cookies about 2 inches apart.  

Bake 8 - 9 minutes. Edges will start turning brown.

Cool 1 minute on cookie sheet.

Remove to cool completely on wire rack.


Tuesday, February 25, 2014

QUICK MINI MEATLOAVES

I'm so excited about finding a new recipe for meatloaf.  This is a new recipe for me but also the way they are cooked...in a muffin pan. These little "muffin meatloaves" were so cute.....they held their shape perfectly after I took them out of the pan, you see.  They even received complements from my husband.

This recipe was in last week's HyVee's grocery flier in the paper .  "Quick" caught my attention right away and then "Mini". If you follow my blog, you know how much I love portion-controlled recipes.  

I thought these "muffin-meatloaves" would also be easy to reheat and easy for my husband to take to "work" at Fort Leavenworth for his lunch. (BTW, He's enjoying doing the taxes for the service men and women.) Another great thing is you can freeze the leftover ones if you like.  That way you can spread out your enjoyment.


QUICK MINI MEATLOAVES

What you need:

1       can (8-oz) tomato sauce
3       tablespoons firmly packed brown sugar
1       tablespoon spicy brown mustard
1       pound ground chuck beef (I used 1/2 ground turkey and 1/2 ground beef)
1       can (14.5-oz) petite diced tomatoes, drained
1/3    cup finely chopped yellow onion
3/4    cup Italian-style bread crumbs (I used my homemade bread crumbs and added 1/2 teaspoon Italian seasoning)
1       large egg, beaten
1/8    teaspoon salt
1/8    teaspoon ground black pepper

Make it:

Preheat oven to 400 degrees F.  Lightly spray 6 medium muffin cups with cooking spray; set aside.

Combine the tomato sauce, brown sugar, and mustard in a small bowl and set aside.


Combine all remaining ingredients in a large bowl.


Add 1/4 cup reserved sauce mixture to meat mixture and mix in.


Divide the meat mixture evenly and place into prepared muffin cups.  They will peak like ice cream cones.


Place muffin pan on a baking sheet.

Bake for 25 - 30 minutes or until no longer pink in centers.  (I cooked mine 30 minutes)


Top each "muffin" with 1 tablespoon sauce.


Bake 5 more minutes or until sauce is set.

Serve with remaining sauce. 

Monday, February 24, 2014

PISTACHIO CREAM PIE

I have created a delicious dessert to serve for St. Patrick's Day... Pistachio Cream Pie.

At a recent estate sale, Janice and I were looking at a collection of cookbooks when I saw a standing recipe card file for festive holiday recipes. Thinking I might see a recipe or two that appealed to me, I opened it up and flipped over to the desserts. The first recipe was a pistachio dessert. I didn't even notice the name of the dessert, but I did remember the basics of the recipe.

I did have to buy another box of pistachio pudding, but I had the rest of the ingredients. Since I started this blog, I have learned so much. Now, half the time, when I see a recipe, my brain immediately starts working and I start thinking about how I can make it my "own". I even created my own original recipe ... COCONUT BANANA BUNDT CAKE.  It is so moist and really, really good.

Anyway, when I was preparing to make the dessert, I decided to make it as a pie, instead of a 9 x 13 - inch pan. I had already decided to use my gingersnap cookie crumbs for the crust instead of the Ritz crackers. As it turned out, I am glad I decided to make these changes. It would have been a really thin dessert if I had made it in the rectangular pan. Since I failed to notice what the title of the dessert was, I decided to give it a name that seemed to suit my changes.  


PISTACHIO CREAM PIE

2        pkgs (4-serving sizes) instant (sugar-free) pistachio pudding mixes 
1-1/2  cups (skim) milk
1         pint vanilla ice cream, softened
1         crust - graham cracker crust or (gingersnap) cookie crumb crust (a chocolate crust would taste good, too)
8        ounce carton of whipped topping


Mix the two pudding mixes with the milk in a large mixing bowl until thick.


Add the ice cream and stir until completely combined.


Pour into the crust.


Place in freezer til frozen.  


Top with cool whip. 


If you like, you can garnish the top with chopped candy pieces or chocolate curls.

Will need to set out before ready to serve to soften enough to cut. I had to let mine set for an hour because I left it in the freezer 5 or 6 hours. I would recommend freezing it for an hour, then adding the whipped topping, and then returning it to refrigerator for several hours before ready to serve. You can enjoy the pistachio taste more when the pie is thawed. 

Saturday, February 22, 2014

SPICY CRAN-APPLE OAT BARS

I found this recipe years ago in the 11/18/97 issue of Woman's Day magazine. Not sure why it took me so long to give it a try, but I'm really glad I did. In fact, I made it two days in a row. The first pan I took to Hillcrest Thrift Shop to share with the other volunteers. I liked it so much, I made it the next day for my husband to take to the other volunteers at Fort Leavenworth's tax office. I will probably be making them again soon....this time to keep and enjoy myself. They taste better the next day after storing them in an airtight container.


SPICY CRAN-APPLE OAT BARS

1        cup packed light-brown sugar
1/2    cup granulated sugar
1/2    stick (1/4 cup) margarine, softened
1        teaspoon baking soda
1        teaspoon ground cinnamon
1/2    teaspoon ground ginger
1/2    teaspoon salt
1        cup applesauce
1        large egg
Whites of 2 large eggs (I used 1/3 cup Egg Whites)
1        teaspoon vanilla extract
1-1/2 cups all-purpose flour
3       cups uncooked old-fashioned oats (I used rolled oats)
1        cup dried cranberries

Preheat oven to 350 degrees F.  Line a 13 x 9 x 2-in baking pan with foil, letting the foil extend 2 inches above the pan at both ends. Coat the foil with nonstick cooking spray.

With mixer on low speed, beat both sugars, the margarine, soda, cinnamon, ginger, and salt until just blended.

On medium speed, beat in applesauce, egg, egg whites, and vanilla. 

Stir in the flour until blended, then oats and cranberries until well mixed.


Spread evenly in prepared pan.


Bake 30 minutes or until lightly browned around the edges and just set in center.

Cool completely in pan on a wire rack. 


Lift from pan by the foil ends and cut into bars after removing the foil.


Can serve plain


or decorate top with a thin frosting.  (I heated some canned frosting for about 15 - 20 seconds in the microwave to thin and then drizzled over the top.  I really need to practice this.  My husband always says it looks fine, but I know that it should look better. One day.....)


The third time I made these I decided to try just swirling the icing crazy around the top after I had cut them into bars. This is what it looked like....


but when I separated them out, they didn't look too badly. I think it is definitely the best of the three.

Friday, February 21, 2014

CHICKEN POT PIE

Recently after book club, we went to Checkers for lunch. While it is a new restaurant in the Northland, still most of us had never been to any Checkers before. 

That day there were so many good dishes to chose from that it was hard to make up my mind. I don't know why but for some reason after I saw the chicken pot pie on the menu, it just sounded so good. Chicken pot pie is a favorite of Friend Janice. I love it too, but must admit that it has been years since I ate one. I decided to get it and so did Janice. The bad thing was a salad also came with it and I ate all of it and then didn't have enough room in my tummy for much of the pie. BUT it was so good!!!!!! I did bring it home with me and ate it for dinner that night.

So when I opened an email from Betty Crocker and saw the recipe for Chicken Pot Pie, I knew I would be making it soon. Of course, this tasted different, but for a homemade chicken pot pie, it was good. The recipe made enough that we were able to enjoy it for a couple meals more.


CHICKEN POT PIE

1-2/3     cups frozen mixed vegetables
1             cup cut-up cooked chicken
1             can cream of chicken soup
favorite seasoning ( such as oregano, parsley, salt, pepper, etc.)
1             cup Bisquick 
1/2         cup milk
1             large egg

Preheat oven to 400 degrees F.


Mix the mixed vegetables, chicken, soup, and seasonings together in an ungreased glass dish 9 x 1-1/4 inch (I used a 1-1/2 quart oval baking dish.)


Spread out evenly in the dish.


In a small bowl, stir the Bisquick, milk, and egg til blended.


Pour evenly over mixture in baking dish.


Bake for 30 minutes.

Wednesday, February 19, 2014

BLACK FORREST CAKE from HEALTHY COOKING

Our quilting group hasn't been able to meet for several months but we have been able to get together a few times to play canasta.  Last week we played at Ellen's.  It would have been a fun afternoon even if Ellen, Kay, and I hadn't won.  (I know, I'm terrible.  I'm working on it though.)

For dessert Ellen served us this absolutely delicious Black Forrest Cake. Even before I could get out my camera, Ellen said, "You might want to share this on your blog, Patricia."  (I have my friends well-trained. ha)  

She said she had served it several times at the dinner group she and her husband belong to.  The magazine Healthy Cooking from Taste of Home is no longer being published but Ellen kept the issues she received.  She said she didn't know why Taste of Home quit publishing the magazine. Me either...looked like a good magazine where they "lightened up family favorites". It even said "eating right never tasted so good" inside the first O in cooking.

Anyway, it was so good. We all loved the texture of the cake.  It was firm but not heavy tasting. It was also nice that a serving only has 186 calories.  I am not sure why they didn't use a sugar/stevia blend for the 1-3/4 cups of sugar.  (I can hardly use that much sugar in a recipe nowadays.) That would reduce the calories even more.  


BLACK FOREST CAKE

2         cups cherry juice
1-3/4  cups sugar
1/2     cup unsweetened applesauce
1/4     cup canola oil
2        eggs
2        tablespoons cider vinegar
3        teaspoons vanilla extract
3        cups all-purpose flour
1/3     cup baking cocoa
2        teaspoons baking soda
1        teaspoon salt
1-1/2 cups cold fat-free milk
1        package (1.4 oz) sugar-free instant chocolate pudding mix
1        can (20 oz) reduced-sugar cherry pie filling
1-1/2  cups frozen fat-free whipped topping, thawed


Preheat oven 350 degrees F. Coat a 13 -in x 9 - in baking pan with cooking spray.

In a large bowl, beat the cherry juice, sugar, applesauce, oil, eggs, vinegar, and vanilla until well blended. In a large bowl, combine the flour, cocoa, baking soda, and salt; gradually beat into cherry juice mixture until blended.

Pour into baking pan and bake for 35 - 40 minutes or until a toothpick inserted near the center comes out clean.  Cool completely on a wire rack.

In a small bowl, whisk milk and pudding mix for 2 minutes.  Let stand for 2 minutes or until soft-set.  Frost top of cake with the pudding.  Cover and refrigerate for 15 minutes.  Top with pit filling. Chill until serving.  


Serve with whipped topping.