Thursday, September 26, 2013

CHOCOLATE CHIP COCONUT BARS

I made these bars as my "Treat" for the volunteers at Hillcrest Thrift Shop when I went to volunteer myself. The recipe originally was in Woman's Day magazine. I made them several times in the early to mid 80s.(according to my recipe card)

When I arrived to work the middle shift, they were in the Community Room finishing their lunch. They cheered when I walked in and said, "Just in time."  A new man (volunteer) said, "Oh, I'll put away my cookies I brought."

They were really good and I did manage to get one when I took a break. They were all gone though when my shift was over 3 hours later.


CHOCOLATE CHIP COCONUT BARS

2       eggs
3/4    cup packed light brown sugar
1/2    cup flour
1/4    teaspoon salt
1/4    teaspoon baking soda
1       teaspoon vanilla
1       cup flaked coconut
1/2    cup semi-sweet chocolate pieces

Preheat oven to 350 degrees F. Grease an 8 inch square pan.


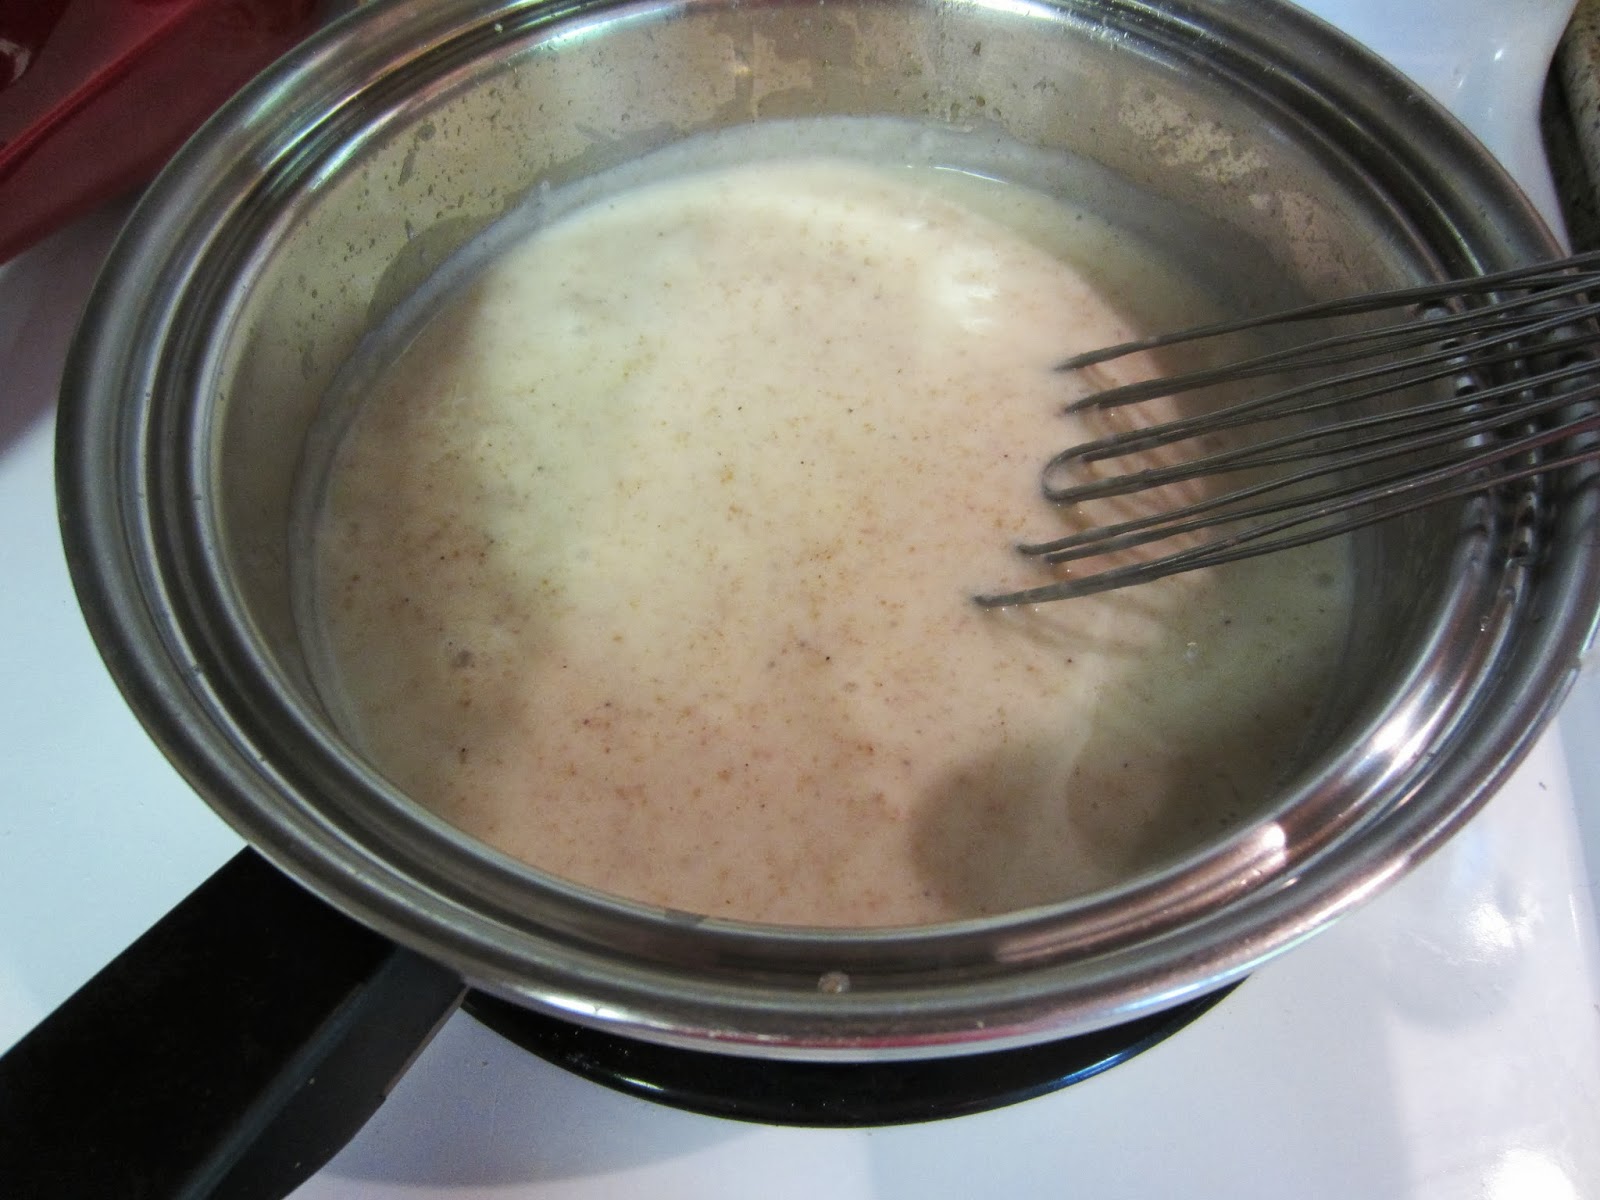
Beat eggs and sugar until smooth.


Beat in flour, salt, soda, and vanilla.


Add the coconut. Scrape the sides of the bowl as necessary.


Turn into pan and spread out evenly.


Sprinkle the chocolate pieces over top.


Bake for 20 - 25 minutes or until toothpick inserted in center comes out clean.

Cool completely in pan on rack.


Cut into 18 bars.

Tuesday, September 24, 2013

PINEAPPLE CAKE w/ BOILED COCONUT ICING

Today I am sharing this recipe that Janice served at this month's Tasty Bunch gathering. We enjoyed a delicious dinner at the Smokehouse and then went to their house for dessert. She had planned to make her pineapple cake that she has made for years, but then she saw this recipe. Unlike me, she tried the recipe earlier in the week to make sure it was going to be good. (I guess I'm more of a dare-devil than she is....I just make it and hope it tastes good.)

Anyway Leon, her husband, really liked it. He told me the day before that I wouldn't be able to just eat one serving. It was really that good.  

She did decide to make the boiled icing that she makes with her other recipe.


PINEAPPLE CAKE
w/ BOILED COCONUT ICING

1     yellow cake mix
1     (20-oz) can of crushed pineapple

Preheat oven to 350 degrees F.  Grease and flour a 9 x 13 - inch baking pan.

Combine the cake mix and crushed pineapple.

Pour into baking pan and bake for 23 minutes.

BOILED ICING

1       stick of margarine
1       cup sugar
1       small can (2/3 cup) evaporated milk
1-1/3 cup coconut
1       cup chopped nuts

Boil the margarine, sugar and evaporated milk for 9 - 10 minutes. (It will thicken.)

Add the coconut and nuts.

Spread on cake.

Monday, September 23, 2013

PEAR CRUMBLE

Yesterday I shared the recipe for SPICED FALL PEARS. I love it.  I have made 5 batches so far in 3 days.  I mashed three of the batches and made pearsauce. I then froze it to enjoy later. Yesterday I made a batch for my grandchildren but used cinnamon instead of allspice.  I was afraid the allspice might be too "spicy" for their young tastes.  I left it in the slices, but if their parents decide to mash it, they still can.  The batch I made today is still in slices. Either way, the taste is unbelievable.

This Pear Crumble is another recipe I recently found that is really good.  I found the recipe in The Southern Heritage Just Desserts Cookbook.


PEAR CRUMBLE

1-1/2     cups gingersnap cookie crumbs
1/4        cup butter or margarine, melted
2           cups stevia or sugar
4           cups water
1/4        teaspoon salt
6           medium pears, peeled, cored, and sliced ( 4 cups)
1           tablespoon lemon juice
1/2        cup firmly packed brown sugar
1/2        teaspoon ground cinnamon
1/4        teaspoon ground nutmeg

Preheat oven to 350 degrees F.  Lightly spray an 8 - inch square baking dish.

Combine 2 cups of stevia/sugar, water, and salt in a large saucepan; cook until stevia/sugar dissolves. 


Add pears; bring to a boil over medium heat, 


cover with a lid and reduce the heat and cook just until pears are tender - 15 to 30 minutes.


While the pears are cooking, combine the cookie crumbs and the melted margarine in a small bowl til crumbly.

Remove saucepan from heat and drain the pears, reserving 1/4 cup of the syrup.


Spread pears in baking dish and pour the lemon juice and the reserved syrup over top.

Combine the brown sugar, cinnamon, and nutmeg in a small bowl. Sprinkle over the pears.


Top with the cookie crumb mixture.


Bake for 25 minutes.


Spoon into individual serving dishes, and serve warm with ice cream. 


Sunday, September 22, 2013

SPICED FALL PEARS AND PEAR SAUCE

UPDATE!! (9/4/14)

Our tree this year is full of pears.  It didn't get trimmed earlier this year and we didn't knock off any blooms.  About two weeks ago we started checking to see if the pears were getting ready to pick. They are ready if when you lift up on the pears, they break at the stem. If they don't break, they aren't ready. We leave them alone and try again later. Then I wrap them individually with a piece of newspaper and wait for them to ripen. 

Day before yesterday I decided to check and see if the pears were ripening.  As it turned out, they were very soft. Yesterday with a lot of help from my husband we peeled what we had and made some pearsauce.  I looked back for this recipe and thought I would update what we did today.

We peeled and cut the pears into chunks. (The first pears off the tree are small. Can't wait for the nice big ones to be ready to pick.) We prepared enough to fill my 3 - quart Crock Pot. Then I stirred in:

4        tablespoons of brown sugar
4        tablespoons margarine
1-1/2 teaspoons allspice
1/2    cup orange juice
4        tablespoons honey

and cooked the pears on high for 6 hours (or til pears were tender). Then I mashed them with my potato masher.

Because it was time to go to bed, I put the pearsauce in the refrigerator. Today I  divided it up into freezer bags and froze to enjoy later in the year. (Make sure you lay the bags flat in your freezer so the sauce will freeze flat for easier storage in freezer.)
The crock pot full cooked down to this amount. 


It made 5 - 2/3 cups of sauce.  


This sauce is not as "spiced" as what I made last year, but still very good.


*   *   *   *   *

Fall is in the air!  At least it is here in Kansas City.  Our temperatures started dropping Friday or I guess I should say Thursday early evening when a front came in with a storm that dropped the temps 20 degrees.  Never heard the amount of rainfall it brought, but my trash can had quite a bit of water in it. (The lid didn't get put down after taking the trash out Thursday morning.)

Yesterday my husband decided to pick the rest of the pears off the tree. It was way too many to count as I was wrapping each one in newspaper to finish ripening.  Needless to say, I will be spending a lot of time this week "dealing" with pears.  But we will be enjoying them still next year.

I am really happy with two new recipes I recently found for pears.  I am sharing one of them with you today.  I'll share the other one in the next day or two.

This first recipe I found in Southern Living 1989 Annual Recipes. It was written for the microwave, but since the pears on our tree are cooking pears and take longer to cook than "eating" pears, I decided I would try it in the slow cooker.  

The first batch I made I cooked in my 1 quart Crock Pot.  It took 4 hours on high for the pears to cook.  The smell while they were cooking was "out of this world" delicious.  

The second batch I made in my 3 - quart Crock Pot.  I prepared everything according to the recipe twice.  I had the first batch in the smaller pot cooking while I prepared the pears for the second larger batch. Then I just dumped the pears in and poured the mixture over them all.


Here is how they look if you want to serve them as slices.


Then I mashed them in the crock pot like you would if you were making applesauce.


Best tasting pearsauce, you'll ever eat!


The four cups prepared pears cooked down to 2 cups.  Since I was going to make more (I have pears "running out my ears" remember?), I decided to freeze the two cups.  I let them cool and then spooned them into a sandwich bag.  Then I placed the bag in a gallon freezer bag and placed it on a small cookie sheet and put it in the freezer.  This is to make sure it freezes flat for better storage in freezer.

SPICED FALL PEARS

4             ripe pears, peeled and sliced (about 2 cups)
2            tablespoons brown sugar
1/2  -  1  teaspoon ground allspice (I only used 1/2 teaspoon)
1/4         cup orange juice
2            tablespoons honey

Peel and core the pears.  (After peeling the pear, I cut it in half and then in half again to easily core it.  Then I cut each piece in half again.)

Dump the pear slices in the slow cooker.

Combine the brown sugar, allspice, and honey in a small bowl. Then add the juice. Stir til mixed well.  Spoon over the pears in the cooker.

Cover and cook on high til tender, about 4 hours.

I am currently making a batch for my grandchildren, but used cinnamon instead of the allspice.  I was afraid the allspice might be too spicy for them.  I did use a whole teaspoon.

Saturday, September 21, 2013

MY SUDOKU LAP QUILT (PART 2)

I hope you saw part one of my sudoku lap throw.  If you didn't, you can link HERE .  I was really pleased with the quilt top but had no idea what to use for the backing.  I wasn't sure how I was going to machine quilt it, but I felt that I really didn't want a seam in the backing.  The problem with that was the quilt top was 49-1/2 inches square and most material is only 42 - 44 inches wide. Even though I am anxious to get it made, I didn't want to just settle for something. 

Last Saturday my husband and I went to Leavenworth to the Leavenworth Wild West BBQ Contest.  Leavenworth has a quilt shop called The Quilters Quarters that I have shopped in many times with my quilting friends.  After we checked out some antique shops, I told my husband I wanted to see if the quilt shop had anything that was 52 inches wide that I could use for the backing. Turns out they had several prints that were 105 inches wide....half being batiks.

I really only needed a "fat half" but was so pleased with one of the prints, that I decided I would splurge and get it.  (Since I only needed half of it, I have enough to use for another project.)

After washing it, I gathered my materials together and went to the church to use the tables in the room that Blankets of Hope uses.  It is so much easier when you have a surface area big enough for the entire work.


I pressed just the half I would be using and then spread it out on the two tables that I pushed together.  I held the backing down with strips of masking tape so that I would be sure the material stayed taut. Important:  Since I was using a batik and it has no right or wrong side, it didn't matter how I laid the material on the table.  If you are using a print that has a right and wrong side, remember you will lay the material down on the table right side down.)


I have to share this tip I learned when I moved here and joined the Hope Circle Quilters (part of the United Methodist Women's group).  Use bed risers to raise your work table so that it is a more comfortable height for you to work.  Trust me your back will really appreciate it.


Once I had the backing taped down on three sides (the other half was hanging off the side of the tables), I laid my quilt top down over it to see where I needed to cut off the excess.


Then I cut if off leaving a little extra


Then I taped the fourth side down.


Removing the quilt top, I laid the piece of batting that I was going to use down smoothly on top of the backing matching two edges...


I cut away the excess batting to match the edges of the backing. Since this batting stays in place with the fabric, I didn't tape it down.


Now I carefully laid the quilt top down smoothing it out with my hand centering it on the other two layers.


Now I was ready to pin the three layers together using large safety pins making sure I went through all layers.


Since I didn't know for sure how I was going to machine quilt the lap throw, I just pinned the safety pin in the center of each square.


Removing the tape I had holding down the backing....I folded it all up to take home to eventually machine quilt it and bind it.


I hope you are finding this tutorial informative.  It has been written for the beginner, but I always appreciate any feedback I receive.  

I am finished with the machine quilting and binding.  You can continue with the tutorial in part 3 HERE.

Friday, September 20, 2013

LINDA'S MOTHER'S HAM CASSEROLE

We had so much left from the whole pig we had catered at the Northland New Neighbors' Luau recently, everyone was encouraged to take a "doggy bag" home. It was so good...I didn't have to be encouraged much to take a container.

I didn't really have a recipe to use the ham, but I knew sorta what I wanted to do with it. Anyway, I spent an hour or so looking through some of my many cookbooks until I found what sounded like the perfect recipe.  

And what happened next? I looked up and my husband was eating a sandwich he had made with the leftover ham. I jumped all over him....well, not really, but you can imagine my reaction.  

Fortunately for him, there was more than enough left for me to chop up 2 cups for the recipe. (I even made myself a small sandwich.)

I found the recipe in my Best of Country Cooking 2002 cookbook. It was submitted by Linda Childers from Murfreesboro, TN.  She said, "One of my mother's favorite dishes, this recipe always brings back fond memories of her when I prepare it. It's a terrific use of leftover ham from a holiday dinner."

As we were enjoying it for dinner, my husband and I decided you could use leftover rotisserie chicken or turkey. It is a really good pot pie without the crust.


MOTHER'S HAM CASSEROLE

2       cups cubed peeled potatoes
1       large carrot, sliced
2       celery ribs, chopped
3       cups water
2       cups cubed fully cooked ham
2       tablespoons chopped green pepper
2       teaspoons finely chopped onion
7       tablespoons butter or margarine, divided
3       tablespoons all-purpose flour
1-1/2 cups milk
1/2    teaspoon salt
1/8    teaspoon pepper
1       cup (4 - oz) shredded cheddar cheese
1/2    cup soft bread crumbs

Preheat oven to 375 degrees.  Grease a 1-1/2 quart baking dish.


Prepare veggies....
In a saucepan, cook potatoes, carrot, and celery in water until tender; drain. 


In a skillet, saute ham, green pepper and onion in 3 tablespoons butter until tender.


Add to potato mixture. Transfer to baking dish.


In a saucepan, melt remaining  butter;


stir in flour until smooth. 


Gradually add the milk, salt and pepper.  


Bring to a boil; cook and stir for 2 minutes or until thickened.  


Stir in the cheese until melted; 


pour over the ham mixture. 


Sprinkle with bread crumbs. 


Bake, uncovered for 25 - 30 minutes or until heated through.