Sometimes all you want is a good cookie! A really good cookie! And that's what I found when I made Ruby Hochstedler's Chocolate Chip Oatmeal Cookie. Ruby is the daughter-in-law, married to Glen, the sixth child of Emanuel & Magdelene (Mattie) Hochstedler (Kokomo, Indiana). Her recipe was in the Hochstedler Family Cookbook.
I made the cookies for us, but the recipe made about 5 dozen and after eating one, I knew I had better give some of them away or I would be eating them all. I took a dozen over to Friend Fran and then gave a dozen and a half to our neighbors, Coltie and Peter. I especially like to create that "warm out of the oven" taste so I heat them in the microwave for about 10 seconds before I eat them.
I didn't have any plain yogurt so I used vanilla yogurt. The recipe didn't give any directions for the cookie sheet. The cookies stuck slightly to the first two pans so I used parchment paper for the rest of the cookies. That worked great.
Click here for a printable version of just the recipe.
CHOCOLATE CHIP OATMEAL COOKIES
1 cup white sugar
1 cup brown sugar
1/2 cup butter, softened
1/2 cup plain yogurt (or vanilla will work fine)
2 eggs
1 teaspoon vanilla
2 cups flour
2-1/2 cups powdered oatmeal (use blender)
1 teaspoon baking powder
1 teaspoon soda
12 oz ( 2 cups) chocolate chips
Nuts(optional) (I used 1 cup chopped walnuts)
Preheat oven to 350 degrees F. Line cookie sheets with parchment paper. Set aside.
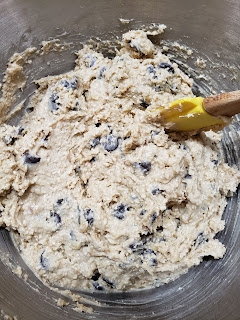
Cream together sugars, butter, yogurt, and eggs. Add vanilla.
Combine dry ingredients together in another bowl.
Add dry ingredients to wet mixture. Stir to blend.
(To make the powdered oatmeal, measure old fashioned oats into blender and "blend" until all oats are powdered.)
Add chips and nuts, if you are using them.
Form dough into 1 inch balls (a cookie scoop works great for this) and
bake for 12 - 15 minutes. (I baked mine the full 15 minutes.)
Remove from cookie sheet and cool on wire rack.
According to one of our local weathermen, cold conditions just haven't been able to "lock in" here this winter. That is certainly alright with me. We will have a couple of days of cold and then it will warm up. Last week we had two really cold nights (I'm talking 2 degrees F and -15 degrees F. chill factor.) Then it warmed up in the 50s yesterday. The sun was shining so it warmed up to 70 degrees F on the back porch.
It was really hard to just not sit out there and watch TV, but I forced myself to trim a Blanket of Hope that I have been working on forever it seems, cut and sew the strips together for the binding, and then sew them on the quilt. THEN I could sit on the porch, enjoy the sun, and slipstitch the binding down.
But before I started handstitching the binding down, I decided to make this Lemon Sponge Pie from the Amish for us since we had finished the Topsy-Turvy Tennessee Peach Pudding I made a few days ago.
The recipe was from my The Best of Amish Cooking (Traditional and Contemporary Recipes Adapted from the Kitchens and Pantries of Old Order Amish Cooks) cookbook by Phyllis Pellman Good. The footnote of this recipe said, "Lemon pies were a treat. Citrus fruit does not grow in eastern Pennsylvania. But the area's proximity to the canals, that webbed their way as far west as Ohio and provided waterways to the Atlantic coastal cities, made it possible to get lemons and oranges. Some farmers sold their hay in Philadelphia and could bring home the treats available there. In many homes, lemon pies were made primarily when company was coming."
Our opinion? It is a different tasting lemon pie but very delicious, very lemony!! And it was pretty, also. Definite hit!!
LEMON SPONGE PIE
1 cup sugar
2 tablespoons butter
3 eggs, separated
3 tablespoons flour
1/2 teaspoon salt
juice and grated rind of 1 lemon (I used 2 tablespoons juice and 1 tablespoon dried lemon peel.)
1-1/2 cups hot water or milk (I used water)
1 8 or 9 - inch pie shell
Preheat oven to 325 degrees F. Prepare pie plate with pie crust.
Cream sugar and butter.
Add egg yolks and beat well. (Don't forget to scrape the sides of the bowl as needed.)
Add flour, salt, and lemon peel together and
then add mixture to creamed mixture along with the lemon juice.
Add water or milk.
Beat egg whites til stiff peaks form.
Fold egg whites into mixture til
smooth.
Pour into unbaked pie shell.
Bake for 45 - 50 minutes. Cool on wire rack.
I can't wait until next summer when I have fresh peaches to try this Topsy-Turvy Tennessee Peach Pudding again! I used a 16-ounce bag or most of it anyway of "frozen fresh peach slices" but they didn't have much flavor. I think a can of sliced peaches would have tasted better than what I used. It tasted better the second day, but still not a lot of peach flavor.
I tell you this so you can be prepared just in case. It is a good recipe! Different than any cobbler recipe I have made before. I like a juicy cobbler and this one certainly fit the bill.
The recipe came from the cookbook called Miss Mary Bobo's Boarding House Cookbook by Pat Mitchamore and recipes edited by Lynne Tolley. Miss Mary's is located in Lynchburg, Tenn. It is no longer a boarding house but they do still serve meals. You can watch a cool video HERE . Just click on the picture of the house and you can watch when it was featured on Crossroads TN.
Click HERE for a printable copy of just the recipe.
TOPSY-TURVY TENNESSEE PEACH PUDDING
1/2 cup sugar
1 cup flour
2 teaspoons baking powder
1/2 teaspoon salt
1/2 cup milk
2 cups fresh Tennessee peaches, diced
1/2 cup sugar
1/2 cup brown sugar
2 cups water
1 tablespoon butter
1/4 teaspoon nutmeg
Preheat oven to 400 degrees F. Butter well an 8 x 8 - inch square pan.
In a large bowl, stir together the first four ingredients (sugar, flour, baking powder, and salt) with a whisk.
Add the milk and stir til smooth.
Then add the peaches. Stir gently to mix and then spread in the prepared pan. Set aside.
In a saucepan combine the remaining ingredients (sugars, water, butter, and nutmeg.
Heat the mixture to boiling, stirring to dissolve the sugars.
Carefully spoon the mixture over the batter in the baking dish.
Bake for 40 to 50 minutes til golden brown.
Serve hot or cold. Spoon into dessert dishes and pass a pitcher of light cream to pour over the top. (I didn't do the latter.)
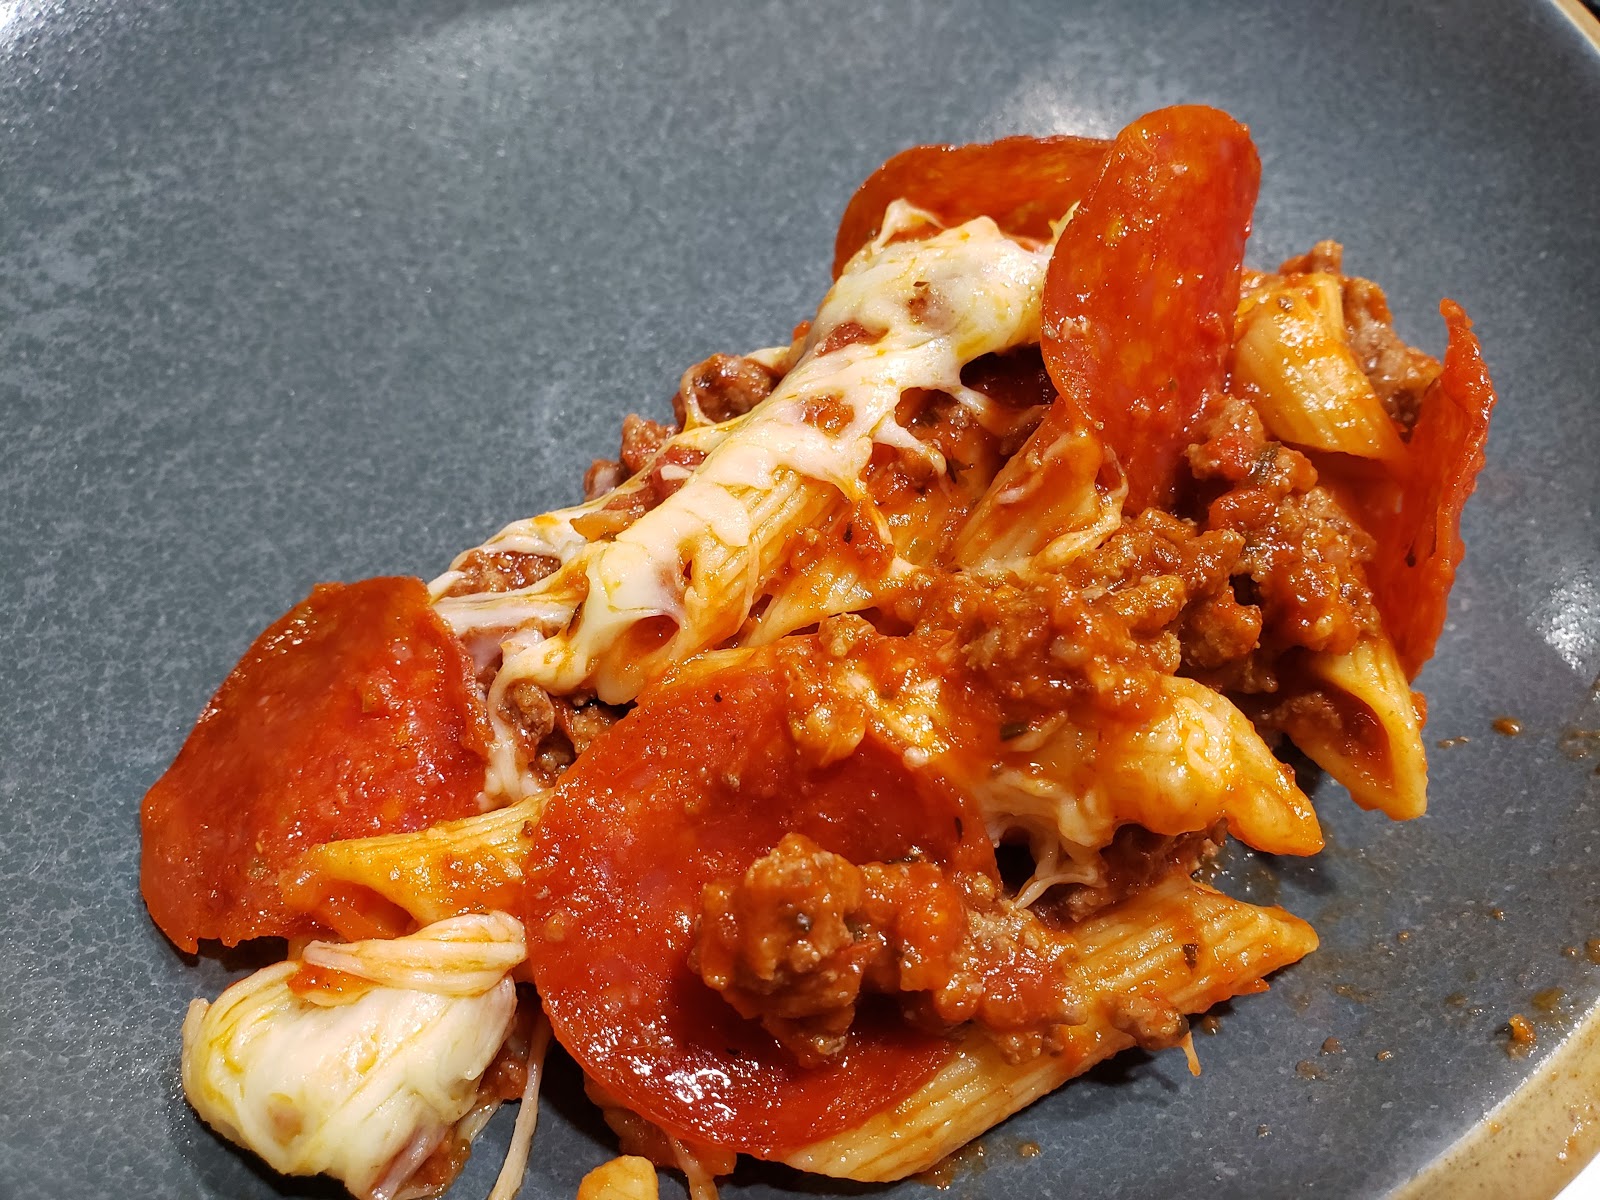
It isn't easy getting back to "normal" after being away for almost 3 weeks, but I got off to a good start this week by making a casserole that will easily last us for the week. In fact, the recipe made so much that next time, I think I would make it in two containers and freeze one of them.
Actually that was what the recipe intended but I cut it in half to make just one 9 x 13 - inch pan. Normally that would be perfect for us for a week, but this one is so filling, it doesn't take much to fill us up. If you decide to follow my recipe but make it in two containers, just use a 1 quart casserole dish for each and freeze one of them for later.
PIZZA PASTA CASSEROLE
1 lb ground beef
1/2 onion, chopped (I shook some minced onion over the meat as it cooked.)
1 jar spaghetti sauce
8 oz pasta, cooked and drained
2 cups (8 ounces) shredded mozzarella cheese
sliced pepperoni (about 4 ounces)
Brown ground beef and onion in a large skillet til meat is done. Drain if necessary.
Cook pasta following directions on package. Drain
Add spaghetti sauce to cooked meat and
then add pasta.
Spray a 9 x 13 - inch baking pan or two 1 - quart casserole dishes.
Pour mixture into pan(s).
Cover with cheese.
Layer the pepperoni slices over the top of the cheese.
Bake for 25 - 30 minutes or until heat through in a preheat oven at 350 degrees.
If you are making two dishes, seal one of the container and place in freezer. To bake, thaw frozen container overnight in the refrigerator and then bake 30 to 35 minutes or until heated through.
We hadn't seen our MO son and his family since Christmas Eve. Way to long! But we made up for it Saturday. Grandchildren Madison and Tyler were as happy to see us as we were to see them.
I had been gathering together books for them for months and decided it was a good time to take the books to them. They were so excited to get them and even almost got into a tearful argument about one or two. Being the grandmother I jumped in and told them they would have to share them. "OK" said Tyler and he was fine.
Tyler read for a bit with his mother one of the Dork Diaries (his favorite). Then he just carried it around and read it "to himself". Madison and I read part of one of the "Stink" books (I read the page on the left and she reads the right side page). Later she read me the whole condensed version of The Little Mermaid by Hans Christian Andersen. It was so much fun!
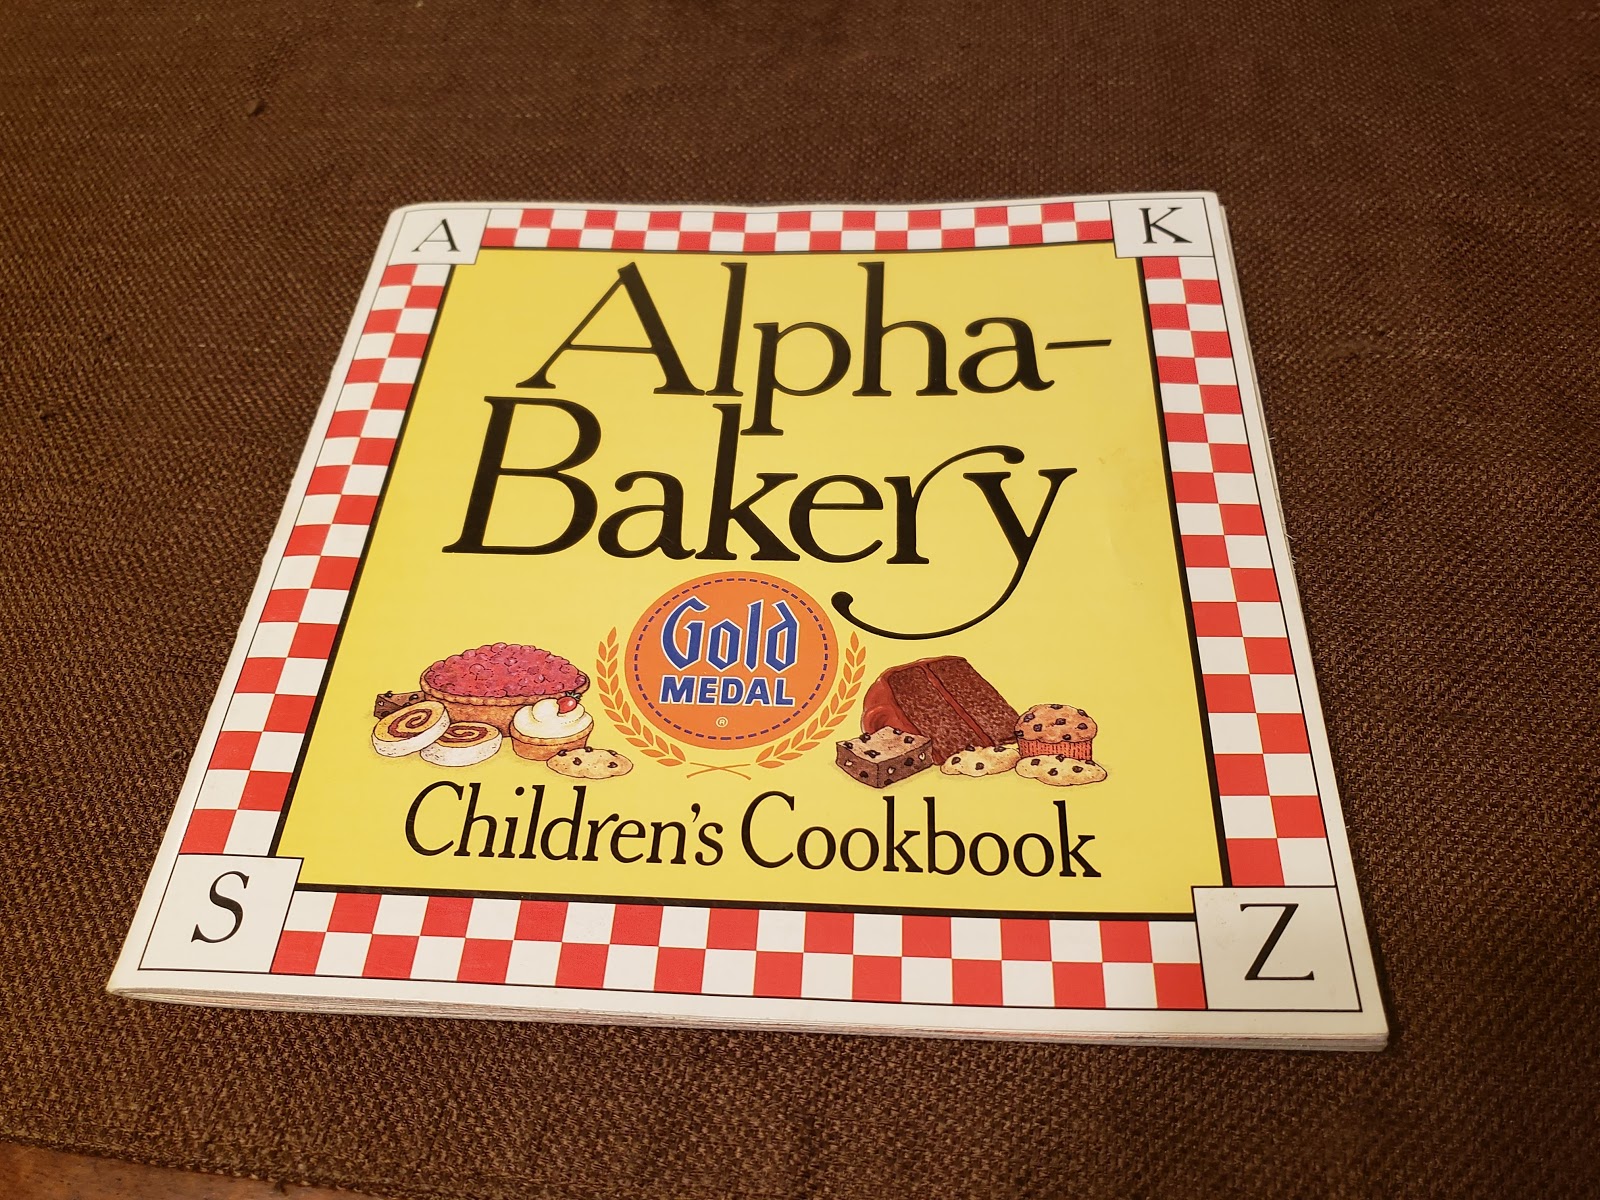
I also had some "recipe books" as she called them I had gotten her. She found so many recipes in the Alpha-Bakery Children's Cookbook I found for her by Gold Medal that she wanted to make. She would tell Lori the ingredients the recipe needed to see if they could make it. They finally found this Upside-Down Pineapple Cake that they could make together.
The cake tasted pretty good so I thought I would share it with you. They didn't have any Maraschino cherries so that is why you don't see them in the finished picture. Lori had a delicious fresh pineapple that she cut up and sliced for it. After we enjoyed our piece, Lori asked if I thought you could use pineapple chunks. That way you would have more pineapple to eat with the cake. I told her I thought it was a good idea. I even think you could use crushed pineapple and just drain it. I suggested chopping up the cherries also and scatter them around on top of the pineapple.
I also have some pictures I took of the kids during the process but didn't take my normal pictures as they mixed it up.
UPSIDE-DOWN PINEAPPLE CAKE
1/4 cup of margarine or butter
2/3 cup packed brown sugar
1 can of sliced pineapple (or crushed pineapple drained)
Maraschino cherries, if you like
1-1/3 cup flour
1 cup granulated sugar
1/3 cup shortening
3/4 cup milk
1-1/2 teaspoons baking powder
1/2 teaspoon salt
1 egg
Preheat oven to 350 degrees F.
Heat the margarine/butter in a 9 x 9 - inch square pan in the oven until melted.
Sprinkle brown sugar over the melted margarine/butter; arrange pineapple slices on top. Place a cherry in center of each pineapple slice.
Beat remaining ingredients in a large bowl on low speed 30 seconds, scraping bowl as needed. Beat on high speed 3 minutes, scraping the bowl as needed. Pour oven fruit in pan, spread evenly.
Bake until a toothpick inserted in the center of the cake comes out clean, about 55 to 60 minutes.
Immediately turn upside down on a serving plate. Let the pan remain over the cake a few minutes.
Serve warm and, if you like, with sweetened whipped cream. Makes 9 servings.
Here are some of the pictures I took of them:
Madison reading the recipe to her mother as she gets the ingredients out....
Arranging the slices of pineapple...
Tyler pouring in the measured flour...
Just had to add this "after" picture...
Then Madison's turn to add something...
And her "smiley" after picture...
Their silly picture before the cake is put into the oven...
This what the cookbook looks like...
The interesting thing is Lori thought it was like one she had as a child. She went down and search in the basement and came back with her copy that her grandmother had given her in 1990. She had me sign Madison's copy as her grandmother had. What joy!
 They also were happy with the new additions to the family... Murphy, the dark one, and Joe the yellow one...

Lori wanted to reproduce a picture she had taken when they first got them a couple of weeks ago. They have grown a lot but can still almost fit in her hand. They are so darling.

 Cream together sugars, butter, yogurt, and eggs. Add vanilla.
  Combine dry ingredients together in another bowl.
 Add dry ingredients to wet mixture. Stir to blend.
 (To make the powdered oatmeal, measure old fashioned oats into blender and "blend" until all oats are powdered.)
 Add chips and nuts, if you are using them.
 Form dough into 1 inch balls (a cookie scoop works great for this) and
  bake for 12 - 15 minutes. (I baked mine the full 15 minutes.)