This Paddle Wheel block is just the block you should make if you are trying to use some scraps left from another project. Everytime you see it you will be reminded of the other project, who you gave it to, etc. This particular block was completely made from strips I had left over from a quilt I made for my second granddaughter Sadie and a bigger scrap for the center square.
To make the block you will need four sets of 2” x 5.5” strips of five different prints and one 3.5” square of a different print. You will also be using a partial seam with one set of strips, but it is not difficult to do. If you have never done a partial seam, I hope my directions will help you.
I also make use of a “design wall” in my sewing room. If you have room for one, I would highly recommend it. I have read of elaborate ones people have made, but it doesn’t have to be. My design wall is two pieces of felt a friend gave me. One is almost 2 yards long and is attached to the wall with about 5 pushpins close to the ceiling. The other one is maybe one yard long and hangs beside the other one at more of a level that I can work with to extend my project across the two pieces if necessary. I have also read how people use flannel backed tablecloths hanging with the flannel on the outside.
A design wall allows you to view your project better from a distance. It also allows you to quickly make changes to your design before you sew it.

HOW TO MAKE A 12” PADDLE WHEEL QUILT BLOCK
(all seams are ¼” and six different prints will be needed)
From five different prints each CUT four strips, 2” x 5.5” for a total of 20 strips.
From the sixth print, CUT one square 3.5”.
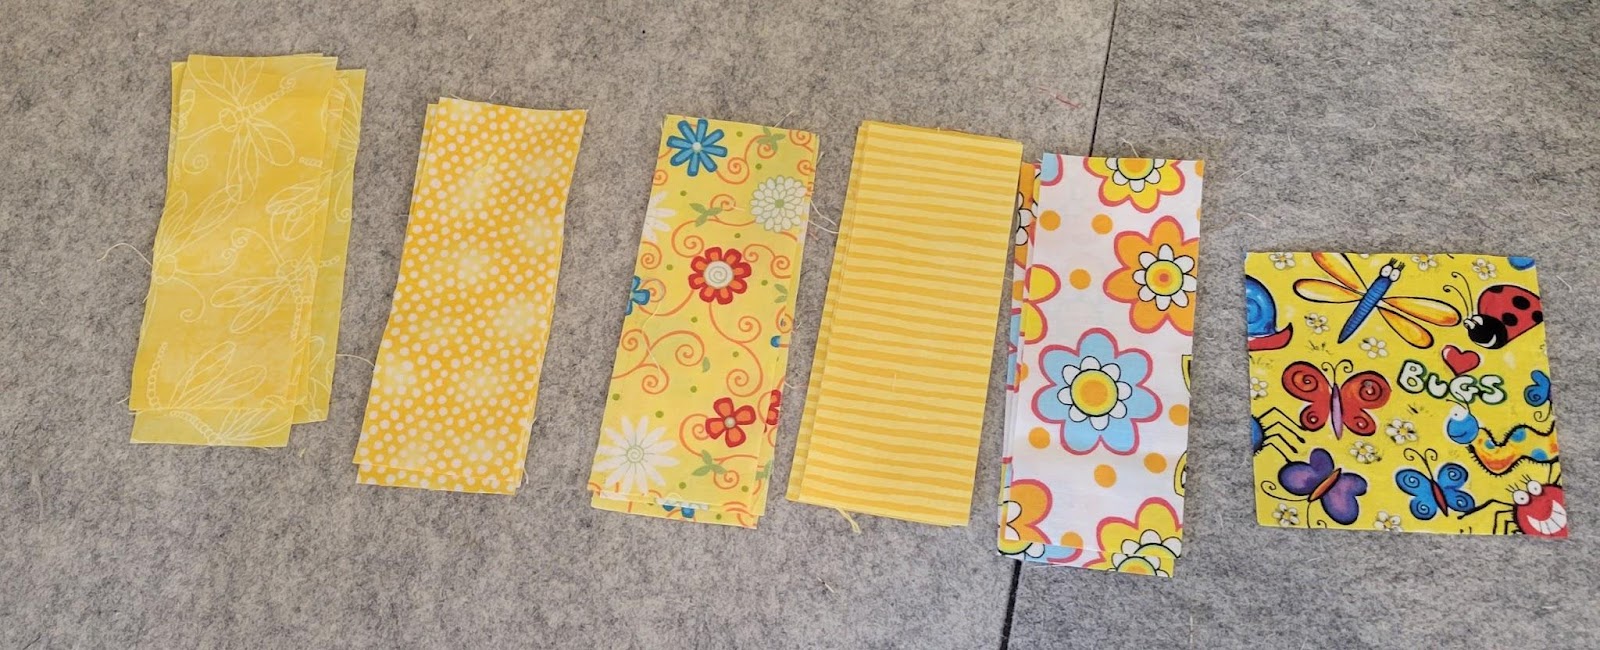
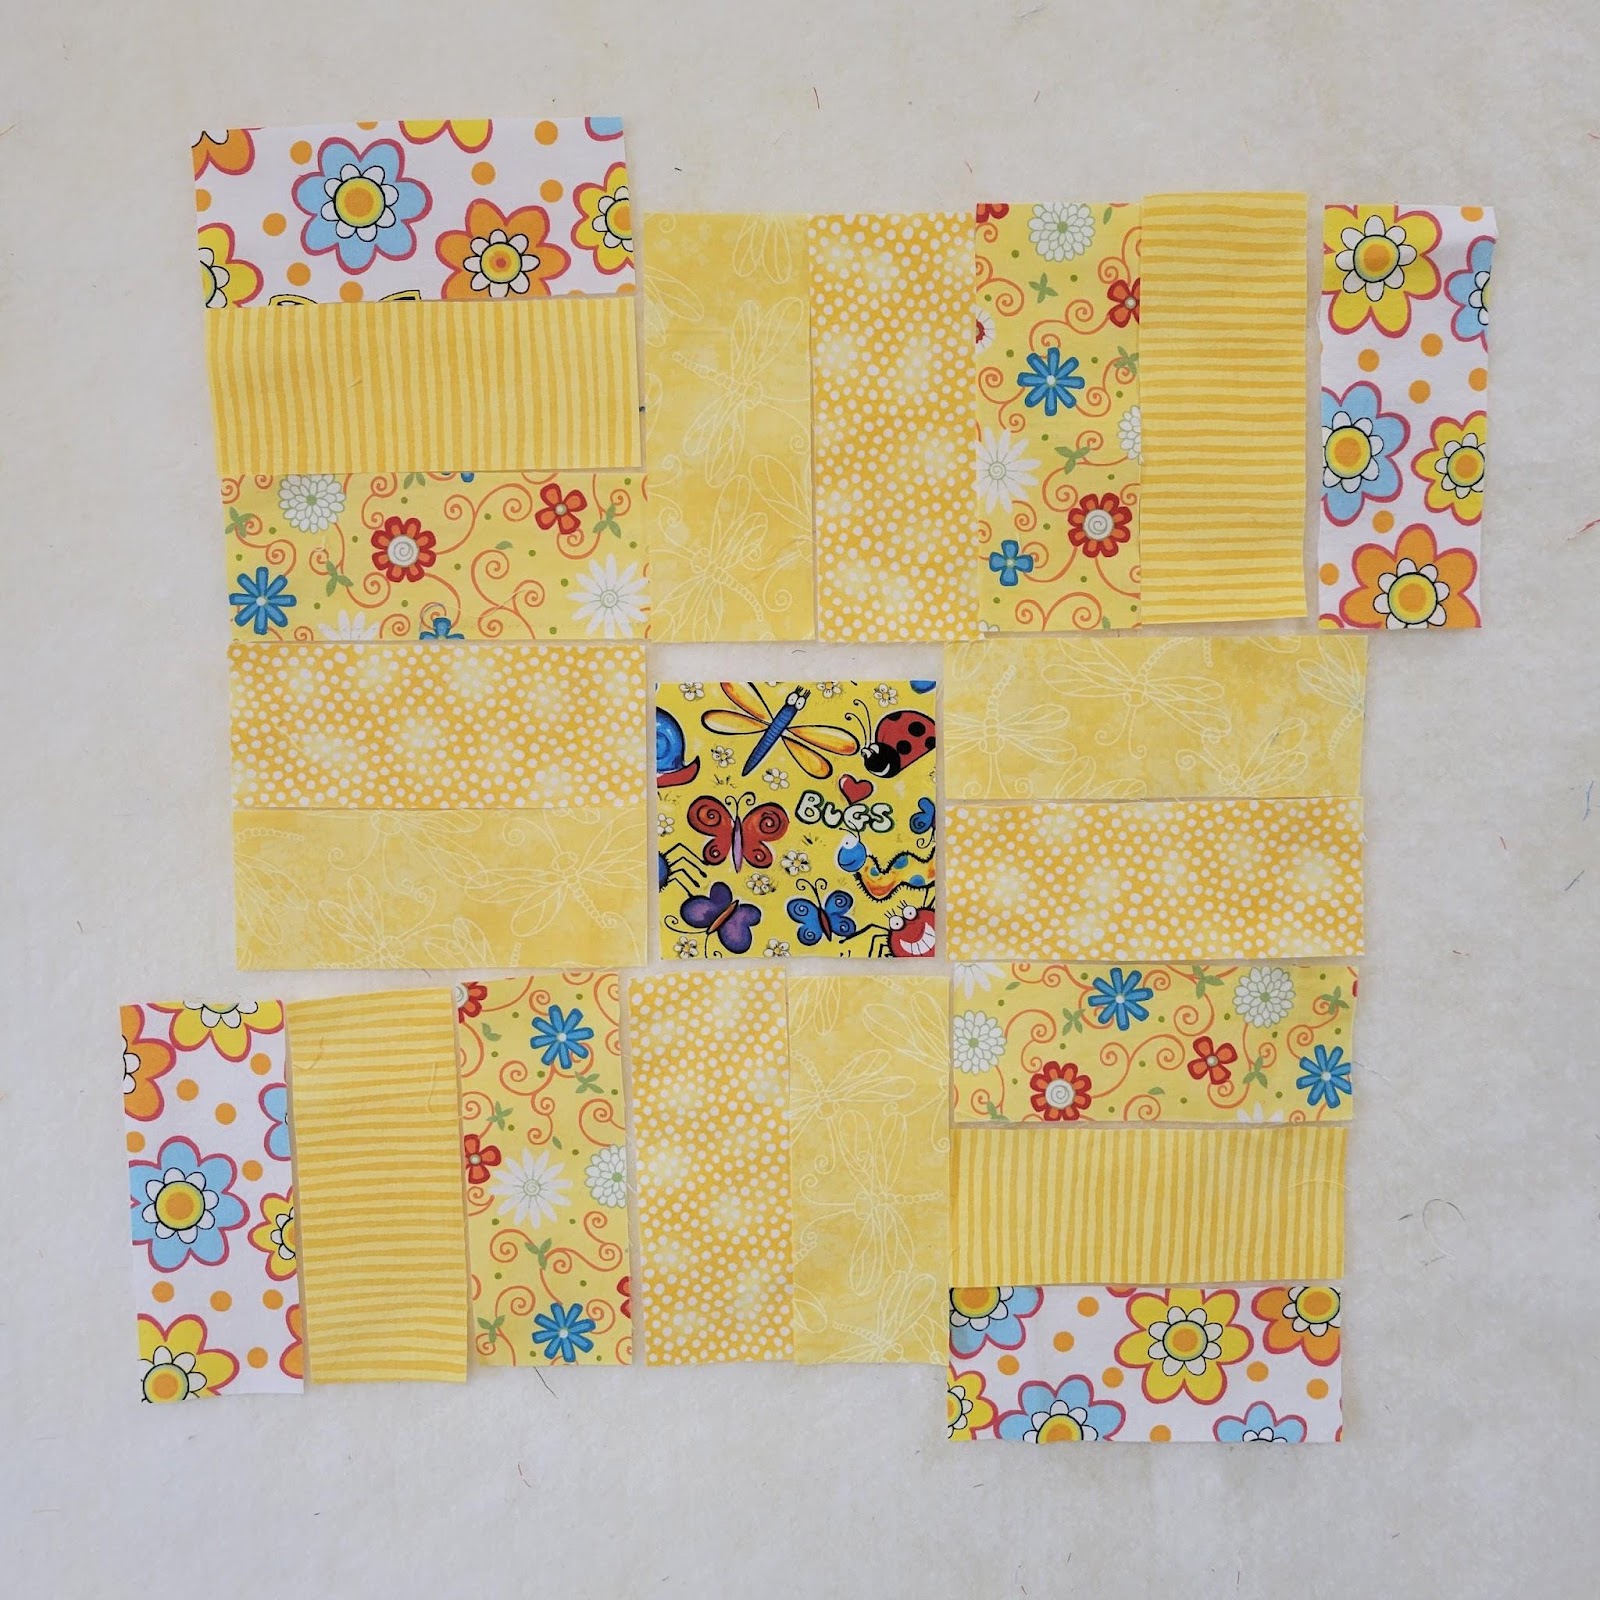
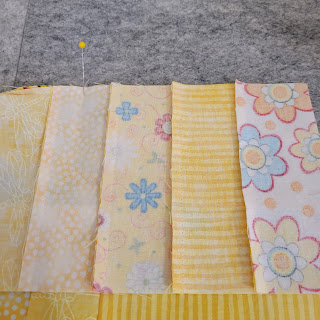
ARRANGE the strips so that you have four sets of five strips in each using the picture below as your model. The lightest one should be the end strip.
SEW each strip set together and PRESS all seams going the same directions away from strip #1.

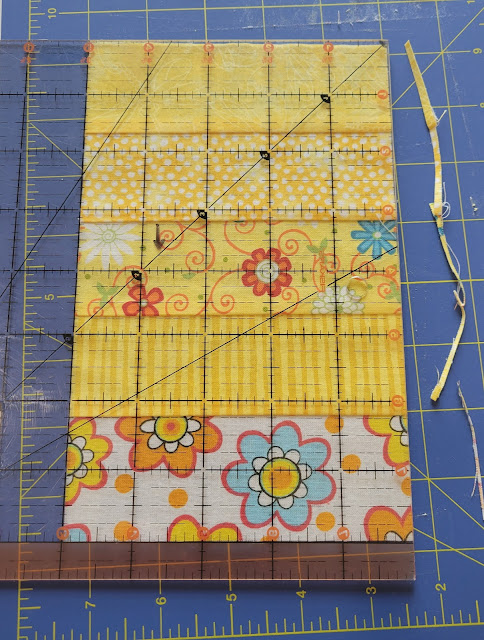
SQUARE /TRIM each strip set to 5” x 8 “. Return to the design wall in the pattern. I am using my 8.5" square ruler.

Return the strips to the design.

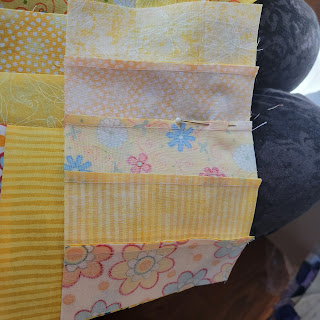
The wrong side...

You will be using the partial seam when you sew the first strip set to the center square. A partial seam is just what it sounds like - a partial seam or part seam. Since the square is only 3.5”, you will only be sewing about 2.5” of the strip to the square. It doesn’t matter which strip set you start with, but I usually start at the top. So MATCHing the strip set on the left upper left end of the square, SEW about 2.5” and stop. If you like, you can stitch in place or backstitch .
PRESS just the seam away from the square.


Now you can add the strip set down the left side by MATCHing the upper edge of the strip set with the outer edge of the first set.

"Nest" or "butt" the seams together where the strip seam and the first strip seam and top edge of square are sewn.

Again PRESS away from the square.

Continue with the next strip set working your way around the square.

When you MATCH up the last strip set on the right side of the square, it will end at the upper right corner of the square.

Secure the loose end (that part that wasn’t sewed the first time) away from the square, and SEW on the fourth strip set. PRESS as before.
Now you can fold down the top strip set to MATCH it with the square and the fourth strip set.
SEW from where you stopped your partial seam to the end of the fourth strip set.

PRESS again away from the square.

After you SQUARE up the block to 12.5” and TRIM if necessary, your block is finished. (Since I don't have a picture of squaring up the block, I better go back and check to make sure I did, before I send it off to a member of the 30-Exchange Block group.)
No comments:
Post a Comment