A SCARF FOR HALLIE-SAND STITCH
After I finished a scarf for my granddaughter Sadie, I decided to make one for her older sister (my oldest granddaughter) Hallie. I had some yarn in the attic, but decided it was easier (warmer, anyway) to just go buy a new skein.
I checked a book out of our wonderful library of different patterns to knit to choose one I haven't tried before. After seeing several that I thought would look good with the yarn, I finally decided on a pattern called "Sand Stitch".
I thought since I had bought a variegated yarn, it would show off pretty with the pattern. If you look closely at it, you might be able to see the interesting pattern it made every other row.
I like to use simple patterns because I am usually knitting while watching television and I hate "taking out". This one fit my bill.
Sand Stitch
Cast on a multiple of 4
Row 1: K1, p1
Row 2: Knit
Repeat these two rows.
I cast on 20 stitches for Hallie's scarf.
I used size 8 needle.
The yarn I used for Red Heart Super Saver (5 oz) worsted medium (4) color name Bikini
This is what it looked like when I had knitted it as long as I wanted it to be. I could flatten it out, but it would curl back up.
So I decided to block it.
I haven't "blocked" anything that I had knitted since college. Back then I would lay my project on a towel and spray it with water or wet it with a wet cloth. My friend Fran had just finished a scarf (that I will be sharing as soon as she gives me the pattern) and blocked it. So I called her and asked her how she did it.
She told me she pressed her scarf with her steam iron. I would never have thought about using my iron. It was certainly fast and easy.
Flatten (may have to pin if project doesn't lay flat or is big) on your ironing board with wrong side of work up.
Check setting on your iron to match yarn and set it for "steam".
Hover over knitted piece touching lightly if necessary to flatten piece.
The picture is the wrong side of scarf.
After I had the scarf "blocked", I decided to add fringe on the ends. Here's how I did that:
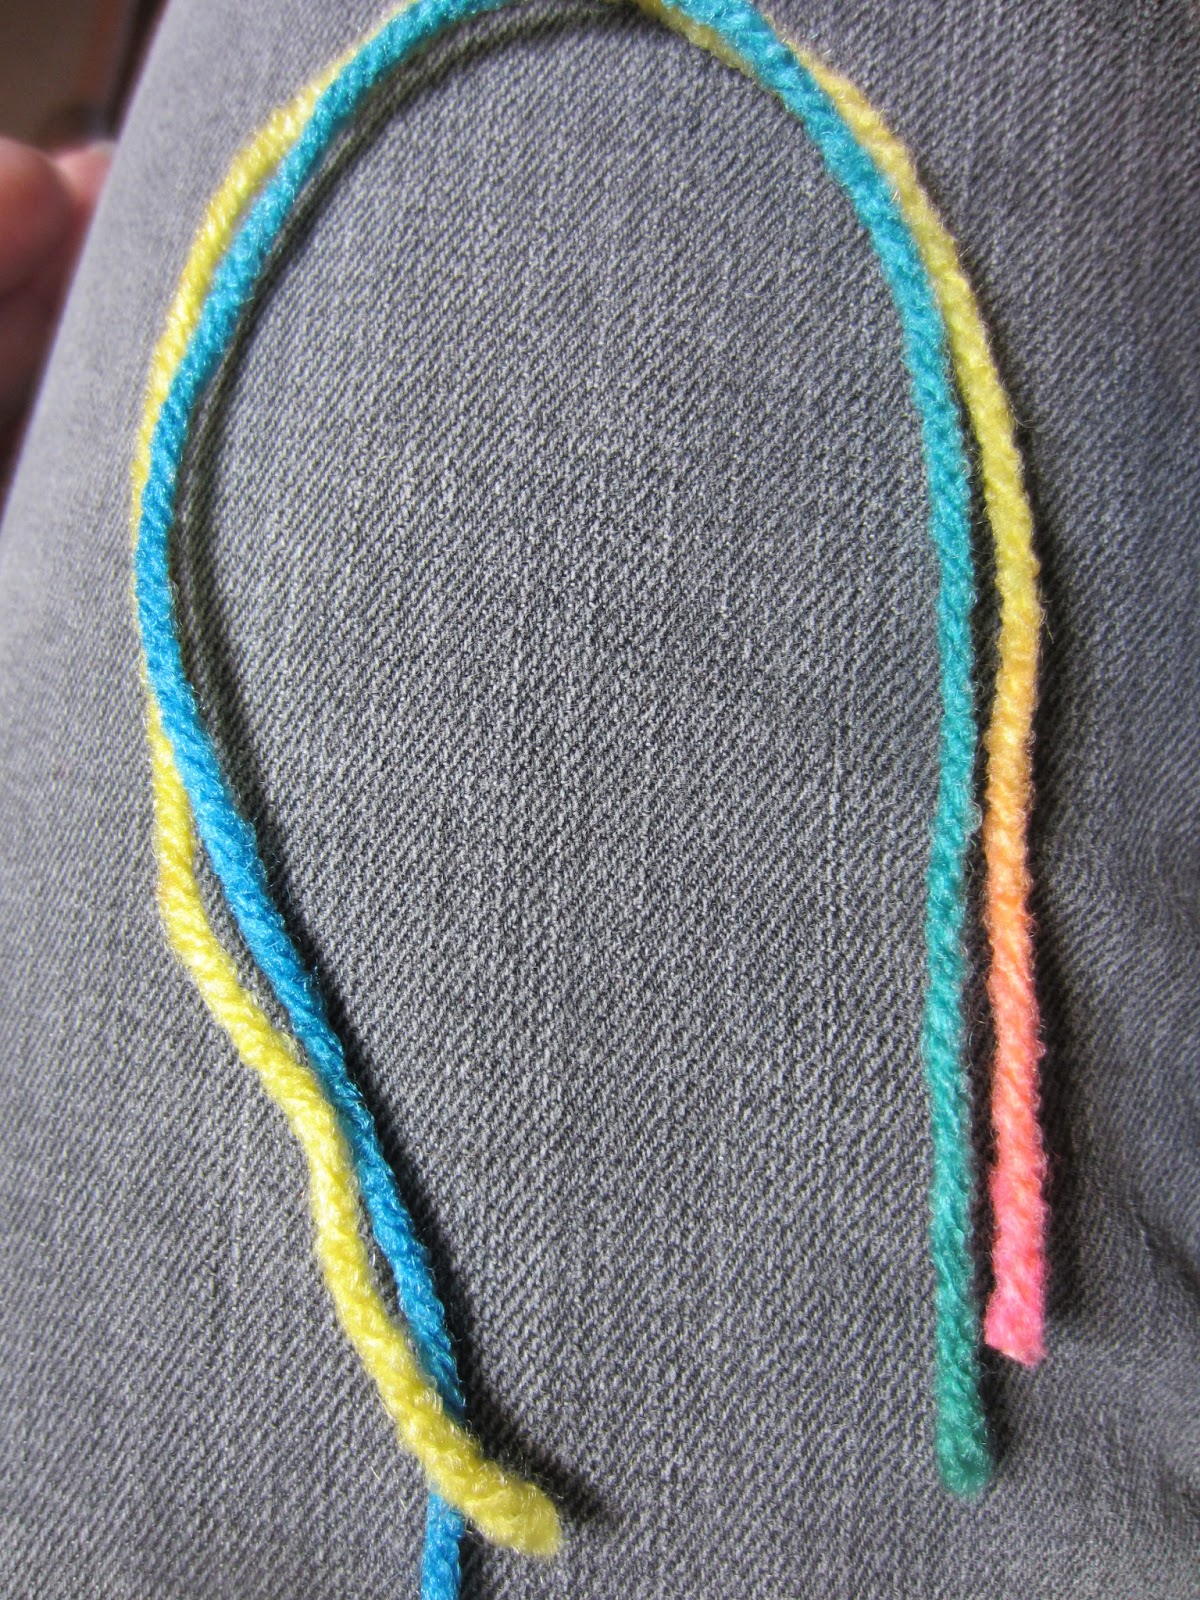
I found a booklet that was 5 inches wide and wrapped the yarn around it about 20 times.
Then I inserted my scissors in the bottom and cut. This made my strips 10 inches long.
I wanted to use two pieces for each set. I chose two that were different colors.
I inserted a crochet hook from the backside of the scarf between two stitches and caught the two strips in the middle.
I pulled the strips through to the backside....
and inserted the loose ends through the loop and tightened by pulling evenly on the threads. (Don't worry if the ends aren't the same length....you can trim them even at the end)
When I had worked across the scarf, I trimmed both ends so that the fringe was the same length.
Here is how I did that.
I laid the end of the scarf down on my cutting mat. I had the end of the scarf on a line on the mat.
Then I laid my cutting ruler for the length I wanted the fringe to be.
And using my rotary cutter, I cut across the ends.
If you don't have a rotary cutter, just use your scissors.
I repeated with the other end and was finished.
I guess my grandson Colby will be next. (Nothing like getting an early start for next winter.)


Gorgeous and u do a step by step guide which I like the scarf I’d gorgeous thank you 😊
ReplyDeleteThank you. It made a beautiful scarf. Patricia
DeleteWhat yarn did you use for your lovely scarf?
ReplyDeleteI made this scarf 10 years ago and unfortunately don't remember what brand it was. It would not have been terribly expensive. I usually buy my yarn at Walmart, JoAnn's, or Hobby Lobby type places. Good luck. Patricia
DeleteBeautiful and fairly easy. Thank you!
ReplyDeleteThank you for saying so. I don't do elaborate stitched so I'm always looking for pretty but not too hard to do. Patricia
Delete