Last Friday Friend Janice and I decided to go to garage sales for a change. We managed to find a few things and I even found a lady selling some of her cookbooks. I asked her how could she part with them as they were such good looking ones. She said it was hard, but she had so many. (Sounds like me. I need to get rid of some of mine.) Well, I found so many recipes in the three cookbooks that I can't wait to try.
One of the cookbooks was called AMONG FRIENDS - JUST a MATTER of THYME with recipes by Roxie Kelley and Friends. The beautiful illustrations were done by Shelly Reeves-Smith. Among Friends is(was) a small greeting card company near Lake of the Ozarks in central Missouri that was started in the 90s. This cookbook (there were two more I could have bought at the garage sale but didn't - darn!) was published in 1998. I couldn't find out if the company is still operating or not. According to the book jacket, Roxie had formerly owned a restaurant and many of the recipes were hers there and then others came from family and friends.
This Chicken Soup Au Gratin was the first recipe I tried. I usually just make vegetable soups or bean soups, but this one just sounded too good (and easy) not to make. Well, it was soooooooo good .... especially with my Cheese Biscuits.
CHICKEN SOUP AU GRATIN
2 chicken breasts, whole (I actually used about 8 chicken tenders)
1/2 teaspoon salt
2 cups water
1/2 cup onion, chopped (I just used some onion powder)
1/2 cup chopped carrots
1/2 cup diced celery
1 (10 - ounce) can cream of chicken soup
1/2 cup milk or Half 'n Half (I did just use skim milk)
dash of freshly ground pepper
1 cup cheddar cheese, grated
Simmer chicken in the salted water until tender. (I covered the pan with the lid.)
Remove the skin and bone (if you used whole chicken breasts), and dice.
Boil the vegetables in the broth until tender. (I covered the pan with the lid while cooking)
(I cooked them about 20 minutes while I pulled the chicken apart and prepared the other ingredients.)
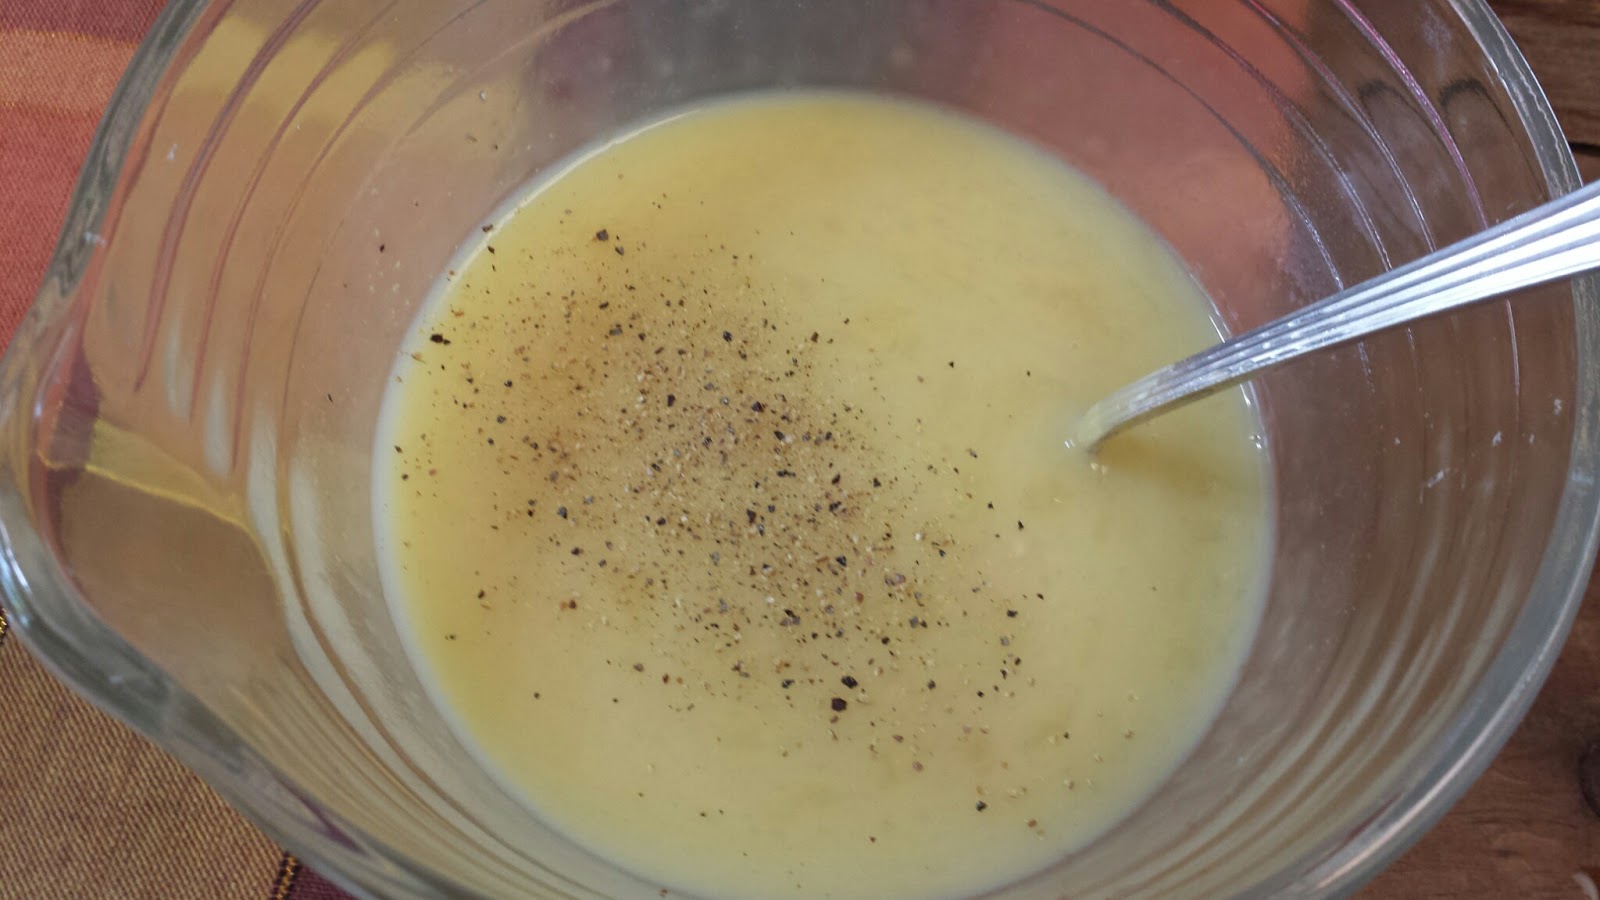
(Combine the soup, milk, and pepper in a medium size bowl.)
Gradually stir in the mixture into the pan with the cooked vegetables.....stirring constantly.
Heat thoroughly. Add the chicken.(I brought it back to a boil and then reduced the heat and covered the pan.)
Add the cheese and stir until cheese melts.
(I continued to cook mine on low until the cheese biscuits were done covered.)
Serves 4.
These Cheese Biscuits from Billy, the Kid Cookbook, a cookbook I saw in Phoenix when we vacationed there back in April. I had misplaced the recipe and just found it when I was going through some souvenirs I had in a bag from the trip.
I have made the biscuits twice because they are that good. I also needed to test the cooking time as the recipe had you cook the biscuits at 400 degrees F for 5 minutes and then reducing the temperature to 300 degrees F continue cooking for 10 more minutes.
Well, the first time I made them I followed those directions. The only problem was the biscuits weren't done. I ended up increasing the temperature to 350 degrees and cooked them at least 5 more minutes. The second time I baked them, I decided to just turn the temperature down to 350 degrees F and cook them for the 10 minutes. I had to cook them about 3 more minutes though because they weren't done. I think next time I will keep the temperature at 400 degrees and just watch them to make sure the cheese doesn't burn.
CHEESE BISCUITS
2 cups flour
2 teaspoons baking powder
1/2 teaspoon salt
1/2 cup grated cheddar cheese
2 tablespoons shortening
1 cup milk
Preheat oven to 400 degrees F.
Sift together the flour, baking powder, and salt.
Add the cheese.
Blend in the shortening.
Gradually add the milk.
Drop dough from a large tablespoon to make 8 biscuits. You can use a smaller amount to make more smaller biscuits. The first time I made them I made 8 biscuits. The second time though, I made 10. The latter ones were a good size.
Bake for 12 - 15 minutes or til done, watching toward the end that the cheese doesn't burn. Serve warm.
When I went to the dentist a couple of weeks ago for my six-month cleaning/check-up, I took them a small loaf of the Delicious Pumpkin Bread. (This is the lightest, moistest pumpkin bread I have ever made.) Dr. G. was talking about how everything is going "pumpkin" right now. It's true. I don't drink coffee and so don't crave the pumpkin flavored lattes that are so popular right now, but I know lots of people do.
Well, when I saw this recipe for Pumpkin Spice French Toast on Facebook from PBS Parents, I had to copy it down to try. It looked easy enough and with just a hint of pumpkin. Since we often eat "breakfast" for "dinner/supper", it was just perfect the other night.
PUMPKIN SPICE FRENCH TOAST
3/4 cup milk
3 eggs
1/4 cup unsweetened canned pumpkin
2 tablespoons sugar (I used stevia)
1 teaspoon cinnamon
1/2 teaspoon vanilla
1/4 teaspoon pumpkin pie spice
6-8 slices of bread (I used whole wheat)
Beat eggs with a whisk in a bowl.
Add the rest of the ingredients and whisk til smooth.
Pour mixture into a shallow dish/pie plate.
Heat skillet over medium heat.
Soak bread slices a couple of seconds on each side.
Fry slices long enough for each side to become dry and speckled brown.
Dust with powdered sugar and a dab of butter.
Serve with warm maple syrup. (I used sugar-free syrup.)
Thursday it was my turn to host my quilting friends' canasta group. It was a beautiful fall day here in Kansas City and I encouraged everyone before they left to drive around the blocks close to my house so they could enjoy the beautiful colors of the maple trees. Even though it seems early this year, they are spectacular again this year. While the dogwood and ash tree started turning at least a week ago,our maple trees are just now starting to turn. They like to "show-off" after the neighbors' trees are fairly well gone.
We usually eat light snacks when we get to together, but then have dessert. For a snack I prepared a big "batch" of Miriam Miller's Muddy Buddies from her The Wooden Spoon Cookbook and the Honey Peanut Butter Protein Energy Balls that the nutritionist for the Kansas City's Royals Baseball team has started preparing for them. Both were big hits!
I managed to get the dessert in the oven about 10 minutes before everyone started arriving. Lillian Kiser of Harrisonburg, Virginia said to serve it warm or cold and I thought it would make the house smell like fall with it baking in the oven and then I could serve it while it was still warm. Lillian's recipe was one included in Phyllis Pellman Good and Kate Good's cookbook Mennonite Recipes from the Shenandoah Valley. It made a big amount since it was made in a 9 x 13 - inch pan and I had no problem at all talking some of the ladies into taking a piece home for later or for their husbands. I still had several servings left for my husband and me to enjoy.
I didn't have a sugar - free yellow cake mix or I would have used it. I did use my stevia/sugar blend to reduce the amount of sugar calories at least in the filling.
PUMPKIN PIE DESSERT
1 box yellow cake mix
1/2 cup margarine, melted
1 egg, beaten
3 cups pumpkin (about 2 cans - 15 oz size)
1/2 teaspoon ginger
1/2 teaspoon cinnamon
1-1/2 cups sugar (I did use a scant 3/4 cup stevia/sugar blend)
2 eggs, beaten
1/4 teaspoon salt
2/3 cup milk (I used skim milk)
1 teaspoon cinnamon
1/4 cup sugar (I used 2 tablespoons of the stevia/sugar blend)
3 tablespoons margarine, softened
whipped topping
Preheat oven to 350 degrees F.
Measure out 1 cup of the dry cake mix and set aside.
Combine the remaining cake mix, 1/2 cup melted margarine, and 1 egg. (Yes, I forgot to beat the egg before I added it. It worked out okay.)
Press into 9 x 13 - inch pan. * See tip below.
Mix together in a large mixing bowl, the pumpkin, ginger, 1/2 teaspoon cinnamon, 1-1/2 cup sugar, 2 eggs, salt, and milk.
(I just used my wooden spoon.) Pour over the "crust" mixture and spread out evenly.
Mix together the reserved cake mix, 1 teaspoon cinnamon, and 1/4 cup sugar. Cut in 3 tablespoon margarine to form crumbs.
(I started with a fork, but ended up using my fingers to do this...it is so much easier.)
Sprinkle over the top of the pumpkin mixture.
Bake for 45 - 50 minutes, or until firm in the center.
Serve warm or cold.
Top with whipped topping.
*TIP! Whenever I am instructed to spread a small amount into the bottom of a pan, especially a 9 x 13 - inch pan, I drop tablespoonfuls of the batter around the bottom of the pan leaving at least a spoonful in the bowl to add at the end. Then it is easier to spread the dollops to cover the pan. The last bit I save can be used in the places where you didn't have quite enough to cover the pan.
Wednesday night after watching the Kansas City Royals baseball team be victorious in game 5 against the Houston Astros, I checked out Facebook to see what everyone was saying about the win. One of the posts was from one of the television stations sharing a recipe that the team's nutritionist Mitzi Dulan was preparing and serving the Royals baseball team. She said she had started making them the night before the Royals clinched the American League Central Division and she had served it to them ever since. She doesn't want to jinx them. She said they all loved them especially Eric Hosmer.
Well, yesterday when my quilting canasta friends came over to my house to play cards, I decided I had to make a "batch" so we could all share in the "good luck". They are so good. We all could understand why the players liked them too.
They are really easy to make and she said they would last about 5 days refrigerated. I personally don't see why they wouldn't last longer .... if that is possible. Three of them make a serving and have about 170 calories/per serving.
HONEY PEANUT BUTTER PROTEIN ENERGY BALLS
1-1/4 cups old-fashioned oats
3 tablespoons shredded coconut (I used organic unsweetened shredded coconut)
1/2 cup sliced almonds, chopped
1 scoop whey protein powder (Mine is sweetened with Splenda)
1/2 cup honey
1/2 cup dried apricots, chopped
1/2 cup peanut butter
In a bowl, combine the oats, coconut, almonds, and protein powder. Stir until well distributed (especially the protein powder)
Add the honey, apricots, and peanut butter. (* See tip below).
Stir all ingredients well.
Put mixture in mixing bowl into refrigerator for 20 - 30 minutes.
Roll into rounded balls. (I used my tablespoon scoop and it was just the right size. I placed them on a cookie sheet lined with wax paper.)
Chill.
TIP! When measuring a liquid and solid like honey and peanut butter as in this recipe, pour the honey in a larger measuring cup than required by the recipe. Then add the peanut butter and let it sorta "float" in the honey. When the honey measures the total amount of the two ingredients, you have measured the correct amount of peanut butter. This also works with shortening and a liquid.
GO ROYALS!!!! BEAT THE BLUE JAYS!!!!!
I have seen recipes for Muddy Buddies in several of my Amish cookbooks. Weeks ago I bought the cereal with plans of trying one of the recipes soon. Well, I finally found a good opportunity to make it....when my quilting canasta friends came over to my house for an afternoon of cards.
The recipe I selected to use was one in Miriam Miller's The Wooden Spoon Cookbook. I followed her recipe but noted at the end a change I would recommend. I had trouble coating all of the cereal mixture with the powdered sugar. Next time, I will only do about half of the mixture at a time in the large plastic bag.
MUDDY BUDDIES (SNACK)
9 cups Chex cereal (corn, rice, or wheat)
1 cup semi-sweet chocolate chips (I used Ghirardelli 60% cacao)
1/2 cup peanut butter
1/4 cup butter
1 teaspoon vanilla
1-1/2 cups powdered sugar (may need to use more)
Pour cereal in a large bowl and set aside.
In a small saucepan, over low heat, melt chocolate chips, peanut butter, and butter until smooth, stirring often.
Remove from heat and stir in vanilla.
Pour chocolate mixture over the cereal,
stirring until all pieces are evenly coasted.
Pour cereal mixture into a large plastic bag with the powdered sugar.
Seal securely and shake until all pieces are well coated.
Spread on waxed paper to cool.
Personal note: I had to add additional powdered sugar to coat it all.
I would recommend not putting all of the mixture in the bag with the powdered sugar. Place about half of it in the bag with about a cup of powdered sugar, seal the bag, and shake it to coat. Spread on waxed paper and then coat/shake the rest with additional powdered sugar.

 Simmer chicken in the salted water until tender. (I covered the pan with the lid.)
 Remove the skin and bone (if you used whole chicken breasts), and dice.
 Boil the vegetables in the broth until tender. (I covered the pan with the lid while cooking)
  (I cooked them about 20 minutes while I pulled the chicken apart and prepared the other ingredients.)
 (Combine the soup, milk, and pepper in a medium size bowl.)
  Gradually stir in the mixture into the pan with the cooked vegetables.....stirring constantly.
  Heat thoroughly. Add the chicken.(I brought it back to a boil and then reduced the heat and covered the pan.)
  Add the cheese and stir until cheese melts.
 (I continued to cook mine on low until the cheese biscuits were done covered.)