One of the fruit trees we had in our backyard in CA was a peach tree. It always produced an abundant crop of peaches each year. So many, in fact, that I spent quite a bit of my summer off "putting up" peach jam.
When we moved to MO almost five years ago, I really, really missed the fruit trees (in our yard). It really, really "hurt" having to BUY the fruit. I haven't put up as much jam since we have moved here, but it just doesn't seem right not to make at least one or two batches each summer.

That's what I did the other morning. (It only takes at the most an hour.) Actually I made two batches, just not the same day.
I bought a little more than 6 lbs one day when I went to the commissary at Fort Leavenworth. They were GA peaches. They weren't completely ripe, so I brought them home and placed them in several large paper grocery bags to ripen. Never heard of doing this? I almost always do it because when you buy them, they are almost never ripe. They can't pick them ripe and then ship them. All you have to do is place them in a single layer in a paper bag. Fold down the top and leave them along. You know they are ripe when you open the bag and can smell the peach. Then you can store them in the refrigerator until ready to eat or use.
I have been making jam for more years than I can remember. Last year I posted how to make apricot jam. It is very similar to make peach jam. The directions in the pectin will give specifics needed for different fruit.
One secret to being successful is to get everything ready before you start cooking the fruit. Once you start that process you don't want to measure, etc what you need.
 I measure the amount of sugar (5-1/2 cups)required and lemon juice (2 tablespoons).
 I start the dishwasher on quick wash to clean and have the jars hot. I always wash a couple of extra jars "just in case". Don't open the door of the dishwasher if it finishes before you are ready to fill the jars. Experience will help you know when to start the dishwasher so that it finishes just at the right time.
 I place the lids in a small saucepan and cover with water and heat on low.
 Wash and peel the peaches. The recipe calls for 3 lbs. I started with 5 large peaches , but that didn't make the 4 cups so I added two more.
 The recipe with the pectin says to use diced peaches. I like to mash them using a potato smasher instead of chopping the peaches. I like the consistency of the peach and it is faster. Just place several at a time in the large bowl.
 Since the 5 peaches didn't make the 4 cups of prepared peaches, I decided to go on and add the lemon juice to what I had prepared while I peeled and mashed 2 more peaches. (The lemon juice keeps the peaches from turning dark.)
 You need 4 cups of prepared fruit for the recipe.
 You are ready to start "cooking" now. Place the prepared fruit in a large pot and slowly add the pectin, stirring well as you add it. I don't like to dump the whole package at once because I don't want the pectin to lump.
 Stir well making sure all the pectin dissolves.
 Add 1/2 teaspoon of margarine. (This will reduce the foam that can be produced when the fruit cooks.) I use a non-dairy margarine like Smart Balance Light because my grandson Tyler has a dairy allergy. His daddy, my son Patrick, loves my peach jam and I would hate it if Tyler wanted some and couldn't eat it because I used butter or margarine....even that little bit.
 Cook the mixture over medium - high heat stirring constantly until it the mixture comes to a full rolling boil. This is a boil that doesn't stop with your stirring. I tried to get a picture but the steam produced wouldn't allow me to get the camera up close. (This takes about 5 or so minutes.)
 When the mixture comes to a full rolling boil, add all the sugar at once
 and start stirring making sure all lumps are gone.
 Continue stirring til the mixture returns to a full rolling boil.
 Set your timer for 1 minute. Don't stop stirring until the minute is up.
 Remove the pot from the stove and place on a hot pad next to a towel that you will place the jars on. NOW you open the dishwasher and dry the outside of the jars if necessary and place them right side up on the towel next to the pot. You also need to bring over the small saucepan that you were heating the lids in. This little bit of time required to do this is okay for the mixture to sit. Use a large mouth funnel to keep the mixture from going over the sides of the jars.
 I use a melamine cup that used to go with some dishes that I had for dipping the jam mixture from the pot. You will need to stir the cup down to get some of the liquid with the first jar so that you don't run out of peaches for the last jars.
 Fill the jar until the jam comes to the bottom of the funnel.
 That will be just the right amount of jam in the jar. Place the funnel on the next jar you plan to fill.
 Run a clean knife around the inside of the jar to remove any air bubbles and make sure the top of the jar is clean.
 Remove one of the heated lids and carefully cover the top of the jar.
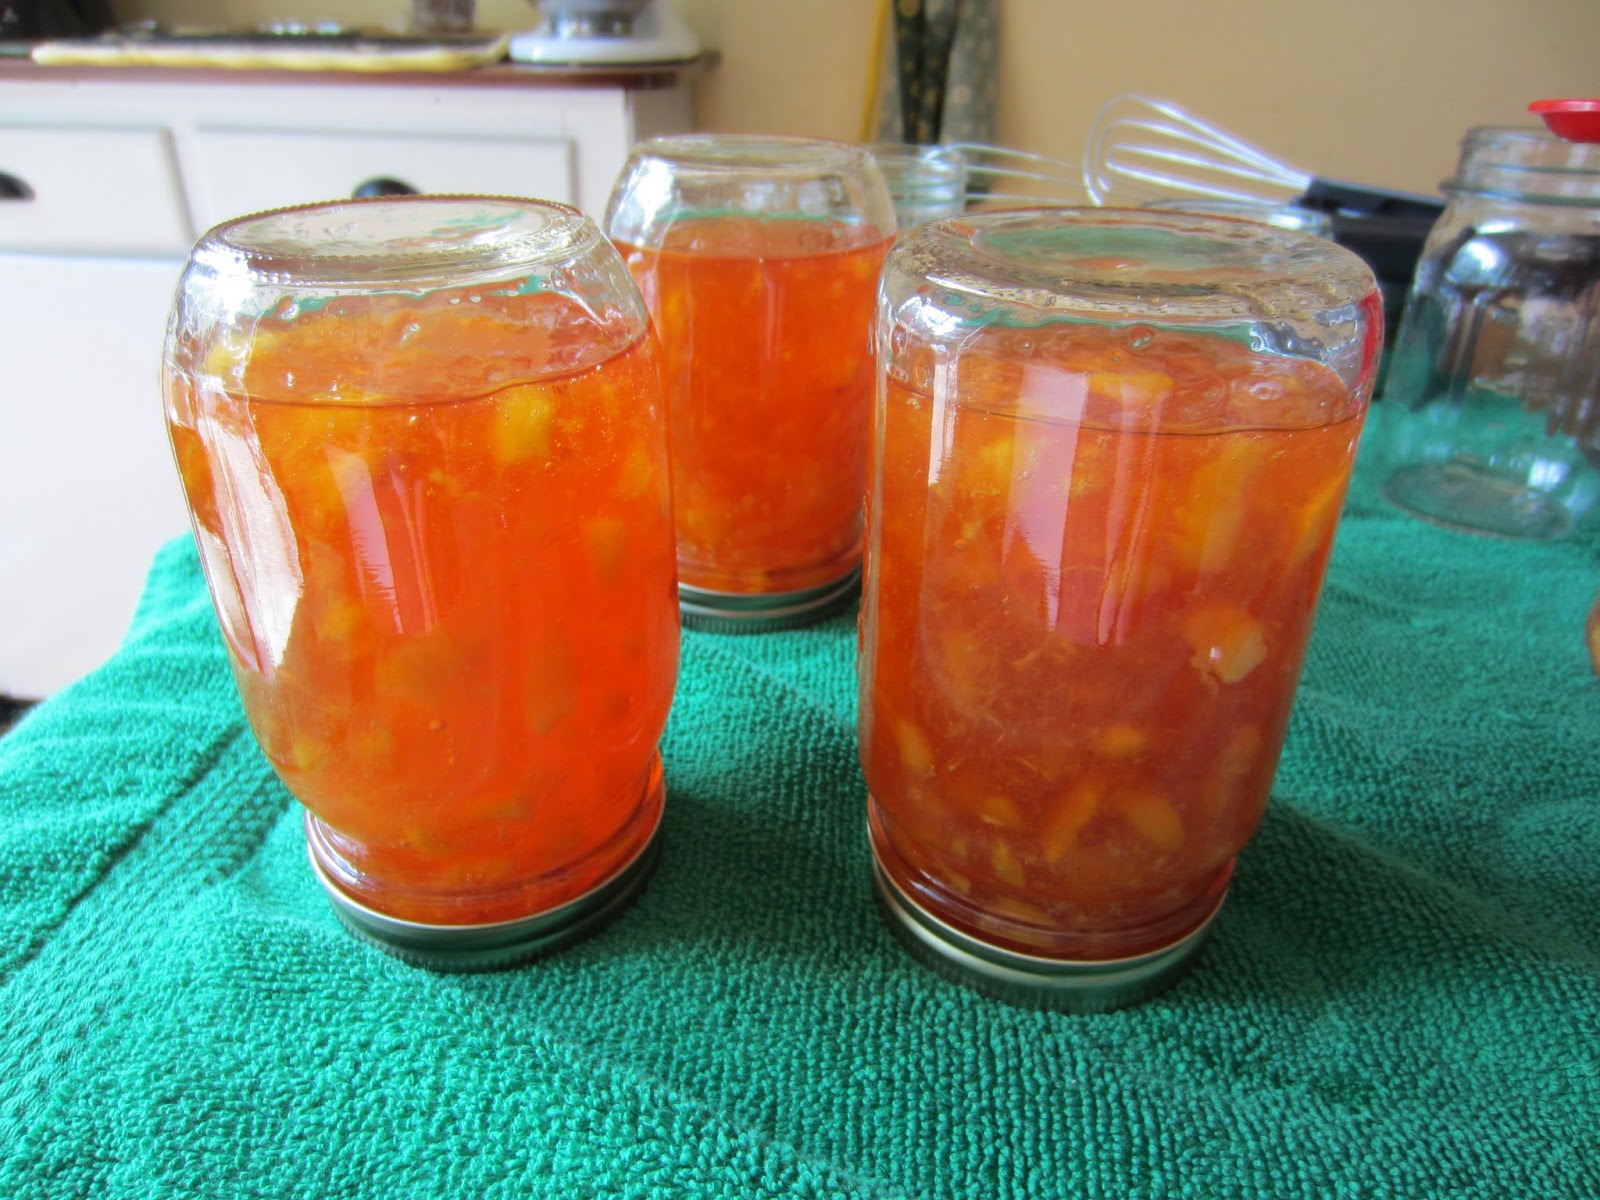
 Place the ring on the jar and tighten. When you have finished filling the jars, turn the jars upside down on the towel. (I make sure the rings are on.) This method is called Inversion Method. The method allows the jars to seal and it is not necessary to water bath the jars.
 Set the timer for 5 minutes.
 When the 5 minutes are up, turn the jars back over and wait for the "pop". Don't worry if you don't hear the pop. I didn't this time. You will know the jar has sealed when you press on the center of the lid. Sealed? The lid doesn't move. If it moves, let it set longer. Sometimes it will seal when you press on it.
 Anyway, very important...if the jar doesn't seal, don't worry, just put it in your refrigerator and enjoy it. Also, if you have a little leftover, just put it in a jar or bowl and place in the frig and enjoy it. It is really good when it is still warm. (You don't have to try to seal a lid on it to eat this way. In fact, a lid probably won't seal.)
 Once the lids have sealed, you can label and date the jam to store away.
You might also be interested in

making apricot jam
When we moved to MO almost five years ago, I really, really missed the fruit trees (in our yard). It really, really "hurt" having to BUY the fruit. I haven't put up as much jam since we have moved here, but it just doesn't seem right not to make at least one or two batches each summer.

That's what I did the other morning. (It only takes at the most an hour.) Actually I made two batches, just not the same day.
I bought a little more than 6 lbs one day when I went to the commissary at Fort Leavenworth. They were GA peaches. They weren't completely ripe, so I brought them home and placed them in several large paper grocery bags to ripen. Never heard of doing this? I almost always do it because when you buy them, they are almost never ripe. They can't pick them ripe and then ship them. All you have to do is place them in a single layer in a paper bag. Fold down the top and leave them along. You know they are ripe when you open the bag and can smell the peach. Then you can store them in the refrigerator until ready to eat or use.
I have been making jam for more years than I can remember. Last year I posted how to make apricot jam. It is very similar to make peach jam. The directions in the pectin will give specifics needed for different fruit.
One secret to being successful is to get everything ready before you start cooking the fruit. Once you start that process you don't want to measure, etc what you need.


making apricot jam
No comments:
Post a Comment