We had our first gathering for this quilt of valour a year ago -- last July. If you had asked any of us on that Thursday, I am sure everyone would have said that we would have been finished with our part of the project by now. As I have said in earlier posts we have had a hard time all being together during this past year. Then this summer two of our members, Dorothy and Rita, have had family medical situations that have taken priority.
Last month there were only four of us in town and so we decided to play canasta. This month even though Dorothy and Rita were not able to come, we decided we HAD to sew on the quilt. Fran was back from her trip to Ireland and Sharon was no longer house-bound with a broken left ankle and broken right kneecap. (She was walking her two dogs and slipped on a sweetgum ball.)
 As usual, we started our session with sharing time. Since Sharon has been recovering from her Mother's Day accident, she got a lot of knitting done. (Her sewing room is downstairs and she was restricted to one floor.) She has been knitting about five years and does beautiful work. Here are pictures of her three completed projects.


 Kay shared a quilt top that another NNL friend, Sue, had given her and asked her to finish the quilting. The squares are counted-cross stitch "pictures". Kay is going to stitch-in-the-ditch around the squares and finish the binding.
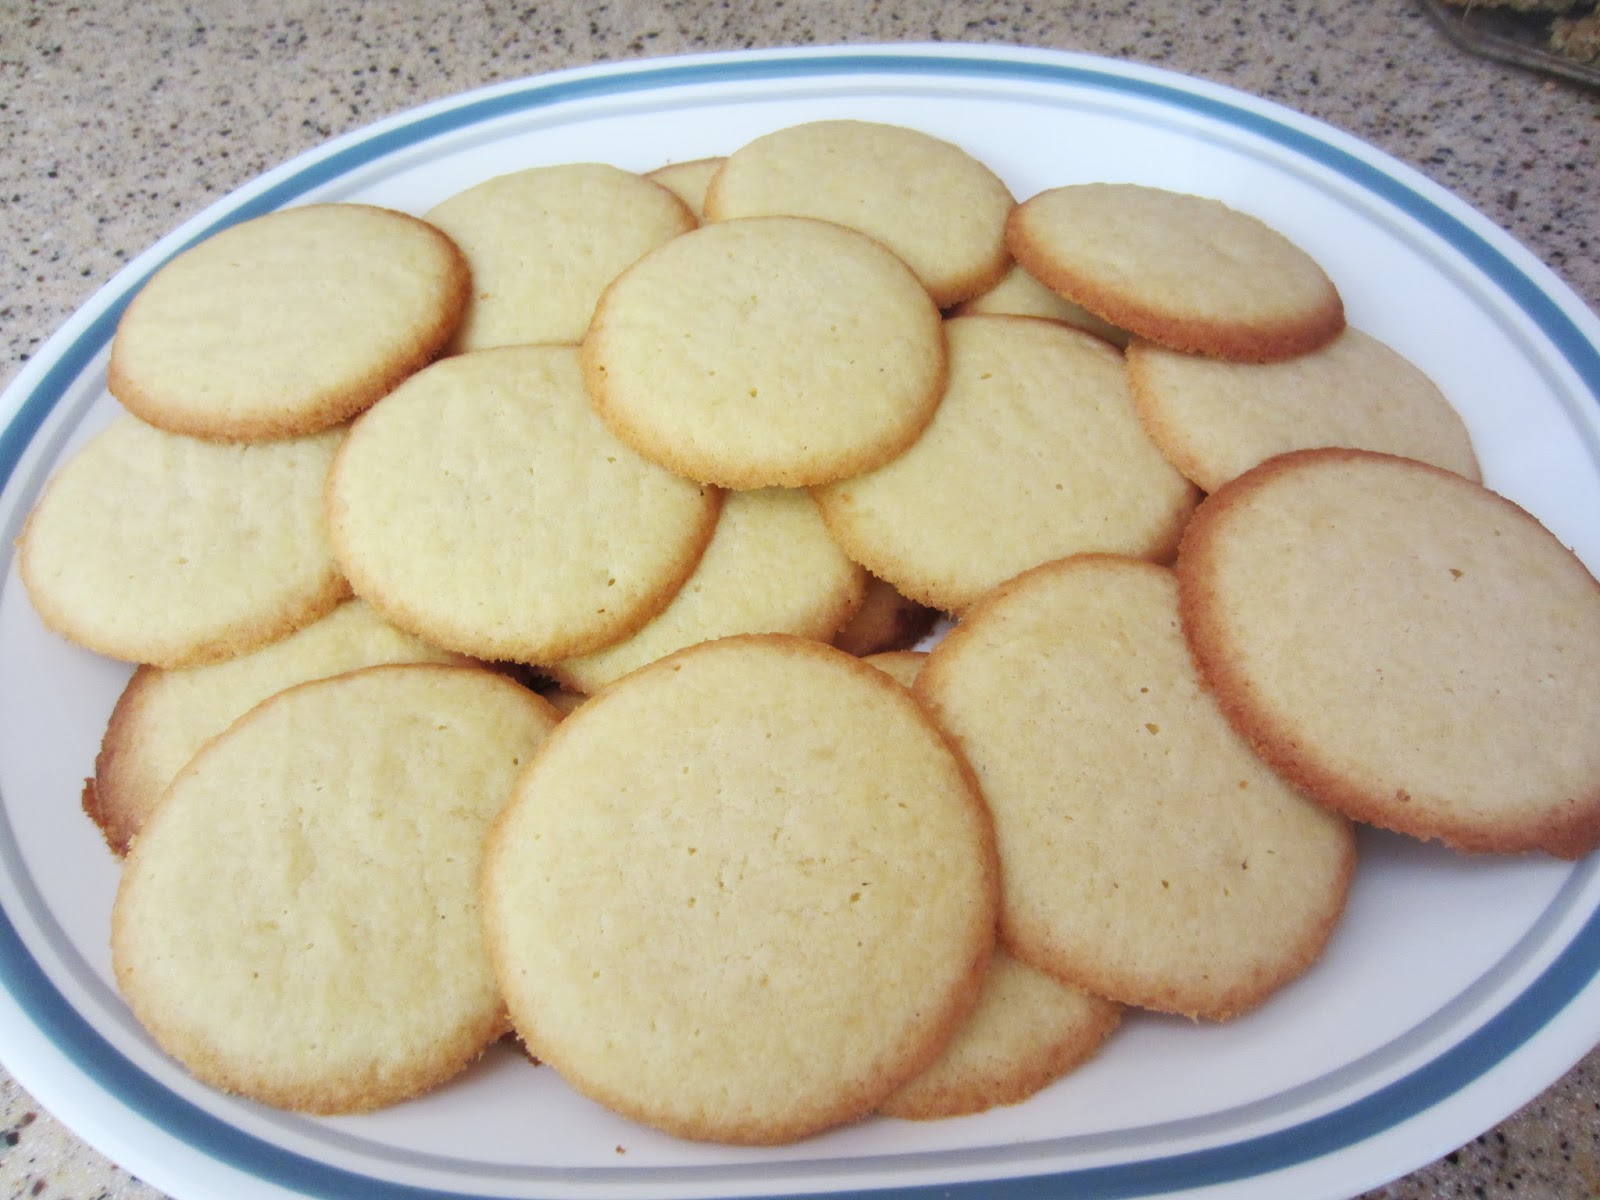 Ellen shared some new pictures of her newest grandson. I shared my sugar cookies that I had made that morning. The recipe was one that the cooks used at an elementary school where I taught in Arkansas back in the late 70s and early 80s. See the recipe HERE.

With sharing over, we decided it was time to get started working on the quilt. The best advice I can give any group taking on a project like this that will take several gatherings to get it completed is : Make sure you leave instructions on what needs to be done at the next gathering. My little notes have been "life-savers" since we have sometimes had a month or two between meeting.
 We had finished 3 sets of four-patch units and only needed to finish the last set (about 41 units)
We immediately got started with Janice pressing the seams on some "fourzies".
 Fran and Sharon were matching a fourzie with a 4-1/2 inch square. (This makes the four-patch unit.)

 Ellen was "squaring - up" the fourzies. We made them a little bigger than they would need to be finished, so that we could make sure they were "square". She lined up the center seam at 2-1/4 inches on the ruler so that equal amounts could be cut from each side. After lining up the seam, she cut off the excess on the top and right side. Then she rotated the fourzie 180 degrees, lined the the seam again, and then cut off the excess on the top and right side again.

 As soon as Fran and Sharon had units ready for us to sew, Kay and I started sewing.

 When we had several sewed, Fran would take a group and cut the connecting thread with Kay's trusty little Clover. I mentioned this in an earlier post. Niftiest little thing I have ever seen. Then Janice could press the seams.
 Here is another little tip when sewing. You know how sometimes when the machine makes it's first stitches, the material doesn't feed and the machine "eats" the materials? That what we call it. Anyway, start off with a "rabbit"....fold a piece of scrap so that you have the same thickness you will be sewing and start the sewing on it. Then if it "eats" the material you, aren't messing up your quilt square.
 Stitch across the piece of folded scrap, the "rabbit", then a few stitches and then bring on your square. No more messed up squares.
 After we finished the last set of units, we decided to start laying out the quilt on Kay's design wall. We used the picture in the magazine as a guide. (One set consisted of a blue 4-1/2 inch square and a fourzie with blue, another set had a red square with a red fourzie. The other two sets were beige squares and red and blue fourzies.)
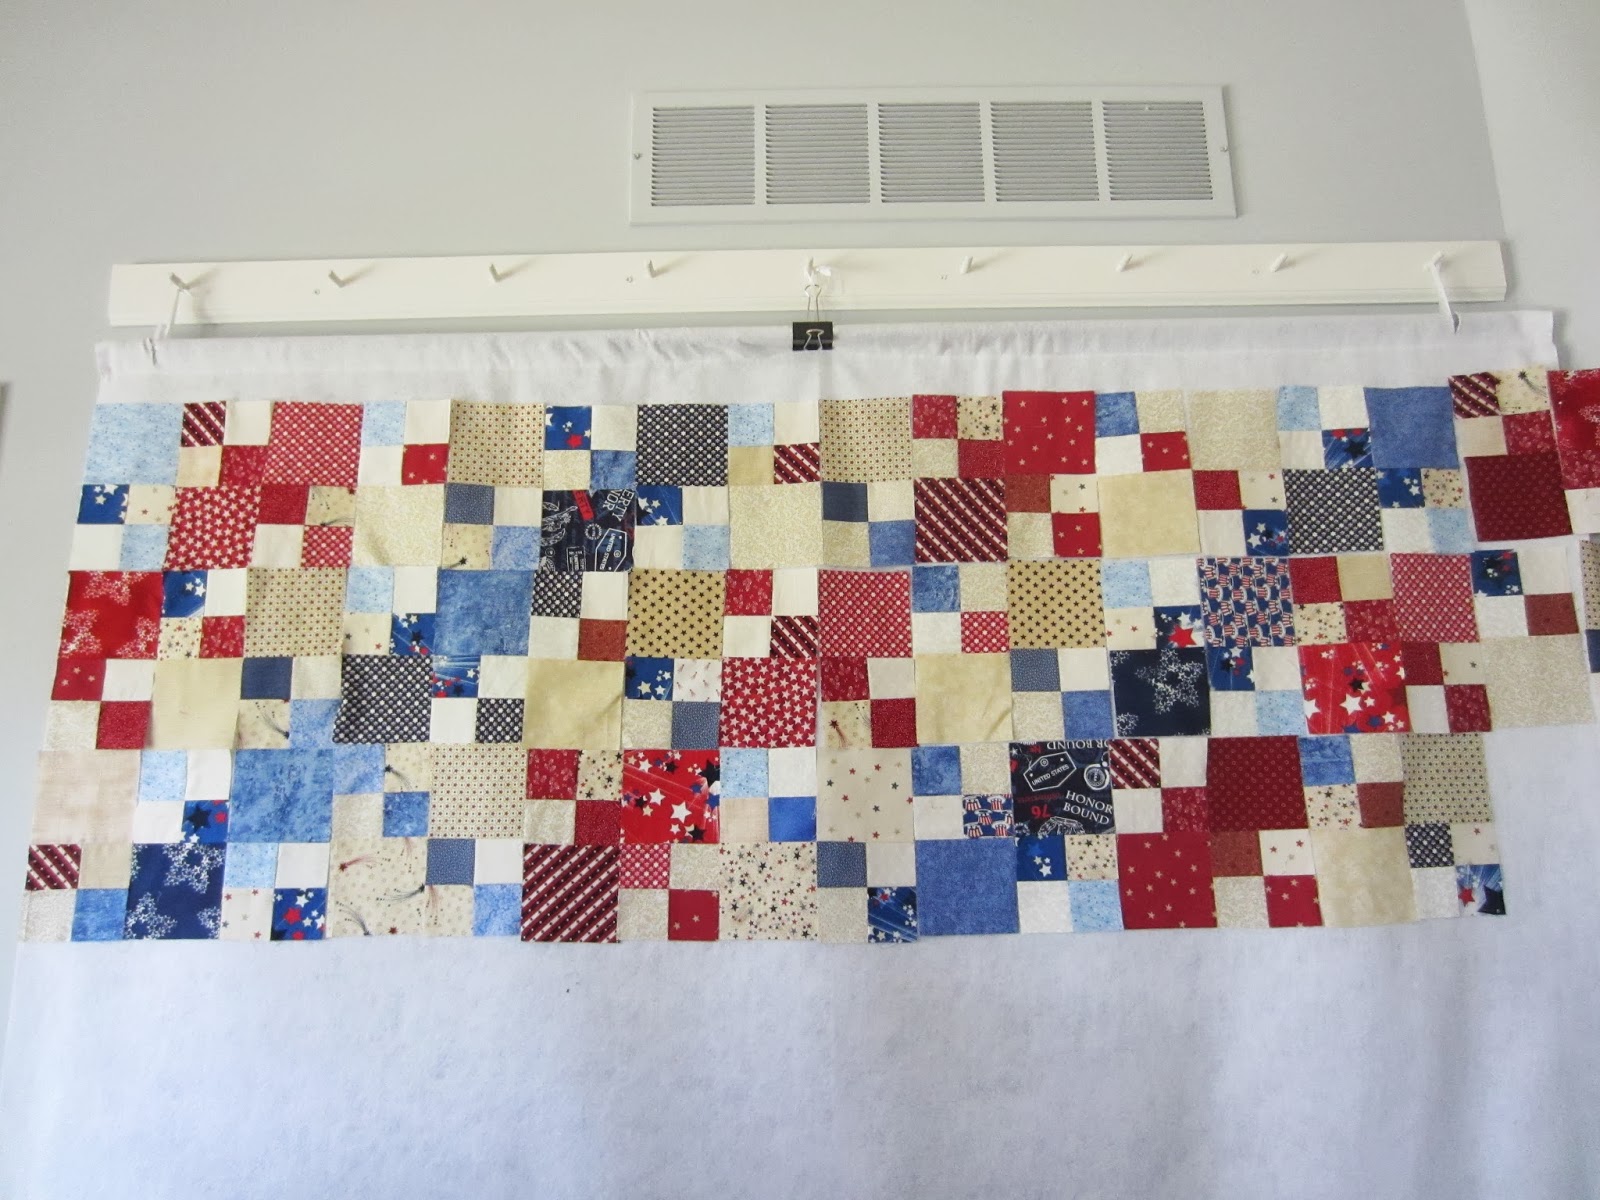 The diagonal pattern wasn't easy to see when we were just looking at the wall, but I took a picture....and the pattern just popped out at us.
It was also helpful because we could easily see that we had "lost" our pattern as we went across. Can you see when we "messed up"?
At this point, Sharon decided we just needed to make the 81 blocks from the 162 four-patch units and then "lay" it out. (Janice and I were getting picky about the same prints being too close together.)
So that is what we did.
 Sharon, Janice, and Fran put two four-patch units together according to the picture in the magazine.
 Ellen repinned them to make sure the seams were "nesting" and Kay and I sewed them together.
 As we got some sewed, they took turns pressing the seams open.
 Finally Kay sewed the last one.
 And Fran had the honor to press it. "Setting" the seam....
 And then pressing it open.
 And finally it was perfect.
 We felt so good because we had accomplished so much today.
 Our basket this time. At our next gathering we will be able to start laying the blocks out and sewing them together. Hopefully Dorothy will be back in town and able to join us.....after all it was Dorothy who first brought this project idea to us last year.
Go to the next post HERE. Missed out on the beginning of this story? You can read it HERE.
Each post will link to the next one.
Last month there were only four of us in town and so we decided to play canasta. This month even though Dorothy and Rita were not able to come, we decided we HAD to sew on the quilt. Fran was back from her trip to Ireland and Sharon was no longer house-bound with a broken left ankle and broken right kneecap. (She was walking her two dogs and slipped on a sweetgum ball.)
I also shared the remedy that Janice had seen on The Doctors for insect bites. I have had more than my share of those nice little things and was about crazy when Janice saw to use hemorhoidal cream on them to stop the itching. Let me tell you ..... it works. I bought the maximum strength variety....it contains a local anesthetic. The itching stops almost immediately. And you thought this was just a quilting post....
With sharing over, we decided it was time to get started working on the quilt. The best advice I can give any group taking on a project like this that will take several gatherings to get it completed is : Make sure you leave instructions on what needs to be done at the next gathering. My little notes have been "life-savers" since we have sometimes had a month or two between meeting.
We immediately got started with Janice pressing the seams on some "fourzies".
It was also helpful because we could easily see that we had "lost" our pattern as we went across. Can you see when we "messed up"?
At this point, Sharon decided we just needed to make the 81 blocks from the 162 four-patch units and then "lay" it out. (Janice and I were getting picky about the same prints being too close together.)
So that is what we did.
Go to the next post HERE. Missed out on the beginning of this story? You can read it HERE.
Each post will link to the next one.


