Monday, March 23, 2015

(KANSAS CITY'S) CHIEF'S TAILGATE DIP


Friday night we had 7 couples over for an evening of bridge. We used to have a pot luck dinner when we met once a month. Now we just like some appetizers and dessert. Since I don't "do" appetizers that well, I had to spend a little time searching through some of my numerous cookbooks looking for something I thought everyone would like. 

I have to admit the name of this first appetizer I am sharing with you is what caught my attention. Tailgating at the Kansas City Chiefs' home football games is quite an event. Since it was easy to make and I had most of the ingredients, I decided to make it and serve it as one of my appetizers. Complements to Cindy Decker from Excelsior Springs' First United Methodist Church for the recipe.

I did use reduced fat ingredients when I could. I would have used fat-free sour cream, but they didn't have it at the store when my husband went shopping for me. Friend Sue said she knew I would reduce the calories if it was at all possible.


CHIEF'S TAILGATE DIP

1-1/2     cups mayonnaise (I used Mayo with olive oil - reduced fat)
1-1/2     cups sour cream (I used reduced fat but fat free would work)
4           oz (1 cup) grated cheddar cheese
4           oz. (1 cup) grated mozzarella cheese
2           tablespoons Parmesan cheese
2           tablespoons onion flakes (I used dried minced onion)
1            tablespoon chopped parsley or dried (I did use dried parsley)
1            teaspoon sugar
1            teaspoon garlic salt

Combine the mayo and sour cream in a large mixing bowl.

Add the cheeses, onion, parsley, sugar, and salt.

Cover and refrigerate until ready to serve. I made mine in the morning to serve at 7 that night.


Serve with bagel chips or crackers.

My husband liked it with a new chip he found at the grocery store called Stacy's Pita Chips. They are a blend of 6 different grains topped with sea salt.


Friday, March 20, 2015

BUTTERSCOTCH FUDGE BARS

After two days of cool light rain, I am hoping the weather"men" are correct and it is going to get up to 60 today and even in the 70s tomorrow. After spending a marvelous week in Arizona with the temps in the 80s, I am more than ready for Spring.

It has been a busy week since we got back. We are still adjusting to the two hours difference in the time and getting ready to have 7 couples over Friday night for an evening of bridge. Besides cleaning house, I have been using most of my free time looking for some new recipes to make to serve. You'll get to see them next week, if they turn out as good as I hope. I never share anything that doesn't meet my high approval rate. 

Yesterday, I made these delicious Butterscotch Fudge Bars for my husband to take to the tax office at Fort Leavenworth. (The cookies I made for him to take on Monday were a disappointment. That meant he had to go without any "goody".) I think these bars will make up for it....at least I hope they do.


BUTTERSCOTCH FUDGE BARS

1/2    cup butter (1 stick)
1        square (1 oz) unsweetened chocolate
2/3   cup packed light brown sugar
1        egg
1        teaspoon vanilla
1        cup flour
1        teaspoon baking powder
dash of salt
1        cup butterscotch chips

Preheat oven to 350 degrees F. Grease a 9 inch square pan. ( I used my Pan Grease.)


In a medium size glass mixing bowl, melt butter and chocolate on High for 30 seconds. Stir, and cook for 30 more seconds on High. Stir til chocolate is melted. If necessary, can repeat for 15 or 30 more seconds. I just kept stirring.


Stir in brown sugar until no lumps. Cool to lukewarm.


Stir in vanilla and egg.

Combine the flour, baking powder, and salt in a small bowl. Stir into chocolate mixture until blended. 
Mixture will be thick.

Stir in chips.


Since the batter is thick, drop dollops of the batter around the pan and then spread evenly to cover the bottom. It will be a thin layer. Make sure you don't have any holes.


Bake for 22 - 27 minutes. A toothpick should come out clean or with a few moist crumbs when done.

Cool pan on wire rack.

Cut and serve.

Wednesday, March 18, 2015

PERSONAL QUESADILLA

Last week when we were in AZ, Friend Janice and I decided to treat ourselves. We found a nearby beauty salon midweek and thought we would get our hair "fixed". We had brought the necessary equipment to do it ourselves, but having someone do it for you, can be so relaxing. The problem though was the salon was a popular place and we couldn't both get our hair done on the same day. One of the stylist came in (it was her day off) and did my hair, but because we had made arrangements to meet our husbands for lunch, we couldn't stay for her to do Janice's hair. But Thursday, Janice called and got an appointment for Friday. 

This long explanation (do I know any other way?) is to explain how I saw this picture in a magazine for quesadillas. While I was waiting for Janice, I flipped through the magazines the salon had to entertain their clients while they waited. Since I get bored with lunch, I thought this sounded like a winner to me.

Late yesterday afternoon after I got through with my shift at Hillcrest Thrift Shop, my husband and I went to Aldi's. I hadn't had time to go since we had gotten back and needed to get a few things (which turned in many things....but you probably know how that goes.) Getting back in the car to come home, I noticed it was already 6:10. I think that it is the one thing I don't like about daylight savings time. It is later in the day than you realize....time wise that is. Not wanting to take too long is preparing some dinner for us, I remembered the quesadillas. 

I originally figured I would be using deli meat in my quesadillas, but instead thought some leftover rotisserie chicken would be perfect. I didn't really remember what ingredients were in the picture I had seen in the magazine, but had ideas of my own. I named this post Personal Quesadilla because you can use whatever ingredients you want to. I will share the ingredients I used, but remember, use what you have and like.


PERSONAL QUESADILLAS

tortilla
thinly sliced meat (I used leftover chicken)
shredded cheese 
diced tomatoes
cilantro

Lightly spray a skillet with cooking spray and heat over medium heat.

Place tortilla in the skillet and layer ingredients on one half of the tortilla.

Bring the other half of the tortilla and fold it over the filled half. Press it down with a spatula.

Brown (heat through).

Flip the quesadilla over and brown (heat) the other side.

Here are pictures I took cooking ours.

My husbands...

He loaded it with the cilantro...


Flipped over...

Cut and ready to eat...

Mine... My chicken was thinly sliced and I left off the cilantro...


My thinner one worked out better...although my husband really enjoyed his...

I was really surprised how filling it was with an added salad. I know I will be experimenting with this recipe for variety. Any suggestions?

Tuesday, March 17, 2015

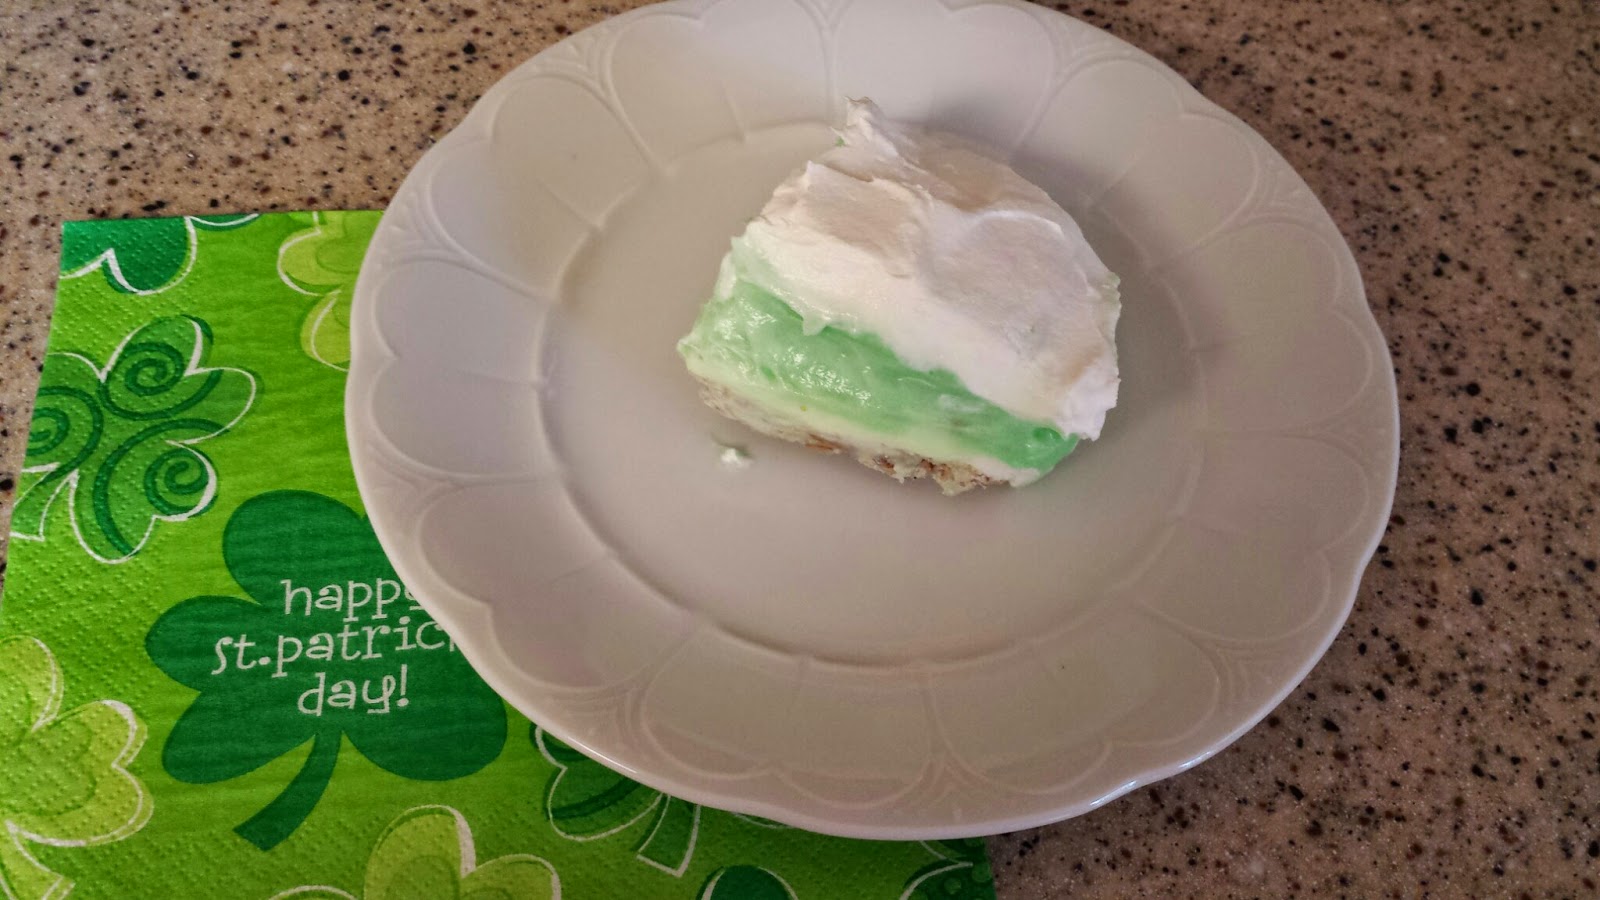
FOUR LAYER DESSERT

It isn't easy getting back in the groove with my blog after being on vacation. I did miss trying new recipes while we were gone, but it was also a surprising relief not having to come up with a different recipe each day. We did enjoy my Multi-Grain Cranberry Banana Bread that I took on the plane and two morning I made the No Sugar Added Orange Julius

I did have to find something to make to take to Hillcrest Thrift Shop for the downstairs volunteers. Since today is St. Patrick's Day, I wanted it to be something "green". After searching quite a few cookbooks, I decided on an old time favorite that I haven't made in a long time. Twenty plus years ago it was a favorite dessert to take to pot lucks or for family gatherings. The really great thing is you can use any flavor of pudding mix that you want to use. Since I wanted the dessert to be green, I chose pistachio pudding mix. I used sugar free pudding mixes but regular cream cheese. I have found that fat-free cream cheese doesn't "set-up" in desserts that aren't baked. 


FOUR LAYER DESSERT

1/2      cup butter or margarine
1          cup flour
1          cup chopped nuts
1          (8 - ounce) package cream cheese, room temperature
1          cup powdered sugar
1          (8 - ounce) carton Cool Whip, divided
2         (4 - serving size) packages Sugar Free, Fat Free Instant Pistachio Pudding
3         cups skim milk

Preheat oven to 350 degrees F. Lightly spray the bottom of a baking dish. (I used an 8-1/2 x 11 inch dish.)

Place butter in microwave safe bowl and heat for 30 seconds on High.

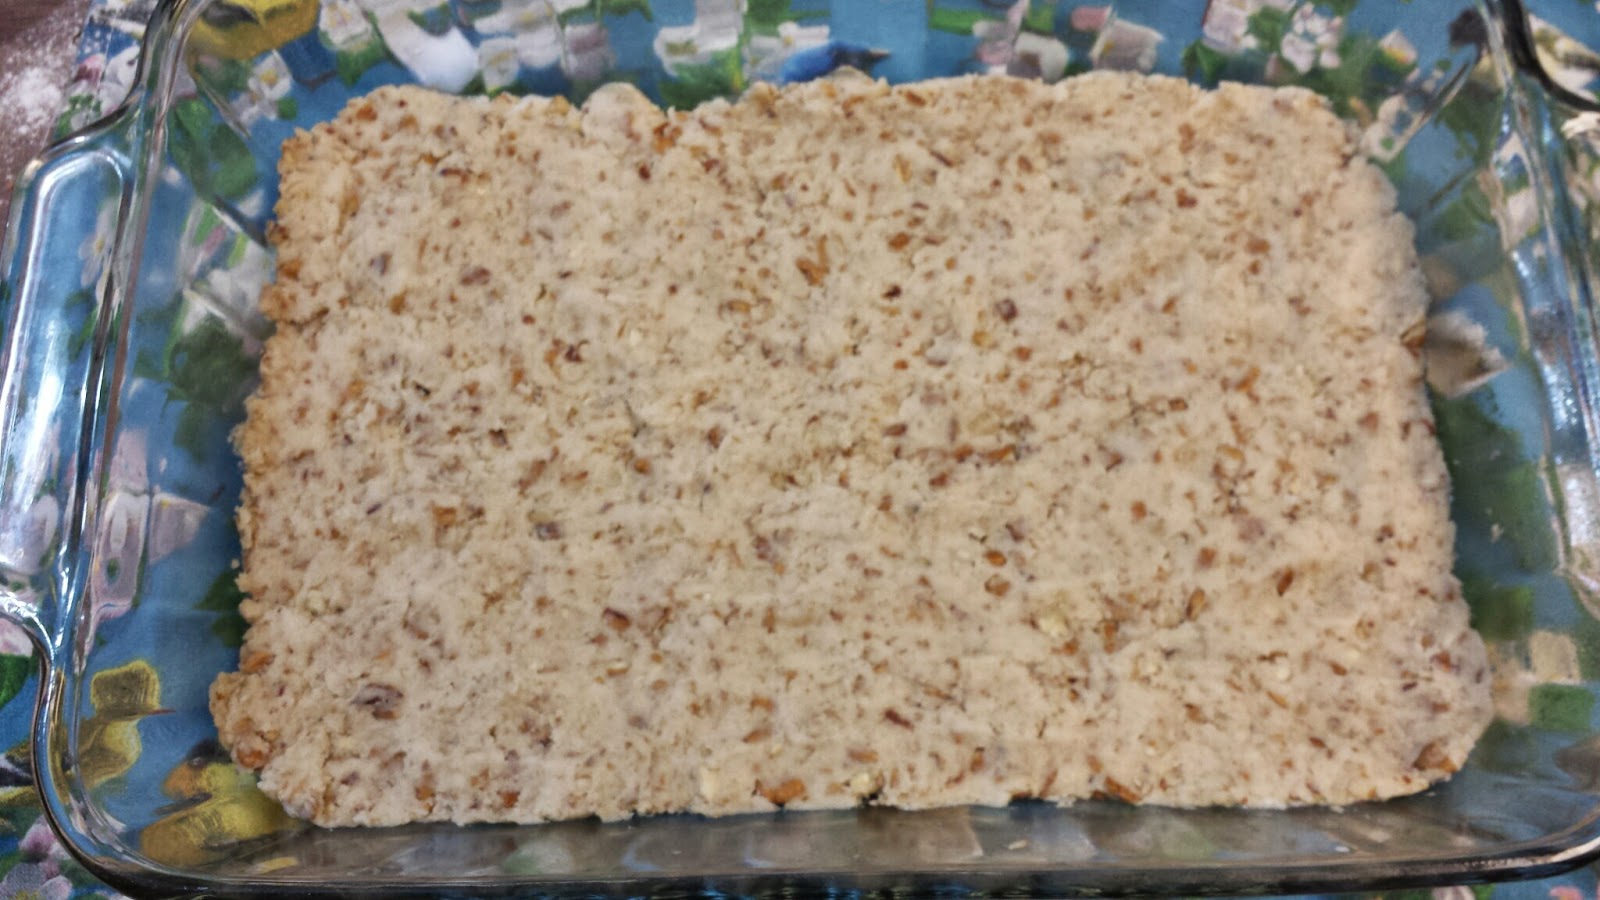
Combine the flour, nuts, and butter in a large mixing bowl until a "dough" forms.


Evenly spread the dough over the bottom of the dish.


Bake for 15 minutes. Cool.


Combined the cream cheese and powdered sugar in large mixing bowl and whip until smooth.

Add 1 cup of Cool Whip and continue beating until smooth.


Spread evenly over the cooled crust.


Add milk to pudding mixes in large mixing bowl. Beat for 2 minutes until pudding thickens. (I beat mine close to 3 minutes.)


Spread pudding mixes over cream cheese layer.


Top with the rest of the Cool Whip. This layer will be thin. 


Store in the refrigerator. Best made the day before you plan to serve it so you can be sure each layer "sets up", especially the pudding layer.


Monday, March 16, 2015

IMPOSSIBLY EASY FRENCH APPLE PIE

Last week while we were enjoying the warmer temperatures in Arizona, I shared the rest of the recipes from the February gathering of the Tasty Bunch at Friend Judy's house. It was definitely a meal that those of us in attendance won't forget anytime soon.

I do plan to share with you pictures from our week in AZ in a few days. The week went by faster than we would have liked, but we had a great time and I have some fabulous pictures to show you.

It will probably take me most of the week getting used to daylight savings time (that has always been my experience). This time it might be even harder though. We are not getting used to one hour but two hours difference now that we are back home. Daylight savings time went into effect the night we arrived in AZ, but as you may know, AZ doesn't participate in it. That meant while we were in AZ, local time in KC was 2 hours ahead of us instead of 1 as it is normally.

I did receive an email from Betty Crocker last week sharing a recipe for an apple pie called Impossibly Easy French Apple Pie. It looked interesting and I decided I would make it after we got back home. 

Not having anything "sweet" in the house to eat, I made it yesterday afternoon and enjoyed a piece of it last night after dinner. It was so easy to make and so good. I did a little to reduce the calories by using stevia for the sugar in the pie, but I did go on and use the 1/2 cup of regular brown sugar for the streusel. My philosophy is "Every little bit helps", but you can use regular sugar in the pie if you prefer. It was plenty sweet enough with the stevia though. I also increased the amount of apples called for in the recipe. I would have used even more, but I wasn't sure how it would work with the filling mixture.


IMPOSSIBLY EASY FRENCH APPLE PIE

Filling:

4        cups sliced peeled apples
1         teaspoon ground cinnamon
1/4     teaspoon ground nutmeg
1/2     cup reduced fat biscuit mix
1/2     cup stevia
1/2     cup milk
1         tablespoon butter or margarine, softened
2        eggs

Streusel:

1/2     cup reduced fat biscuit mix
1/3     cup chopped nuts
1/4     cup packed brown sugar
2        tablespoons firm butter or margarine*

Preheat oven to 325 degrees F. Spray a 9 - inch glass pie plate with nonstick cooking spray.

In a medium sized bowl, mix the sliced apples with the combined cinnamon and nutmeg;
place in the pie plate.

In a medium bowl, stir the remaining filling ingredients (biscuit mix, stevia, milk, butter, and eggs) until well blended with a whisk.  
Pour the mixture over the apples in the pie plate.

In a small bowl, mix all of the streusel ingredients until crumbly. 
Sprinkle over the filling.
TIP!! Since the butter is firm, try grating the butter to aid in the process of combining the ingredients.

Bake for 40 to 45 minutes or until knife inserted in center comes out clean. I did bake it the full 45 minutes.


Cool at least 5 minutes before serving. (I waited longer than that.)


Store in the refrigerator.

Friday, March 13, 2015

MULTI-GRAIN CRANBERRY BANANA BREAD

I couldn't believe how hard it was trying to find a recipe that used both cranberries and bananas. I had both and wanted to use them before they went bad. After looking in about 10 different cookbooks, I finally found this Cranberry Banana Bread recipe in A Taste of Mission Trail (Elementary School) cookbook I bought at an estate sale last year. 

Since the recipe called for 4 cups of flour, I decided to use half and half regular all-purpose flour and whole wheat pastry flour. I have found especially in "fruit" breads to combine the two doesn't alter the taste that much if any. Besides we enjoy the taste of the whole wheat pastry flour. If you don't have whole wheat pastry flour, you could always just use 4 cups of regular flour. I also reduced the amount of sugar the Sue Gallion's recipe called for. It's hard for me to make anything with more than 2 cups of sugar. I decided to reduce it to 2 cups but use truvia blend for the sugar and thereby only use 1 cup. As with the flour, if you don't have a sugar/stevia blend and want to use regular sugar, use 2 cups. It was plenty sweet enough.

Sue said the recipe would make 2 regular sized loaves or 4 mini loaves. I only have 1 regular sized loaf pan (8-1/2 x 4-1/2 inches) now so I used my little blue 1-1/2 pint Pyrex loaf dishes that are approximately 6 x 3-3/4 inches. I had 3 generous smaller loaves. Here is one of them...


MULTI-GRAIN CRANBERRY BANANA BREAD


1/2       cup margarine
1           cup truvia blend
2          eggs
4          cups flour (2 cups all purpose flour + 2 cups whole wheat pastry flour
3          teaspoons baking powder
2          teaspoons salt
1           teaspoon baking soda
1-1/2    cups mashed bananas (4 of my bananas)
2          cups chopped cranberries (I used fresh but you could use frozen)
1/2       cup chopped pecans

Preheat oven to 350 degrees F. Flour and grease loaf pans. I used my Pan Grease.


Cream butter and sugar until nice and smooth. (I did this while I mashed the bananas.)


Add egg and mashed banana to creamed mixture. 


Stir together dry ingredients (flour, baking powder, salt, and baking soda) with a whisk.


Add dry ingredients all at once to creamed mixture and blend well on a low (or stir) speed. Batter will be stiff.


Stir together cranberries and nuts 
and add to batter stirring with a spoon.


Divide batter between loaf pans.  makes 2 regular loaves or 3 - 4 small loaves. 


Bake 50 to 60 minutes. I baked mine 50 minutes. I started checking with a toothpick stuck in the center at 40 minutes.

Cool on wire rack for 10 minutes. May need to run a knife around inner edges to loosen the loaf.