Wednesday, October 8, 2014

APPLE CIDER BUNDT CAKE


APPLE CIDER BUNDT CAKE

1        yellow cake mix (I used a sugar free yellow cake mix)
1/2    cup margarine, melted
3       eggs
1-1/3 cup apple cider
1        teaspoon cinnamon
1/2    teaspoon allspice

Preheat oven to 350 degrees F.  Grease and flour a 12 - cup capacity Bundt cake pan.

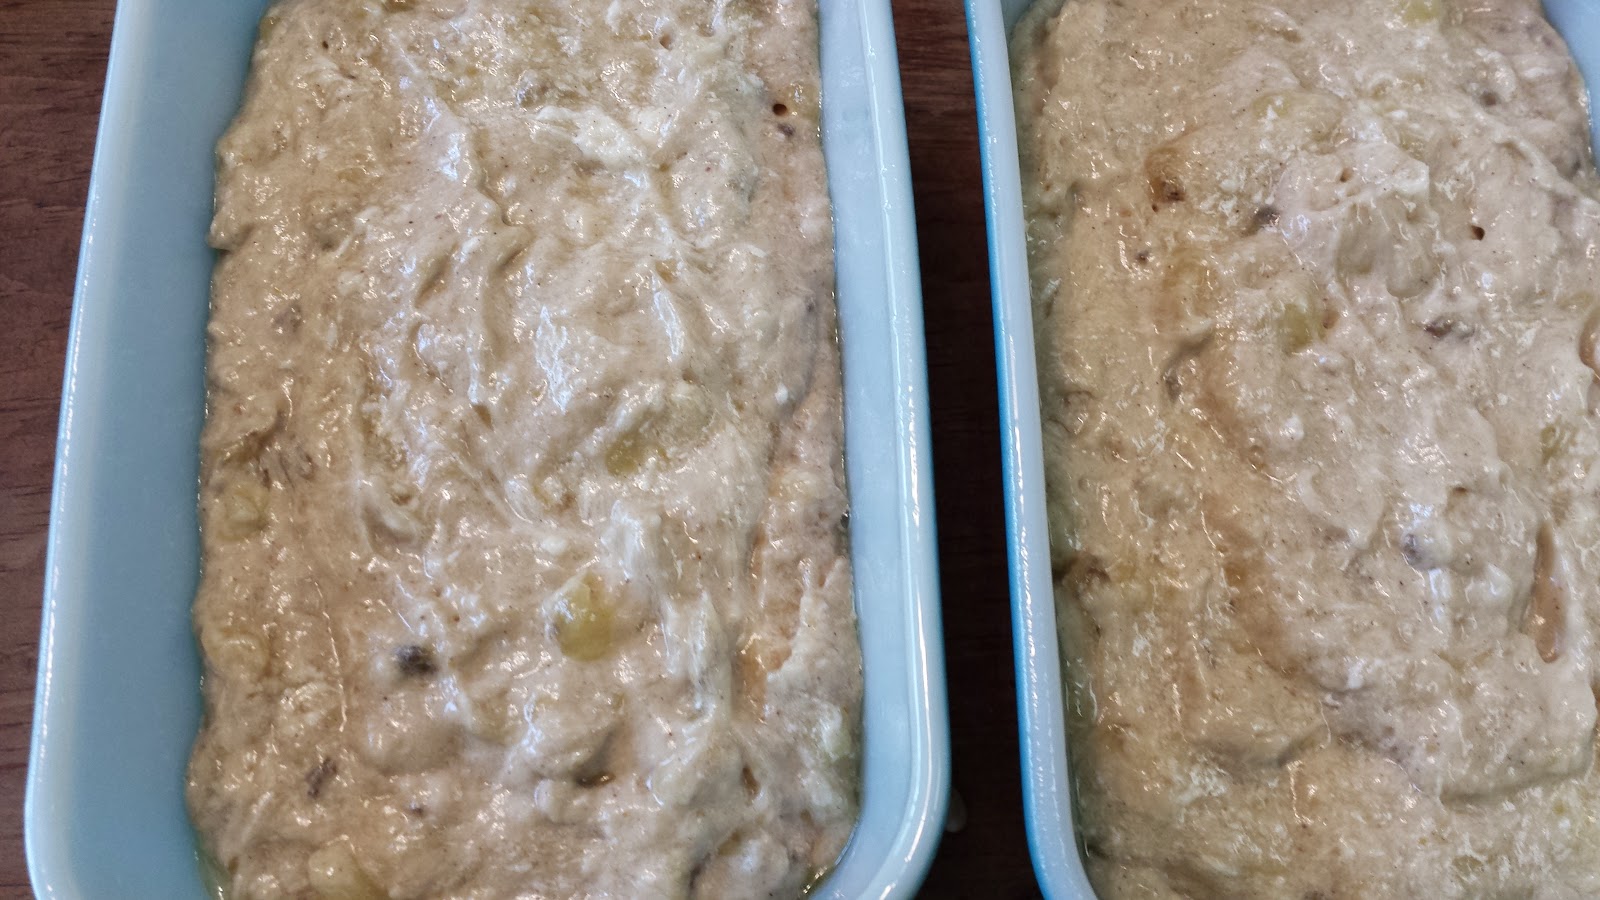
In a large mixing bowl, combine all of the ingredients.  Beat on low speed to blend.

Increase speed to medium and beat for 2 minutes.

Pour batter into prepared pan.

Bake for 45 to 50 minutes or until cake tester comes out clean.

Cool in pan on wire rack for 10 minutes.

Turn out onto serving platter.


Drizzle with glaze.


Apple Cider Glaze

2     cups powdered sugar, sifted
enough apple cider to make a glaze the consistency you desire


Tuesday was my scheduled day to volunteer at Hillcrest Thrift Shop.  We got back from being out of town for the weekend Monday night around 7.  I was thinking I would have to make my dessert that night, but decided I would have enough time the next morning to make it.  (We had to get up at 7 to get the rental car turned in so my husband could get to the golf course in plenty of time to play golf.) So Monday night I just searched through some recipe trying to decide what I was going to make.

I had seen several recipes using apple cider a couple of weeks ago, but wasn't sure where I had seen them.  I finally found it in the Quick Fixes with Mixes cookbook by Lia Wilson. I used a sugar free cake mix to reduce the amount of sugar. 

Everyone at Hillcrest really enjoyed it. In fact, there was only 1 piece left at the end of my shift.  It sure tasted good! (Mark is still talking about the ICE CREAM CAKE I made a week or so ago.  He has voted it his all - time favorite, but he did drop by the register to tell me the cake was really good, as always. Thanks, Mark.)

Monday, October 6, 2014

PUMPKIN CINNAMON ROLLS


It's been a few years since I last made any cinnamon rolls.  My dil Sara makes really good cinnamon rolls.  She has treated us and her family with cinnamon rolls on several of our visits with them.

Cinnamon Rolls are one of my husband's favorite. I saw a picture of these Pumpkin Cinnamon Rolls at tasteandtaleblog.com and decided I would give them a try.  My husband would be really happy and since the recipe would make 18, I could take most of them to Hillcrest Thrift Shop on Saturday when I was going to volunteer.

Because of the length of prep time to make cinnamon rolls, Sara always makes her cinnamon rolls the night before and then they are ready for breakfast the next morning. I decided to make them Friday night but just cook them 20 of the 30 minutes baking time. Saturday morning I cooked them the other 10 minutes and then iced them with the Maple Cinnamon Cream Cheese Frosting. That meant they were a little warm when I took them to the thrift shop.

The recipe was only supposed to make 18 rolls. I obviously didn't cut mine as thick as the recipe planned because I made about 32 rolls. Because I made that many, I decided to keep one pan of them for us. That pleased my husband.


PUMPKIN CINNAMON ROLLS


Rolls:

1/4       cup warm water
2 -1/4  teaspoon active dry yeast or one 0.25 oz pkg.
3/4      cup evaporated milk
3/4      cup stevia or sugar
1         (15 oz) can pumpkin
3         tablespoons canola oil
1         egg, beaten
2         teaspoons pumpkin pie spice
5 - 7    cups flour

Filling:

1/3       cup margarine
3/4       cup brown sugar
1/2       cup stevia or sugar
1          tablespoon cinnamon
2          teaspoons pumpkin pie spice

MAPLE CINNAMON CREAM CHEESE FROSTING

1          8 - oz pkg 1/3 less fat cream cheese, softened
1/2      cup margarine, softened
2         cups powdered sugar, sifted
1         teaspoon maple extract
1/2      teaspoon cinnamon


In a large bowl (I used the one with my mixer), combine the water and the yeast. Stir to dissolve. Add a pinch of the sugar.  Let set for 5 to 10 minutes or til yeast starts to bubble.

Stir in the milk, stevia, pumpkin, oil, egg, and pumpkin pie spice.

Add in 4 cups of the flour and stir to combine. Scrape the sides of the bowl as needed. Continue to add the flour a fourth of a cup at a time until the dough comes together and pulls away from the side of the bowl. I needed to add about another 1 - 1/4 cups of flour.


Knead the dough until smooth and elastic. (I have a large yellow Tupperware bowl that I like to use when I knead dough like this.  I sprinkle a little flour on the bottom and the bowl keeps everything nice and tidy. I used my dough attachment to my mixer to add the flour and it really shortens kneading time.

I didn't even knead the dough 30 seconds.)

Grease a large mixing bowl to use to let the dough rise.  
Drop the ball of dough in the bowl and then flip it over.  This little coating of shortening on the dough will keep it from getting crusty or dry. 
Cover with a towel until it doubles in size about 1 - 1/2 hours.  


The really great thing about working with yeast dough is that if you need to let the dough riser longer than suggested time, it's okay. A test to see if the dough has risen enough is to stick your fingertip in the center.  
If the indention stays, the dough is ready.  If it starts to rise back up, let it set longer.

When it is ready, punch the dough down.  (I love this part!  It is so much fun to punch the dough down and have it "rise up" around your fist. Just call me weird.) Continue to punch it down until it has all deflated. Then work with the dough a little to make it smoother. Cut the dough in half.
On a lightly floured surface, work the dough into a "log" 
and with a rolling pin, roll it out to about 12 x 16 - inch rectangle. (Don't worry if it isn't exactly that size. Do try to make it 12 inches on one side though so that when you roll it up, you will make 3 or 4 complete rolls.)

Brush the melted margarine over the entire area.


Combine the brown sugar, stevia, and spices in a small bowl. Sprinkle entire amount evenly over the margarine.


Starting on one side, start rolling as tightly as you can until
you get to the other side.

Cut the rolls 1/2 inch to 1 inch wide. (As I said the recipe was supposed to only make 18 but I made 32 so I think I may have cut mine too narrow.)
Lay the rolls with the cut side down in a greased baking dish. (or up - whichever way you want to think about it)


TIP!!!!
I don't have a picture of it, but a tip I learned a number of years ago is to use dental floss to cut through the dough.  Bring the floss under the roll of dough and move to the distance you want to "cut" the rolls.  Then bring the floss up to the top and cross over the dough tightening the floss until it "cuts" the dough through into a roll. 


Cover the pans with a dish towel and wait for the rolls to double in size, about 45 minutes. 


Since I had three pans, I couldn't cook all of them at the same time. I took the first pan that looked good to bake first. I just let the other two pans continue to rise. The rolls were supposed to cook for 30 minutes. I took them out after 20 minutes because I wanted them to be warm the next morning when I took them to the thrift shop.

I cooked the other two pans at the same time, also 20 minutes.

I allowed them to cool and then covered them with foil until the next morning.


The next morning I baked them the additional 10 minutes.


To make the frosting:


Beat together the cream cheese and margarine.  (I heated the cream cheese for about 30 seconds in the microwave to soften.)


Add the additional ingredients for the frosting and beat until light and creamy.


Frost the rolls.


All the rolls I made.

Oops!  Well, almost all the rolls I made.  I told you cinnamon rolls were a favorite of my husband.  He couldn't wait. 

Next time I will make the rolls a little thicker. Because of the pumpkin, these rolls are denser than cinnamon rolls. You can compare them with cake donuts. Cake donuts have a different texture than glazed donuts.  Some people prefer cake donuts (my husband does).

Either way, the people (volunteers) at the thrift shop thought they were perfect. (And my husband enjoyed the pan I kept at home.)  

Saturday, October 4, 2014

HAZELNUT PEAR CAKE


This is the wickedly good dessert that Paula brought to share with our Sunday school class, the Bible Boomers on Sunday.  It looked too good to pass up and it tasted even better.

She shared with us her difficulty in finding hazelnuts.  She got the last bag that one of our grocery stores had. Christine asked me if the Handbell choir sold hazelnuts in our annual "Nut Sale" coming soon. I told her we did, but Paula said she wanted to buy some in the shells. Sounds like she has some free time on her hands. She got the recipe from Taste of Home.

Don't you just love the tablecloth we used?


HAZELNUT PEAR CAKE

1 - 1/2     cups whole hazelnuts, toasted and skins removed*
1              cup unsalted butter, softened
2             cups sugar
4             eggs
2             teaspoons vanilla extract
1              teaspoon almond extract
2 - 1/2    cups all - purpose flour
1/2          teaspoon salt
1/2          teaspoon baking soda
1              cup ricotta cheese
3             ripe medium pears, peeled, and chopped ( about 2 cups)

Browned Butter Glaze

1/2          cup butter, cubed
3             tablespoons 2 % milk
1              teaspoon vanilla extract
1 - 3/4  to 2 cups confectioners' sugar

Preheat oven to 350 degrees F. Grease and flour a 10 - in fluted tube pan.

Chop 1 cup hazelnuts.  Place remaining hazelnuts in a food processor and pulse until finely ground.

In a large bowl, cream the butter and sugar until light and fluffy. Add eggs, one at a time, beating well after each addition. Beat in extracts.

In another bowl, whisk the flour, salt, baking soda, and ground hazelnuts together.

Add the dry mixture to the creamed mixture alternately with the ricotta cheese, beating after each addition just until combined.

Fold in pears and chopped hazelnuts.

Pour the batter in the prepared pan.

Bake 55 - 65 minutes or until a toothpick inserted in center comes out clean.

Cool in pan 10 minutes before removing to a wire rack to cool completely.

For the glaze:

In a small heavy saucepan, melt the butter over medium heat.  Heat 5 - 7 minutes or until golden brown, stirring constantly.

Transfer to a bowl.

Stir in milk, vanilla, and enough confectioners' sugar to reach desired consistency.

Drizzle over cooled cake. (Paula said it makes a lot.)

* To toast whole hazelnuts, spread hazelnuts in a 15 x 10 x 1 - inch baking pan.  Bake in a 350 degree F oven 7 - 10 minutes or until fragrant and lightly browned, stirring occasionally. To remove skins, wrap hazelnuts in a tea towel; rub with towel to loosen skins.

Friday, October 3, 2014

HARVEY T. WALLBANGER CAKE

Remember the Frozen Banana Dips I shared on Monday?  Friend Deb made them and we enjoyed them at our most recent Farkle gathering.  She also served this delicious Harvey Wallbanger Cake. It was a big hit also; so light and moist. 


HARVEY T. WALLBANGER CAKE

1       pkg. yellow cake mix
1       pkg. instant vanilla pudding
1       cup oil
4       eggs
1/4    cup vodka
1/4    cup Galliano liqueur
3/4    cup orange juice

Preheat oven to 350 degrees F. Grease and lightly flour  a Bundt pan.

Mix all ingredients together and beat for 4 minutes.

Pour batter into prepared pan.

Bake for 45 to 50 minutes.

Cool for 10 minutes on wire rack and then invert cake on platter.

Dust with confectioner's sugar when cool or frost with an orange glaze. (glaze made with confectioner's sugar and orange juice)


Serve....

Thursday, October 2, 2014

BANANA 3 - WAY BATTER

Have you ever wondered how many different ways there are to make banana "bread"?  Every time I find a new recipe, I wonder. I have published about 21 different recipes.  My number one post is for a banana bread, Moist Banana Bread, an Amish Recipe.

The recipe I am sharing today I found in the Ventura Star - Free Press, Ventura's local newspaper when we first moved to CA. Now I think it is a county paper. The basic recipe is given and shown three different ways you can bake it....a loaf (bread), muffins, and a coffee cake. I am including the directions for the last two ways even though I have actually never made them that way. The recipe also shows its versatility by listing many different "add-ins". The possibilities are endless with this recipe.

The last time (6 months ago) when I had my dental cleaning Dee told they were always willing to "taste-test" my recipes.  So I made the recipe and took one of the two mini loaves that the recipe made with me when I had my appointment earlier this week.  They were really surprised and delighted. When I told them to let me know how it tasted because I would be putting it on my blog, Linda said to write, "I tired calling them several times in the afternoon but got no answer."  Very funny, Linda.


BANANA 3 - WAY BATTER


1/2       cup margarine
1           cup stevia or sugar
2          eggs 
1 - 1/2  cups mashed ripe bananas (3 - 4 depending on size)
1           tablespoon lemon or lime juice (I used lemon juice)
2          cups unsifted flour
1           teaspoon baking soda
1/2       teaspoon salt
1/2       teaspoon cinnamon
1/2       teaspoon lemon rind - grated (I used lemon peel)

Optional add - ins:

1/2       cup:  chopped nuts
                     dates
                     raisins
                     dried apricots
                     coconut
                     prunes
                     chocolate chips
                     cranberries/dried cranberries

Preheat oven to 350 degrees F.  

In large mixing bowl, cream together margarine and stevia until light and fluffy.  

Beat in eggs, one at a time, beating well after each addition.

Stir in mashed bananas and lemon juice.

In a different bowl, mix together the flour, soda, salt, cinnamon, and lemon peel. 

Blend dry ingredients into creamed mixture.

Stir in any add-in if you have chosen to do so.

For the loaf


Spoon the batter into a greased loaf pan or two mini loaves pans. (My Pyrex loaf pans are a little bigger than the standard mini loaf pan.) Bake for 55 minutes for larger loaf or 40 - 45 minutes for smaller loaves. Check doneness by inserting a toothpick in the center of the loaf. If done, the toothpick will be clean.


Cool 10 minutes and 
remove from pan.


For Muffins:

Spoon batter into 24 greased 2 - 1/2 inch muffin cups.  Bake for 15 - 20 minutes.

For Coffee Cake:

Spread batter evenly in a greased 9 - inch square pan. Bake 40 minutes or until cake tester (toothpick) comes out clean. Slice 2 bananas and arrange slices over top of cake.  Sprinkle with a topping of 1/2 cup packed brown sugar combined with 2 tablespoons margarine, melted and 1/4 cup flaked coconut.
Broil 2 minutes or until topping is bubbly or lightly browned.

I took the other loaf to my grandchildren Madison and Tyler.  They were so excited to get it.  Madison said, "Thank you for bringing another loaf." She is so thoughtful and just 4 years old. Tyler doesn't say much but every time his mother wasn't looking, he was picking it up trying to get the plastic wrap off.  (Madison always wants to see what it looks like when I have it wrapped in foil.)
Here are pictures of them I managed to take. Tyler loves my phone and at only 2 - 1/2, he knows what to do when he gets it. I have to watch him. ; ).


Madison had to pose.


Tyler is just so "stinking" cute is all I can say. Love his dimples.

Wednesday, October 1, 2014

OAT MUFFINS with BANANAS AND WALNUTS

My husband and I attend the Bible Boomers Sunday School Class at Platte Woods United Methodist Church.  This past Sunday we had a "Meet and Eat" gathering. We have these gatherings when we need to make plans for future classes, studies, socials, and service projects.  

I got up early so I could make these healthy muffins. I figured someone would bring something "unheathy" for people to enjoy (and Paula did - will be sharing it later. Get ready....it's a good one!) This recipe was in The Parade magazine in the Sunday paper earlier this month. If you make only 12 muffins (see below) and use butter instead of margarine, each muffin will contain 180 calories.


OAT MUFFINS with BANANAS and WALNUTS

TOPPING:

1/4       cup old-fashioned rolled oats
1          tablespoon packed light brown sugar
1/4       teaspoon ground cinnamon
1/4       teaspoon nutmeg
1          tablespoon margarine, melted

MUFFINS:

1          cup sifted flour
1/4       cup packed light brown sugar
2          teaspoons baking powder
1/2       teaspoon baking soda
1/2       teaspoon ground cinnamon
1/4       teaspoon ground ginger
1/4       teaspoon salt
1          cup old-fashioned rolled oats
1/2       cup chopped walnuts
3/4       cup buttermilk (not fat free) (I used lowfat)
1          large egg
2          tablespoons margarine, melted
3/4       cup mashed ripe bananas (about 2 bananas)

Preheat oven to 400 degrees F.  Place paper liners in 12 muffin pan cups. 

Stir together all topping ingredients in a small bowl and set aside.

Make muffins:  Combine the dry ingredients in a mixing bowl with a whisk. Make a "well" in the center.

In a separate bowl, whisk together the buttermilk, egg, and margarine; then mix in the bananas.


Pour the liquid ingredients in the center of the dry ingredients and stir until just combined.

Pour batter into muffin cups - each cup should be about 2/3rds full. (I had extra batter and made 8 little "poppers".)

Scatter the topping over batter, dividing evenly among cups.


Bake until muffins are gently rounded and topping is lightly browned. 20 to 25 minutes (15 minutes for poppers)


Cool on a wire rack and serve.


They are so delicious!