When we went to Massachusetts in May, I mentioned that I had gotten a sandwich made with Anadama bread at a local deli where we stopped for lunch one day while exploring the Cape. I remembered liking it when I used to make it and wasn't disappointed with theirs. I have been wanting to make my recipe again ever since we got back, but just hadn't had the right day to do it.
I woke up yesterday morning thinking it was the right day to make my recipe again. I don't remember where I got the recipe...it is one of those written on a recipe card in my recipe box. All I wrote on the card was "Catskill Women". I don't remember their instructions because I wrote them down on the card the way I decided to mix it up...with my blender. The recipe makes 4 loaves but I cut it in half so it would work in my blender. I will be sharing the halved recipe. Double it if you wish to make 4 loaves. But it might not work in the blender.

ANADAMA BREAD
1/2 cup yellow cornmeal
2 cups boiling water
2 tablespoons shortening
1/2 cup molasses
2 teaspoons salt
2 eggs
1 tablespoon yeast
1/2 cup lukewarm water
1 teaspoon sugar
5 - 6+ cups flour
 In a blender, pour boiling water. Remove the cup in the lid for the blender and slowly add the cornmeal while blender is "stirring".
 When thoroughly mixed, through the lid add the shortening, molasses, and salt while blender is "stirring".
 Cool (about 15 minutes)
 Add the two eggs through the lid hole while the blender is "stirring".
 Allow the mixture to cool slightly while you add the yeast to the lukewarm water in a cup stirring with a spoon to dissolve the yeast. Sprinkle the sugar over the top.
 Let the yeast foam for about 5 - 10 minutes.
 In a large bowl measure the flour and make a well in the middle of the bowl. (I have a large yellow Tupperware bowl I use for this that I have had forever.)
 Add the yeast to the mixture in the blender and "stir" to combine.
 Pour the mixture into the center (well) of the flour bowl.

 Work with a wooden spoon til the flour is mixed in.

 Add more flour a little at a time as needed to make a stiff dough. (I probably added up to another cup.
 Once it is getting stiff enough to knead it, use your hand to knead the dough til smooth. (Several minutes) I love to do this in the big Tupperware bowl as it isn't messy like it is when you use a board.


 Grease another bowl
 and drop dough in
 and then turn it over
 and cover for 1 hour. (This will put a light coating of the shortening on the top of the dough.)
 At the end of an hour,
 punch the dough down in the center with your fist.
 Knead the dough til smooth again. (I used my cutting board this time....covered with a little extra flour.) You may need to add a little more flour to make the dough smooth and not sticky.

Kneading is really easy. Just bring an "edge" over to the center. Continue doing this moving around the circle.

 Cut the dough in half. (Don't worry if it's not perfectly halved. Even though I try hard, I rarely manage to do this perfectly.)
 Reshape into smooth loaves
 and place in 2 greased loaf pans (8-1/2 x 4-1/2 - inch size).
 Cover with the towel again
 and let it rise for 30 minutes. (You can see how one loaf is bigger than the other one.)
 Bake for 40 - 45 minutes at 375 degrees F.
 Bread is done when it sounds hollow when you tap the top of it.
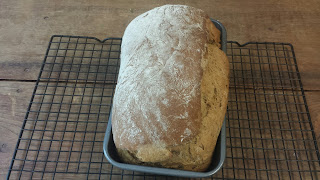
 Remove from pans and cool on wire rack.
 Brush tops with melted butter and let cool.

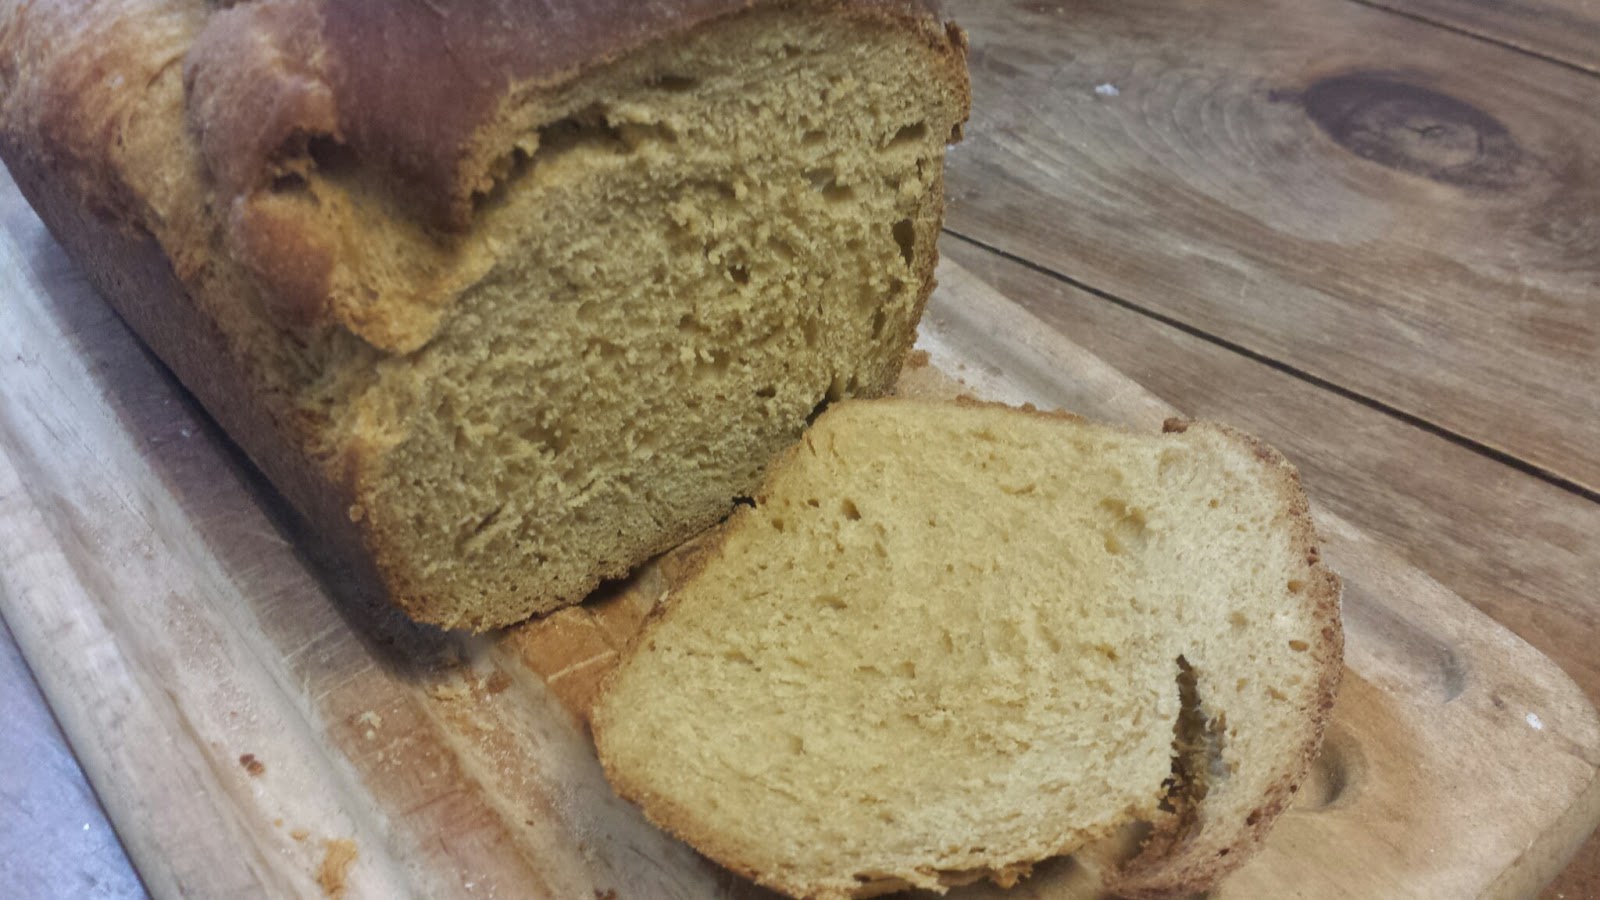
 Slice...
 Great toasted...
spread with butter...
 and even topped with a little homemade peach jam. It's like having dessert.
I woke up yesterday morning thinking it was the right day to make my recipe again. I don't remember where I got the recipe...it is one of those written on a recipe card in my recipe box. All I wrote on the card was "Catskill Women". I don't remember their instructions because I wrote them down on the card the way I decided to mix it up...with my blender. The recipe makes 4 loaves but I cut it in half so it would work in my blender. I will be sharing the halved recipe. Double it if you wish to make 4 loaves. But it might not work in the blender.

ANADAMA BREAD
1/2 cup yellow cornmeal
2 cups boiling water
2 tablespoons shortening
1/2 cup molasses
2 teaspoons salt
2 eggs
1 tablespoon yeast
1/2 cup lukewarm water
1 teaspoon sugar
5 - 6+ cups flour


Kneading is really easy. Just bring an "edge" over to the center. Continue doing this moving around the circle.


spread with butter...


