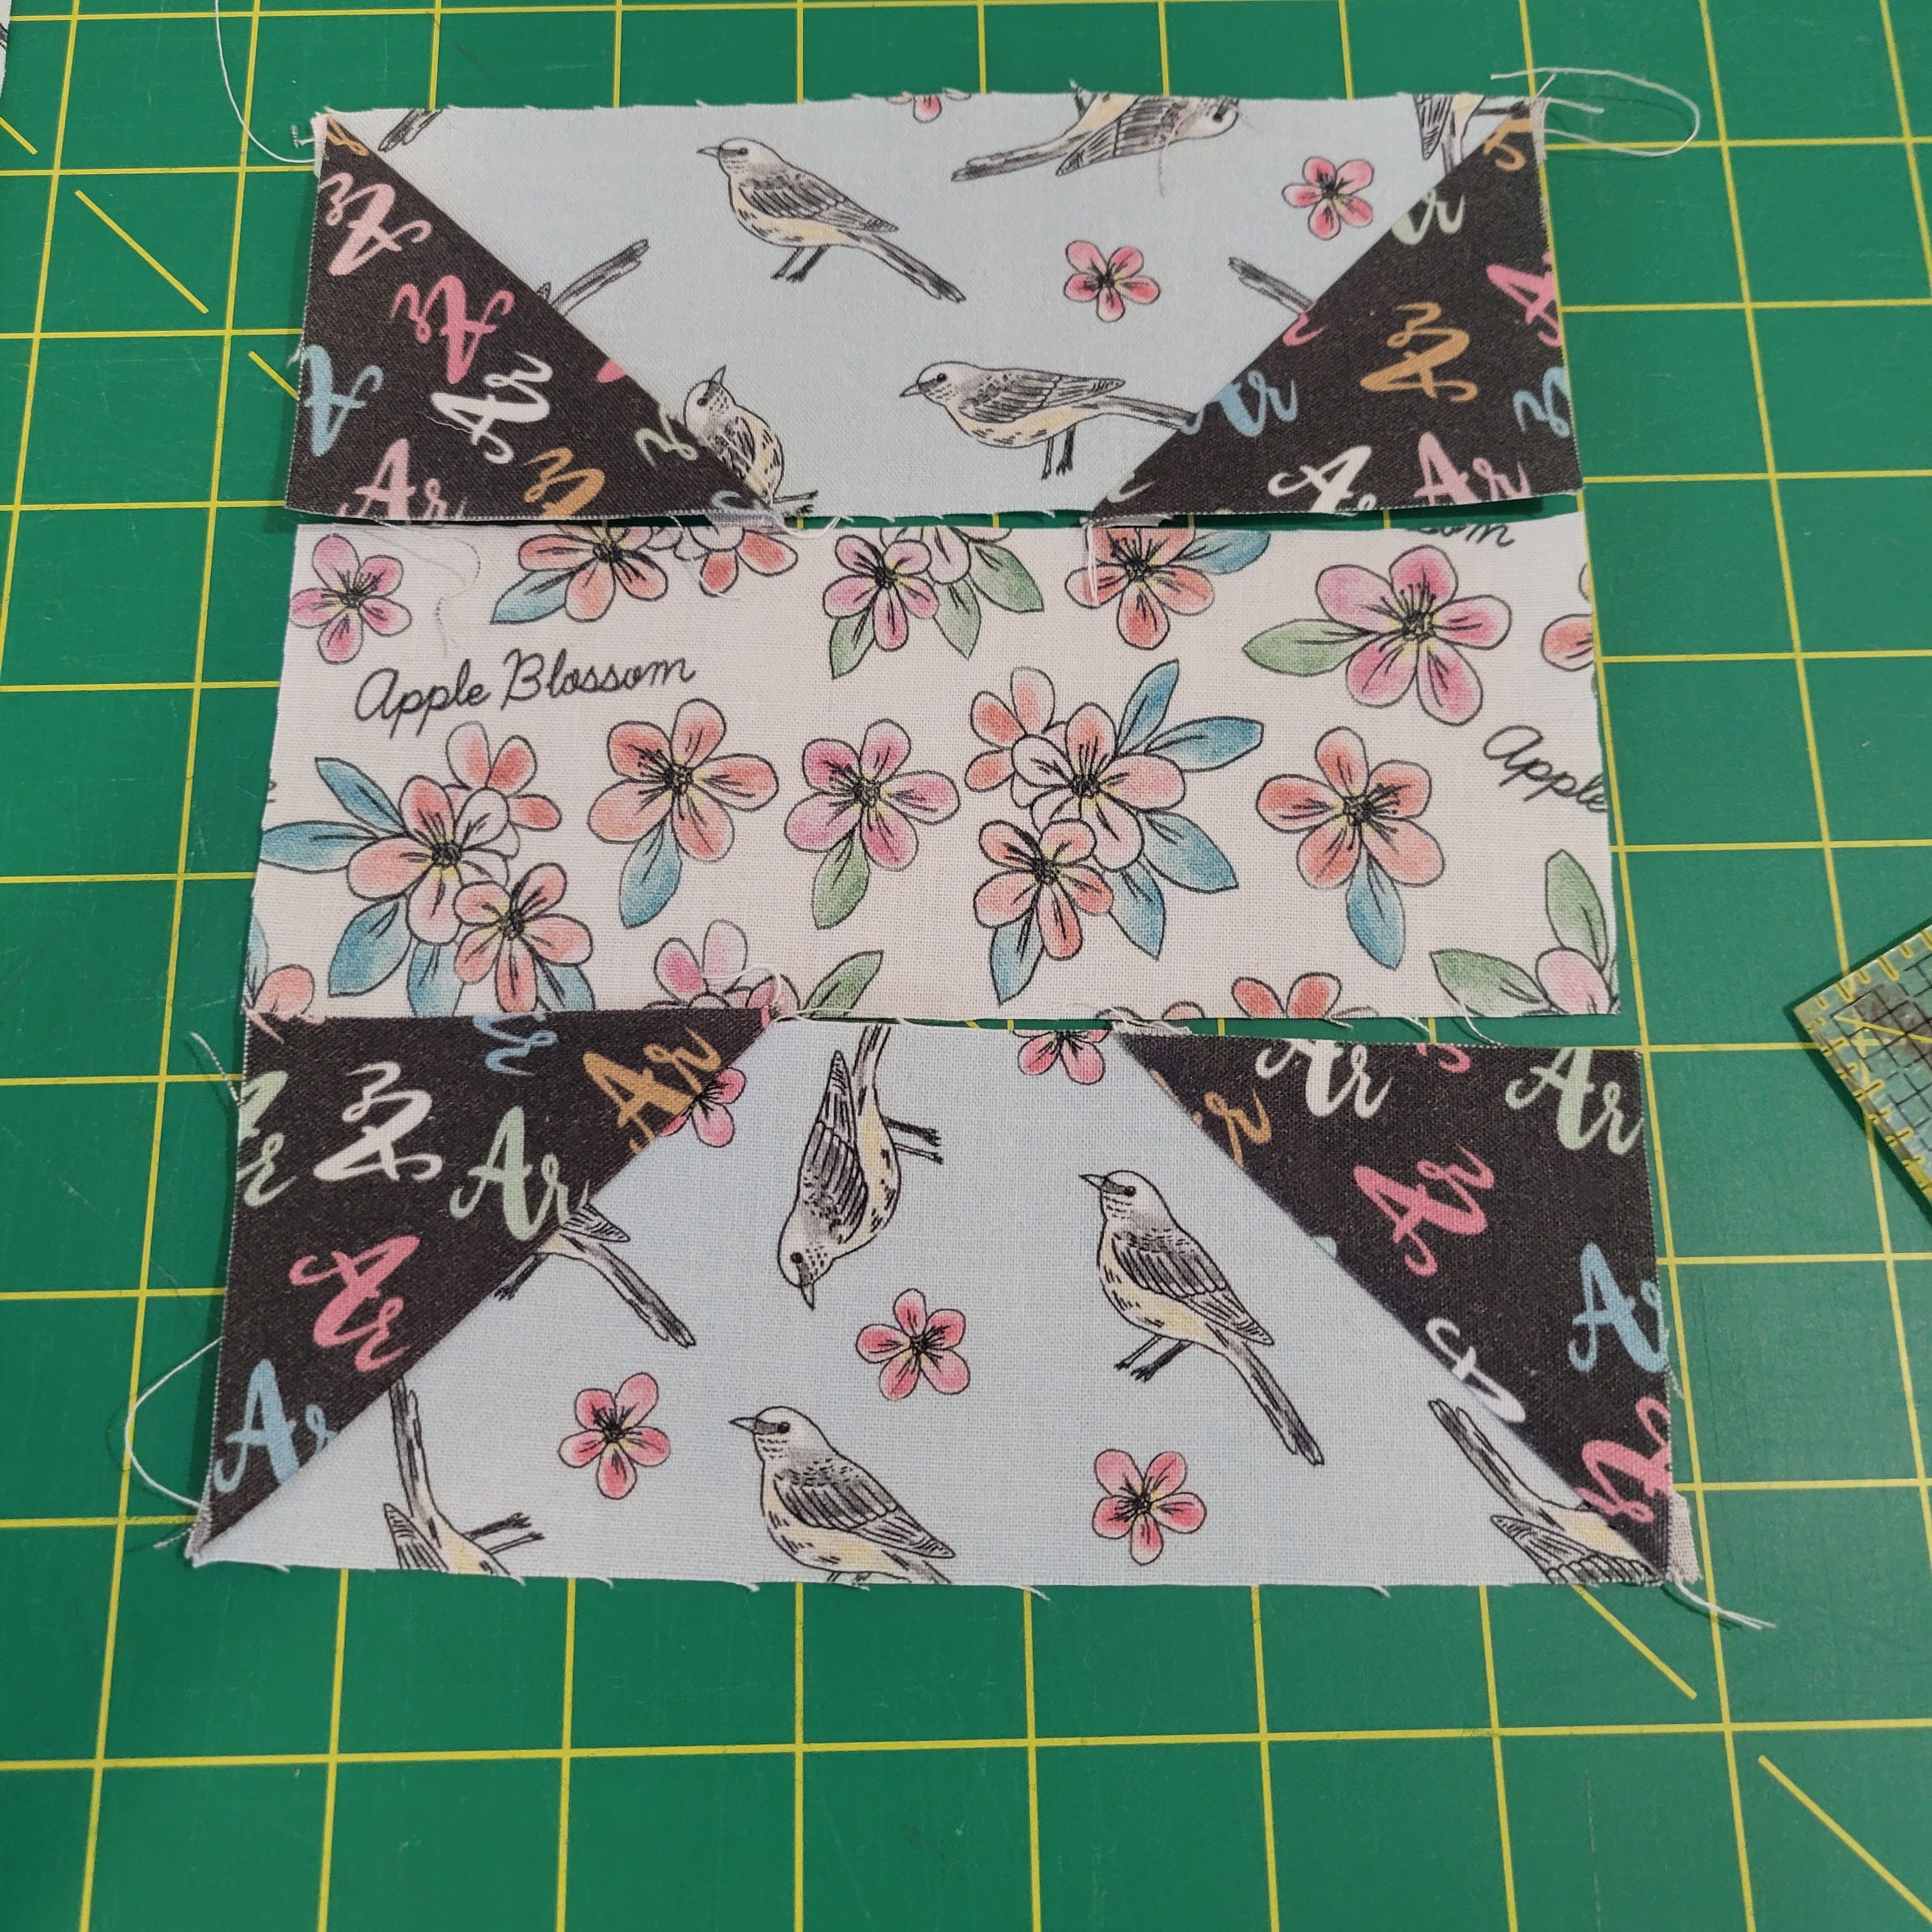
This block was one of the first ones I made.. Not sure why I waited until the end here to write the tutorial for it. It might have been when I saw that many of the other ladies were mailing their blocks out early that I realized I wanted to enjoy it a little longer. It has been hard giving away some of the blocks I have made, I admit. But it helps receiving awesome ones from the ladies. Right now I have 18 blocks. My design wall is full.
I really liked this block when I found it because I had spent all fall making a Log Cabin queen sized quilt for a cousin of my husbands for Christmas. I also was hoping this activity would use up some of my scraps and stash. Well, I have used up some of my scraps, but the stash is still there since it doesn't take much to make one block. I did go into my stash for this block because I needed fourteen (14) different prints. I chose red prints but the day I made the block I received the same block in blues from one of the ladies.
On my drawing of the block, I numbered the pieces in the order in which they are sewn. It also has two "starts" as it represents the heart and a heart has two chambers. You might notice when you look at the drawing that I did not number the corners on strips 8, 12, and 15. The print for 13 you will notice in the picture is the same print for these corners. You may sew the corners on just before you add each of these three (3) strips or you can sew them on the strips to begin with and just put them on the design wall in there place. I added them all first as you will see in my instructions. One last suggestion - As you cut the pieces place them on your table or design wall about where they will be in the block so that you can decide which print will look good nearby. You can do some interchanges as you sew with the strips that are the same length if you decide they would look better somewhere else.

HOW TO MAKE A SCRAPPY LOG CABIN HEART BLOCK (12.5")
(all seams are 1/4" and seams are pressed toward the added piece.)

You will need fourteen (14) different colored prints - thirteen (13) of them of the same hue of a color and one (1) for the background.
CUT from the background print - one (1) - 4.5" square and four (4) - 2.5" squares
Scrappy reds and pinks (only one piece from each color) CUT:
four (4) - 2.5" squares
four (4) - 2.5" x 4.5" strips
two (2) - 2.5" x 6.5" strips
two (2) - 2.5" x 8.5" strips
one (1) - 2.5" x 12.5" strip


On my design wall...

I started with the background corners on the three strips first by drawing a diagonal line from two opposite corners on the wrong side of the background fabric four (4) 2.5" squares. (That is the wrong side of the fabric, just doesn't look like it in the picture.)


TRIM 1/4" from the line toward the outer corner and
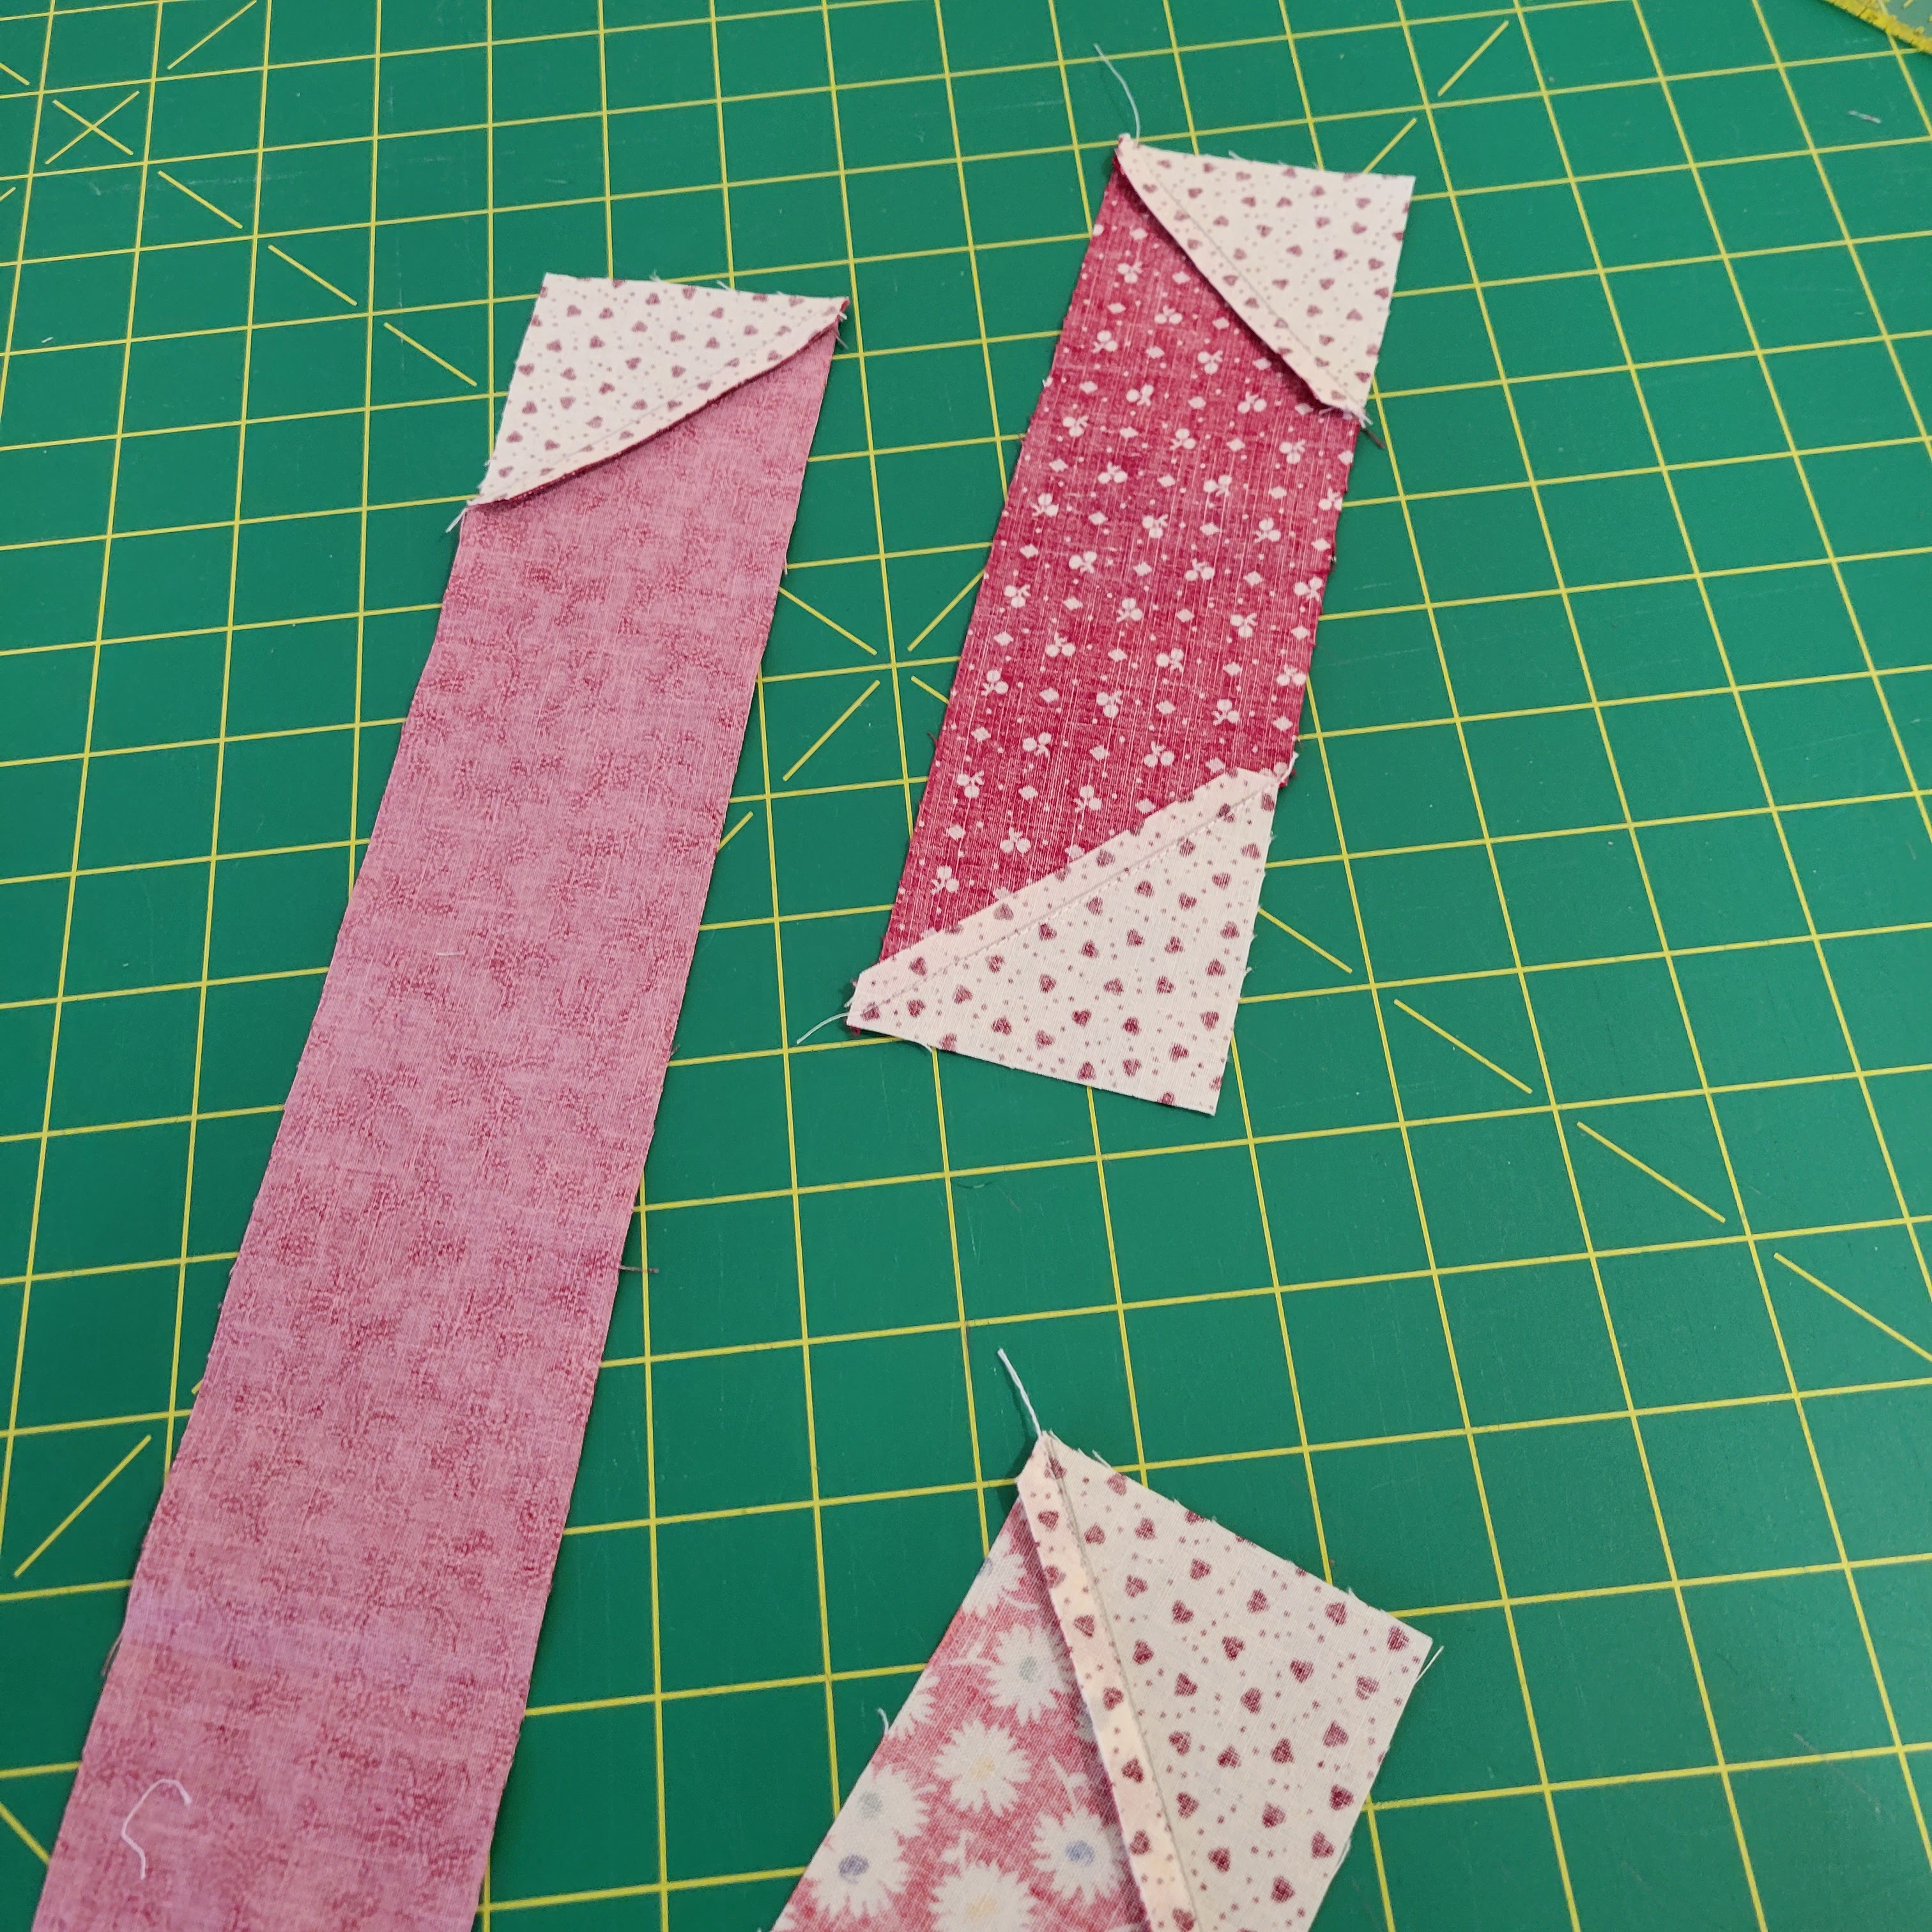
PRESS toward the strip, first on the wrong side and then on the right side.

If you haven't done so, arrange the pieces in the pattern of the block. Now it is just a matter of sewing the strips together similar to making a log cabin blocks except that there are two "starts".

Start here with these two (2) 2.5" squares.

Each time after you SEW pieces together, you will PRESS toward the added piece and then

SQUARE the sewed piece up and TRIM off any access. Note if you are "short" anywhere so you can make allowances when you sew the next piece on. This is very a very important step when making this type of block if you want a flat block when you are finished. At this point you want the strip to be 2.5" wide.


We are gradually working around the center section making the heart shape.


This section should measure 8.5".

With the next strip we will be on the left edge of the block and the first one that we added the diagonal corners. If you didn't do all of the corners at the beginning, you will need to add the corners to piece 8 before you can sew it to the section.

This picture shows an example of what I meant when I said after you square up the piece and trim that you can also see if you are short anywhere and make the necessary correction when you add the next strip. I was a little short of being square so I allowed for it when I added Strip 8.

I haven't shown the wrong side in a while for pressing...

With this last piece added, you will now start on the "start" of the other chamber of the heart. (numbers 9 and 10). Don't forget to check that the strip is still 2.5" wide.


Add Strip 11 and it will square up to 4.5"

Then Strip 12...


PRESS as before...

You will now SEW the two chambers together. No seams will be nesting but secure seams so that you make sure you sew them the way they were pressed.


Strip 15 is the last strip to add to complete the heart. Once again there are no seams to nest, so pin the ends first and secure the middle.

The wrong side pressed.

And the block SQUARED to 12.5"