Showing posts with label Tips. Show all posts

Sunday, August 10, 2025

PATIENCE CORNERS BLANKET OF HOPE


The first time I made this block pattern I was involved in a group I found on Facebook that contained thirty women who were to make thirty 12.5 inch quilt blocks, one for each member of the group. With the thirty blocks, each person could then make themselves a quilt with blocks from all over North America. You could make the same block if you wished or make different ones. 

Since then I have made a couple of Blankets of Hope for our church's quilt ministry using the pattern. It makes such a pretty quilt that several other members have used the pattern also. I just finished one that I especially liked because of the fabric prints I used and since I haven't had a tutorial in a while for a quilt pattern, I thought I would show how to make it.

It is such a versatile pattern because of its versatility with fabrics. If you are making a lap size quilt (about 42 X 48 inches), it makes up nicely using a charm pack or make it "scrappy by using scraps, or like how I made this one, use one "busy" print for all of the 4.5" squares.


The pattern consist of 42 (forty-two) 4.5 inch squares and 42 strips 4.5 X 2.5 inches and 42 strips 6.5 X 2.5 inches. To make the quilt 42 X 48 inches, I added a 3 inch border.

I used a solid for the strips that went well with the print I used for squares. I cut a strip the width of the fabric and 4.5 inches wide and a strip the width of the fabric and 6.5 inches wide. Then I cut the two strips into 2.5 inch wide pieces to make the rectangles.

From the busy print I chose, I cut strips 4.5 inch across the WOF. From each one I cut  9 (nine) 4.5 inch squares. Doing the math, that means I cut 5 (five) strips.

If you are using a charm pack, you will have to trim the squares down to 4.5 inches for this size quilt. *

Since my busy print was non-directional (didn't have a pattern that had prints going one-way), I could speed up the time to make the blocks by "chain-sewing". I took all of the squares in a pile and first sewed the shorter rectangle to one side of the square without stopping to cut the thread. I  pressed the seams first to seal the stitches and then pressed the seam on both sides to one direction.  Then I stitched the longer strip down the perpendicular side with the first seam. Repeated the pressing. AND the blocks were made. 


All I had to do was arrange them on my design wall so that I distributed the print out over the top.


Did you notice how I arranged them? I alternated the rows so that the squares were completely surrounded by the solid color. Now that meant sometimes corners were touching with the squares and sometimes they weren't. I'm not sure which were the "patient" corners - the ones meeting or the ones not. What do you think?

I sew the blocks together to make strips (rows or columns) depending on which would be the less. In this case, the top is 6 columns by 7 rows so I will sew the vertical blocks together to make 6 columns because that will be one less strips to sew to complete the panel. 
When I have the columns made, I seal the seam and then press the seams in each column going the same directions for the column. So that the seams will "nest" when I sew the columns together, I press the odd numbered columns going back toward the first block and the even numbered columns going away. Now you can do which ever way you prefer. It is easy for me to remember this way. You just want to be consistent so your seams will match up when you sew them.

Once you sew the columns together, you can press the seams any direction you wish, I just think it looks nicer if you do all of the columns the same direction.

Now I added the 3 (three) inch border by cutting 5 (five) strips 3.5 inches wide (remember the two quarter inch seams) across the width of the fabric. You need five because the "length" of the quilt will be 48 inches and your fabric is probably 42 inches at the most. The fifth strip will be pieced with two of the other strips for the sides. Sew the top and bottom strip on first and press it toward the border unless it is a white fabric. Cut off any access that you might have. Then sew two of the other strips together pressing the seam to one direction and sew it to one side of the top. Cut off the excess and then sew the excess to the last strip you cut and sew it down the last side.


To finish the quilt, I went back to the pink that I had used for the rectangles in the blocks to cut for my binding. I cut the strips 2.5 inches wide across the width of the fabric for the binding. I usually cut five strips but this pink fabric was wider and I only used three and part of a fourth one to make the binding. I sewed the binding on the back and then brought it over to the front and machine stitched a fancy decorative stitch to sew it back down. If you are sewing the binding down by hand, you will machine stitch it to the front of the quilt and bring it over to the back to slip stitch down. I have only started doing the fancy stitch because sometimes my arthritis in my hands does not want to corporate with me. 


I "turned in" the Blanket of Hope yesterday when our quilting group met.


Let me know if you have any questions. I would love to see your finished quilts in the comment section. Enjoy.

Wednesday, May 7, 2025

CHARMIN' CHERRY BARS

What a beautiful day it was yesterday! My husband played golf with a friend and I played canasta with some of my friends. Friend Fran hosted and where I sat at the table I could enjoy an ocassional visit by a gorgeous male goldfinch and a dove to get a drink of water at her water bowl on her deck.  It was just so good to be with friends and laugh n gab together.

When Fran hosts canasta, I always make the dessert for her. She would buy something, but since I enjoy baking so much, I offered years ago to bake the dessert for her. I always try to find something that I think will be enjoyed by everyone keeping in mind the number of calories and any dietery considerations I need to remember.

I found this recipe in my Pillsbury The Complete Book of Baking cookbook. It was the 1951 Junior Winner from the 3rd Pillsbury Bake-Off Contest. Everyone really thought it was perfect and yummy. I did use a square pan that was 9-1/2 inches instead of 9 inches, so it was a tiny bit thinner that it would have been in a smaller pan.

I'm glad I found it and then decided to give it a try.


PRINT RECIPE.

CHARMIN' CHERRY BARS

CRUST...

1     cup flour

1/4  cup powdered sugar

1/2  cup (1 stick) butter, softened and cut into slices

FILLING...

1/4  cup flour

3/4  cup sugar

1/2  teaspoon baking powder

1/4  teaspoon salt

2     eggs

1/2  cup maraschino cherries, well drained and then cut in half

1/2  cup coconut

1/2  cup chopped walnuts


Preheat the oven to 350 degrees F. 

Prepare the crust...


In a small mixing bowl, combine the flour and powdered sugar with a whisk.

Using a fork, or pastry blender, or your fingers (which I did), work in the slices of butter until mixture resembles coarse crumbs.

(Mine looked like pie crust dough.)


Press into a 9 - inch square ungreased pan.

(My pan measured 9-1/2 inches square.


Bake in the oven for 10 minutes.

Make the filling...


Meanwhile, in the same bowl (I did wash mine.)  combine the flour, sugar, baking powder, and salt with a whisk.

Add the eggs and "beat" the mixture well

(with a spatula or spoon).

Add the cherries,

coconut, and walnuts stirring well.


Spread filling over the partially baked crust and bake 25 to 30 more minutes or

until golden brown.


Cool completely and cut into bars to serve.

Makes 9 generous servings.


TIP FOR THE DAY...

Some baking powder that you buy comes in a container that has a piece in it to aid in leveling the spoon when measuring the baking powder. Some have a removable paper "lid" that you remove. I needed to open a new container of baking powder when I made these cherry bars and the brand I bought didn't have that piece to level off the measuring spoon. So I decided I would make my own aid. 


I took a sharp knife and inserted it on the edge of the center and just cut across the paper lid on the "diameter". Then I removed one of the halves and

now I can level off the measuring spoon when I am measuring the baking powder.

Monday, April 7, 2025

A SOFT AND CHEWY COOKIE

 Versatile, according to the dictionary, is "able to change easily or to be used for different purposes". As it deals with people, I like to think I am versatile or able to change easily when I see something isn't working or try a different approach when I see my approach isn't working. I also think of it as being open and willing to change my approach when someone offers a better way. 

As far as baking goes, I like recipes that are versatile - able to produce a different product with slight changes to the recipe. If you are able to do this, you can be successful in developing some amazing creations for different occasions. Or if this is too "dramatic" for you, you can just have fun.

The recipe I found in one of my Amish Cookbooks is simply titled "Hershey's Soft & Chewy Cookies". The picture on the next page shows four yummy chocolate chip cookies. They didn't call the recipe "Soft & Chewy Chocolate Chip Cookies" because you can make them whatever kind of special cookies you like. The recipe's last ingredient is "1 package (10 to 12) ounces) Hershey's Chips or Baking Bits (any flavor). I had a packages of Andes Peppermint Crunch Baking Bits from Christmas and decided to use them. I almost chose some toffee bits - I bet that would make a good cookie.

You can also make chocolate chocolate cookies by reducing the flour to 2-1/4 cups flour and 1/4 cup cocoa. See I told you the recipe is "versatile".

The recipe made a generous 5 or 6 dozens and there were none left at the end of the second service at church yesterday when the Cafe closed. I personally enjoy peppermint and it also made a really pretty cookie.

PRINT RECIPE.


SOFT & CHEWY COOKIES

1         cup (2 sticks) butter (no substitutes and not melted)

3/4    cup packed light brown sugar

1/2     cup granulated sugar

1/4     cup light corn syrup

1         egg

2        teaspoons vanilla

2-1/2  cups flour

1         teaspoon baking soda

1/4      teaspoon salt

(1        package - 10 to 12 ounces chips or baking bits - any flavor)

Optional -  1/4  cup cocoa for chocolate chocolate cookies. Decrease flour to 2-1/4 cups for chocolate cookies


Preheat the oven to 350 degrees. Line two cookie sheets with parchment paper or use ungreased cookie sheets. Set aside.


Beat the butter and sugars in a large mixing bowl

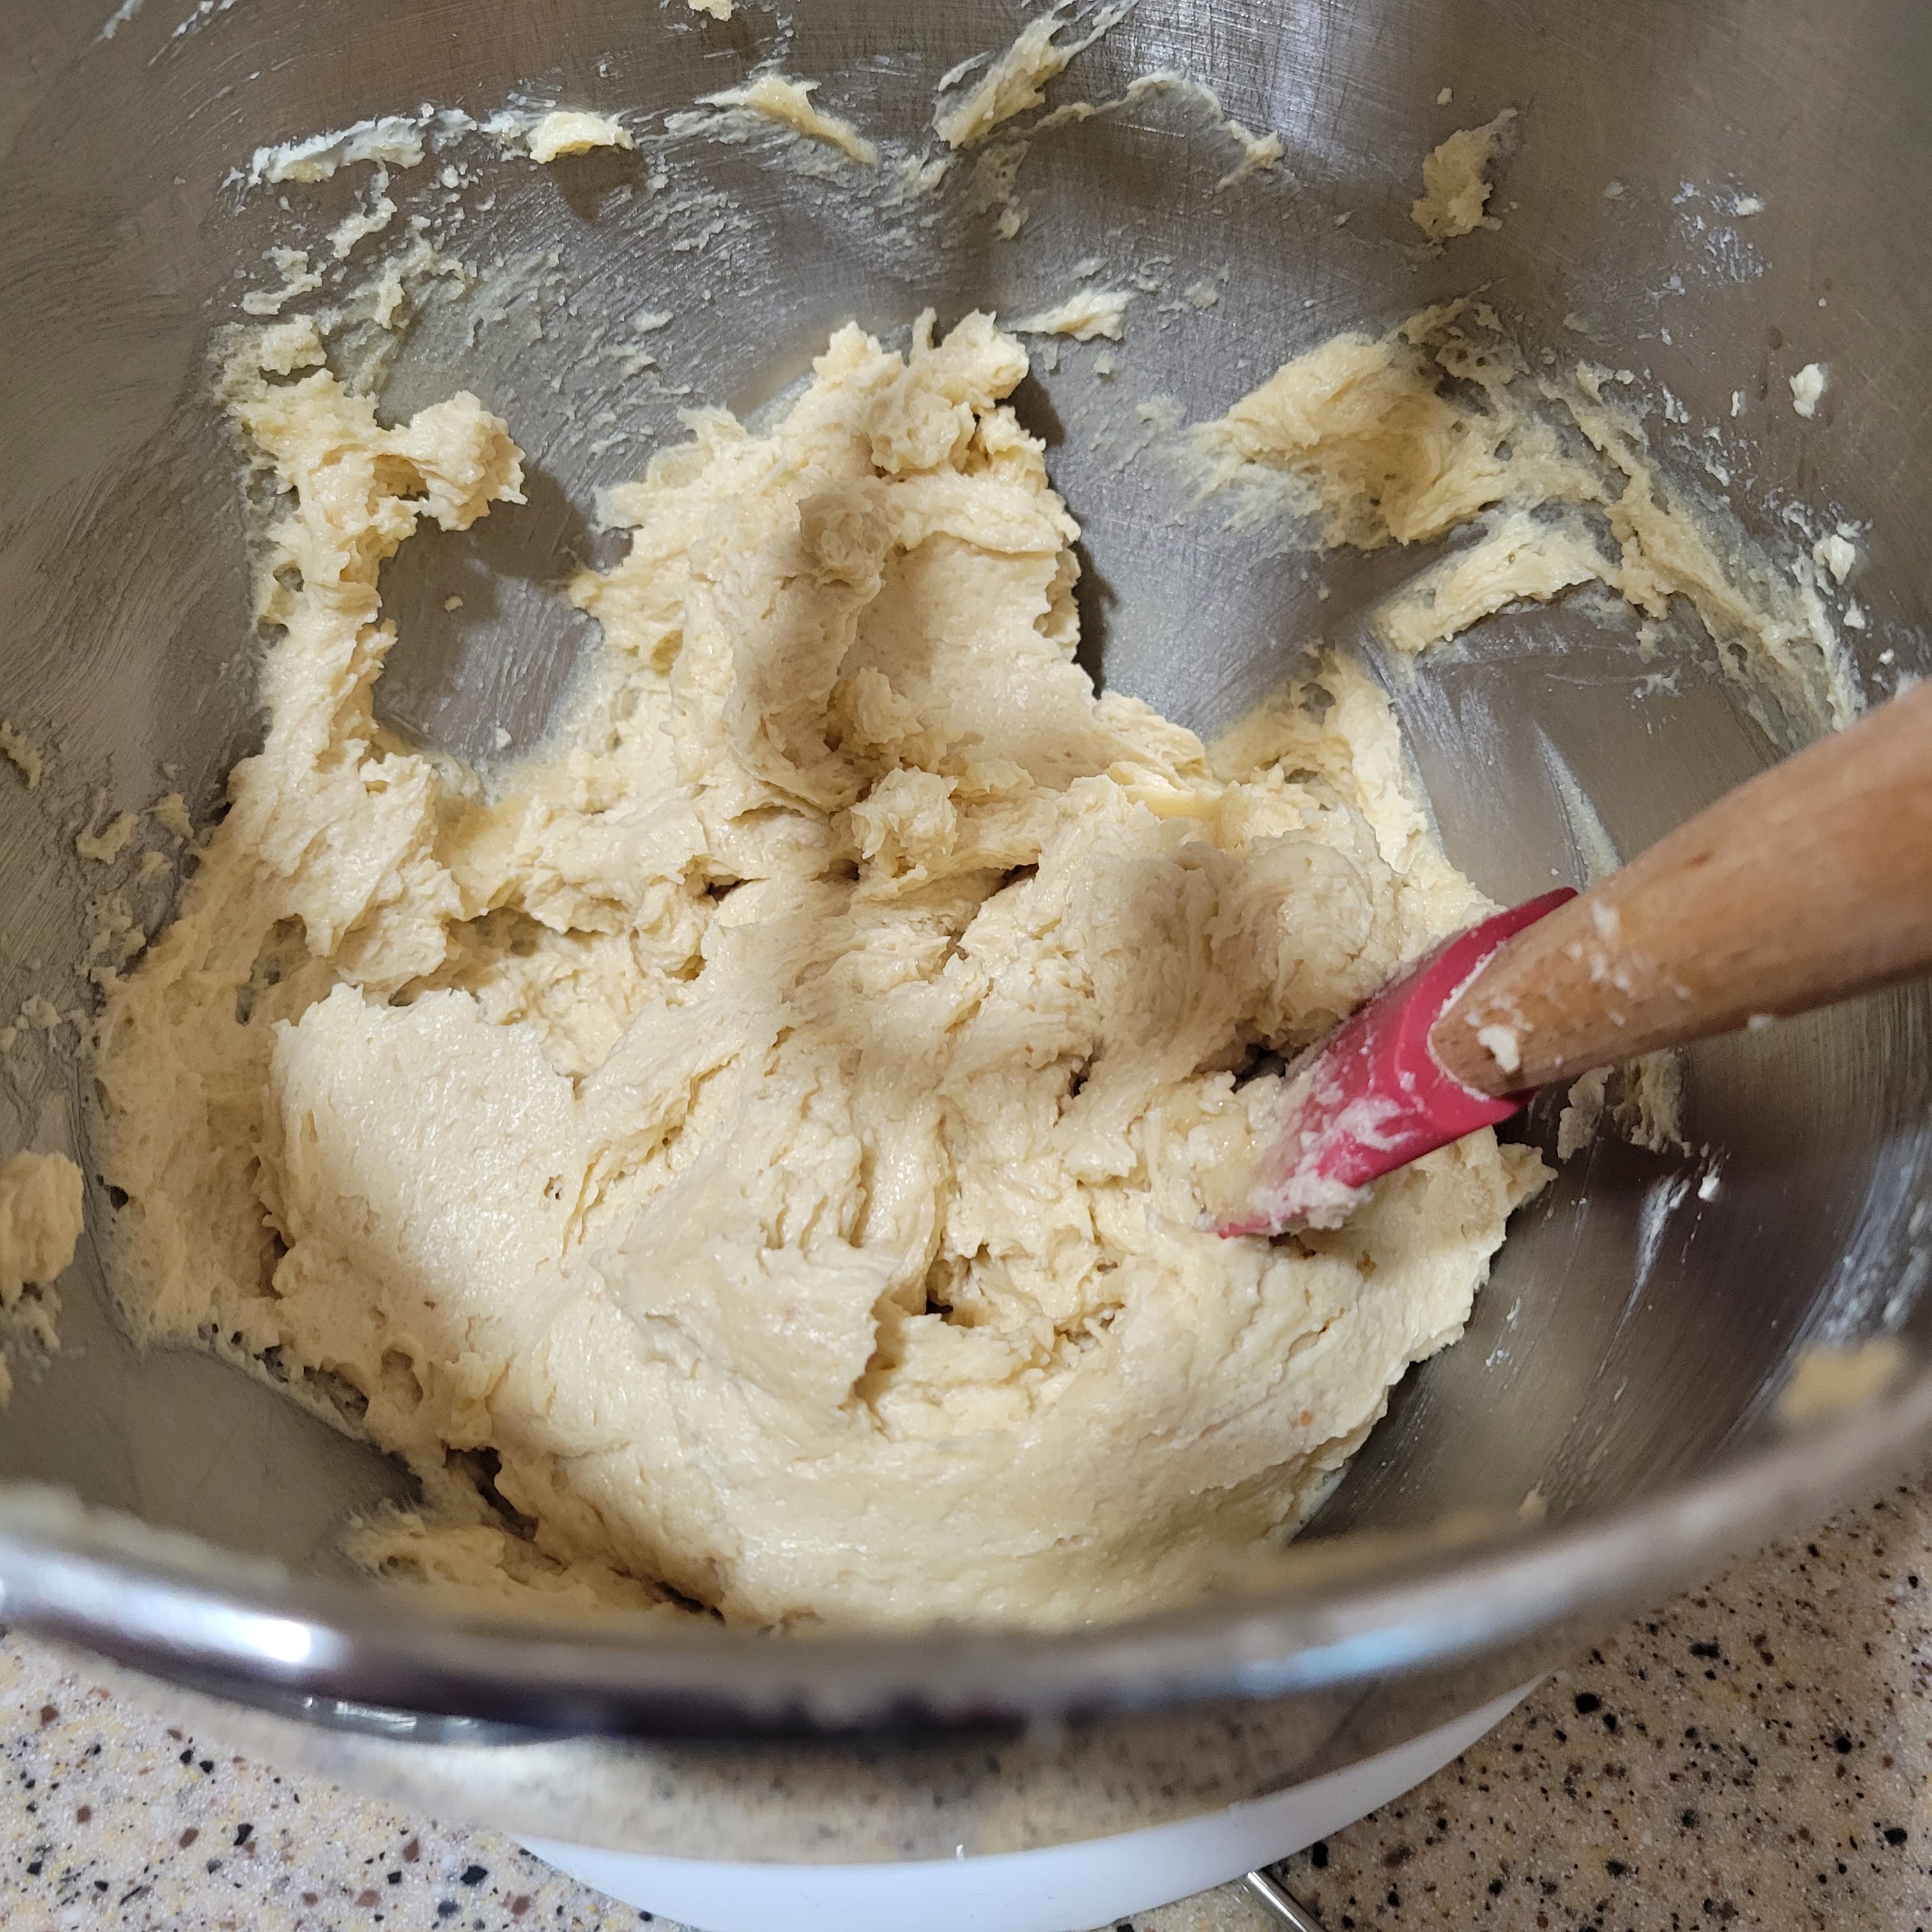
until fluffy. (Start off slower and then increase the speed once most of the butter is broken up. This will take several minutes.) Scrape the sides of the bowl.


Add the corn syrup, egg, and vanilla. Beat well.

Scrape the sides of the bowl again.


Measure the dry ingredients and combine them with a whisk in a smaller bowl.

Add the flour to the creamed mixture in smaller amounts beating with the mixer until creamy.


Stir in the chips or bits.

(I make this easier by using the mixer on the lowest speed for just a few seconds.)


Drop by rounded teaspoons onto the cookie sheets.

(I have a smaller cookie scoop that is a scant tablespoon that I use.) The cookies will spread as they bake so make sure you space the dough at least 2 inches apart.


Bake for 8 to 10 minutes or until lightly browned and almost set. (Using parchment paper-lined cookie sheets, I baked them the full time.) Cookies will be slightly puffed.


Cool slightly before removing the cookies to finish cooling on a wire rack. Cookies will flatten quickly.

Cookies will be softer the second day.


Monday, February 24, 2025

I'M BACK

 My last post was on January 6. Seems longer actually. Our January and February have been cruel to us and everyone is eagerly looking forward to spring and warmer temperatures. Actually this week is going to feel like spring with temperatures in the mid to high 50s. By the end of the week we might even see 60.

The cold temperatures (try low as low as -10 and the high only 4 or 5 degrees F) is just one of the reasons I have been away from my blog. I needed to take a break with everyone going on in the country, but probably the main reason is my depression and busy-ness with the repercussions of falling for a scam. 

I won't go into details of the scam but just issue a few warnings. When you suspect an email isn't for real, DON'T respond to the email - just delete it and move on. DO NOT OPEN any links. (I think this one is publicized a lot, but that doesn't mean it doesn't need repeating.) DEFINITELY do not call a number that is listed in the email. Always go to the source and find number to call. This is what I did or didn't do. The address he told me to go to brought up a legitimate looking website for the company, of course, which gave me a false sense of security. 

The bottom line is I froze my credit with the credit bureaus and had to get three new credit cards, change my bank accounts, yes accounts with an S, and order new checks. That might not sound like too much, but if you use bill pay with your bank to pay your bills, that has to be dealt with which means some bills might not go through because of changing account numbers. Anyone who direct deposits paychecks, etc, for you has to be notified of new account numbers and sometimes that might take a while to process and don't forget if you use a credit card to pay for bills and you replace the credit card, you have to notify them of your new number.

I guess another biggy I forgot to mention and it's the main reason I haven't been writing any posts...I thought my laptop was not fixable but I took it to the Geek Squad at Best Buy and they wiped the hard drive clean and so I have my laptop back.

 It just make me tired going through it again, but I felt like I had to warn you so maybe you wouldn't make the same mistake I did. I also won't mention to my husband the next time I receive getting a suspicious email and just ignore it like I always (well, almost always) do.

To celebrate my return to My Patchwork Quilt, I'm going to share a really delicious cookie that Cafe Treats Baker Linda brought to church yesterday to share in the Cafe. She said she just searched the internet until she found a recipe that she had the ingredients for. 

Gooey Butter Cookies is what she came up with and they were delicious. Since I always like to share a way to reduce the sugar in recipes, you could make this sugar-free if you used a Zero-Sugar yellow cake mix and Sugar-free powdered sugar. I know the latter sounds like an oxymoron, but you can make powdered sugar in the blender using Splenda or stevia. If you don't want to go to all that trouble, you can buy it already made. How sweet!

PRINT RECIPE


GOOEY BUTTER COOKIES

1      stick (1/2 cup) softened butter

8     ounces cream cheese

1      egg

1/4  teaspoon vanilla extract

1      box yellow cake mix

1      cup powdered sugar

Preheat the oven to 350 degrees F. Line cookie sheets with parchment paper.

In a large mixing bowl, combine the butter, cream cheese, egg, and vanilla and beat until light and fluffy.

Stir in the dry cake mix until the dough becomes thick but smooth.

Pour the powdered sugar into a separate bowl.

Using a tablespoon cookie scoop, scoop a flat spoonful of the cookie dough and form into a ball in the palm of your hand. Drop ball into the powdered sugar and roll around until it is fully covered. (If the dough is too soft to deal with, chill in the refrigerator for 30 minutes before forming dough balls.)

Place cookie balls on the baking sheet about 2 inches apart and bake for 12 minutes.

Cool slightly before removing to a rack to cool completely.

Friday, October 25, 2024

ACORN KISSES

 I saw a picture of these darling Acorn Kisses on Facebook. Where else you might ask. Anyway I thought they would be so cute to make and offer for the Cafe Treats at PWUMC and were they ever!

I checked them out and the first thing I learned was that there was such a thing as mini vanilla wafers that I needed. I was so disappointed! You see I bought two, yes two boxes of vanilla wafers a while back I think to make my husband some banana pudding and never got around to it. When I saw the picture my first thought was I had something else to do with the vanilla wafers. That's why I was disappointed to learn there was such a thing as mini vanilla wafers and that is what I needed to make the Acorn Kisses.

Everything else I had so it wasn't that much trouble to run down to the grocery store about a mile from our house and buy a box of the mini vanilla wafers. After that I just had to fit making them in with my busy schedule since you have to allow some drying/setting up time and I was in business.


Things you need to make Acorn Kisses:

Mini vanilla wafers

Hershey's kisses

1/4 cup chocolate chips

butterscotch chips


You start by laying the vanilla wafers top side down on a cookie sheet or platter, depends on how many you are going to make.

Unwrap the same number of kisses as vanilla wafers you are using. (I made 50 and was trying one out to see how it would fit on the wafer.)


Melt the 1/4 cup of chocolate chips in the microwave. I did 30 seconds on High, stirred, and

then did about 20 seconds more on High. Stirred until

smooth. This will be used as the "glue". 


Dab just a little of the melted chocolate on the broad flat side of the kiss and then press it gently in the center of the vanilla wafer.

Allow to cool and set. (I did other things and came back to them a couple of hours later.)


The last thing to do is to attach the butterscotch chip to the top of the vanilla wafer to represent the stem on the acorn.


My tip for you is what you can do to make adding the butterscotch chip easy. (I tried a couple of things but found the cooling rack was the best.)


I placed each kiss with vanilla wafer between the wire in the rack.


I couldn't get my butterscotch chips to melt, so I used the leftover melted chocolate for the glue for the butterscotch chips. 


I tried to use it sparingly so it didn't show, but wasn't always successful.


The patrons of the cafe didn't seem to care. They thought they were adorable and they didn't last long. A couple of children ended up sneaking two, but most only took one.

Open wide and enjoy.