Wednesday, September 16, 2020

BABY WALL QUILT FOR ZACHARY

Last year about this time, I sent DIL Sara a picture of a quilt and told her I would like to make Zachary one like it. She wrote back that she had some of his baby clothes and would give them to me to make the quilt. I was so excited. Fast forward a few months to Christmas when she gave the little clothes to me.

I saved the picture but when I finally got around to considering what fabrics I would choose to make it, I couldn't find it. I did a search which took quite a while since there were not too many out there in cyberspace of exactly what I wanted to do, but I did find a few. What I didn't find were specifics about how to attach the clothes to the blanket. To some degree Sara removed that problem when she told me she didn't want me to cut the back side off the clothes. At this point I had to just do what I find myself doing so often, I created my own version and it turned out so cute. (Well, we think so, anyway.)


All of the images I found had the blanket made from blocks and each outfit was on a different block. The problem I had was the size of the clothes, especially the sleeper which was much bigger than the rest. Choosing the prints took me the longest time to do. I wanted to match the theme of the clothes if I could and even Sara wanted dinosaurs on the fabrics as that is the theme in his room. AND I was still stressing out over the blocks and how I would do it. Finally I made the decision to make the blanket in what has become my most favorite way to make a blanket/quilt - my strip sew-and-quilt-in one blanket. 

I have been making blankets like this for several years now. I started making placemats first this way and shared the method here on my blog. I progressed to hot pads and finally to a larger version of baby blankets. Quiltingdigest.com discovered my posts and so they have become some of my most popular. I love the method because I don't do free-motion machine quilting. I just stitch in the ditch or outline when I quilt the blankets. By sewing the quilt top at the same time that I am sewing through the backing and batting means that when I have finished the top, I have also layered the quilt and sewed it together. All I have to do is trim the quilt and sew on the binding and I am finished. I have a number of posts some more detailed than others. You can check out the method at them.  Sew-Quilt-in-One and Sew-Quilt-in- One Baby Quilts. In the latter post/link if you scroll down to the end, I show you how to join the binding edges you will ever see. I used to dread doing the binding on quilts, but now it is a breeze!

After I decided to make a strip blanket, I arranged the clothes on another finished blanket I had and used a piece of yarn to simulate the clothesline to see how the clothes were going to look on the quilt.
On our bed I arranged the strips and the clothes to see how it looked. Since I was one print short, I decided to just use the one dinosaur print at the top and bottom. The solid blue jumpsuit actually has the outline of cars on it. I couldn't find a flannel with cars but I found a truck print with dinosaurs driving them.

The monkey print was the hardest to find. Lots of animals but no monkeys except the white background one I found with a few monkeys. I was lucky that there was a monkey on the print between the two outfits. 

Even though I had planned to make the blanket a "sew-and-quilt-in-one" , I had not picked out the material I wanted to use for the backing, so I just sewed the strips together and made the top.
While the finished top was on my design wall, I placed the outfits again and pinned them on to make sure I still liked it. (I had taken a picture of it on my bed so I knew exactly where to place the clothes.) The sleeper was so cute. Hanging on the wall, the feet "fell out" and you could see the little monkey's face.


I bought a kid's jump rope of Dollar Tree to use for the clothes line. I didn't take a picture of it, but it was perfect - lime green/white. But first I had to finish the blanket.


I found a piece of cotton to use for the backing. The front pieces are all flannels but I didn't think the backing needed to be flannel. I had a darker brown piece in my stash that worked well for the binding.


Here was the blanket finished...well almost. I had one more thing to do. Can you see how I machine quilted it in the picture? I stitched 1/4 inch from the seam across the strip. That worked out fine.


What did I almost forget? The 
band across the back to hang the blanket. 


I made a tube and then slip-stitched it down twice on the bottom.


I took it to them when we went to visit in July. We didn't get it hung while we were there, but they finally did and son Jeffrey sent me a picture of it on the wall in Zachary and Henry's room. I'm anxious to see it for myself when we go back at Christmas. Oh I guess you are wondering how the clothes are attached to the blanket? I bought some small clothespins and "hung" the clothes on the clothesline with them. I pinned the clothes on the inside with big safety pins out of sight. I sewed the jump rope clothes line on at the ends of course but also again before and after the outfit.


I'm sure you want to see a picture of Mr. Zachary. Here is a cute one Sara sent me from July. He loves flowers.


Here he is this past weekend at the Pumpkin Patch.


Here is a picture of him taken yesterday after his first haircut. Isn't he just so precious?!


Hope y'all have a great day!


Monday, September 14, 2020

DAY 186 - CHERRY ZUCCHINI BREAD

 As we experienced about five days of cool temperatures last week, I found my kitchen calling me to bake. At the beginning of the week I made a new Banana Bread recipe that contained more than normal mashed bananas and instant pudding mix. 

Saturday Wayne and I volunteered to sign up new voters outside the thrift shop from 11 - 2. I thought it would be nice if I surprised the volunteers and picked up three of my favorite Amish cookbooks to see what I could find. 

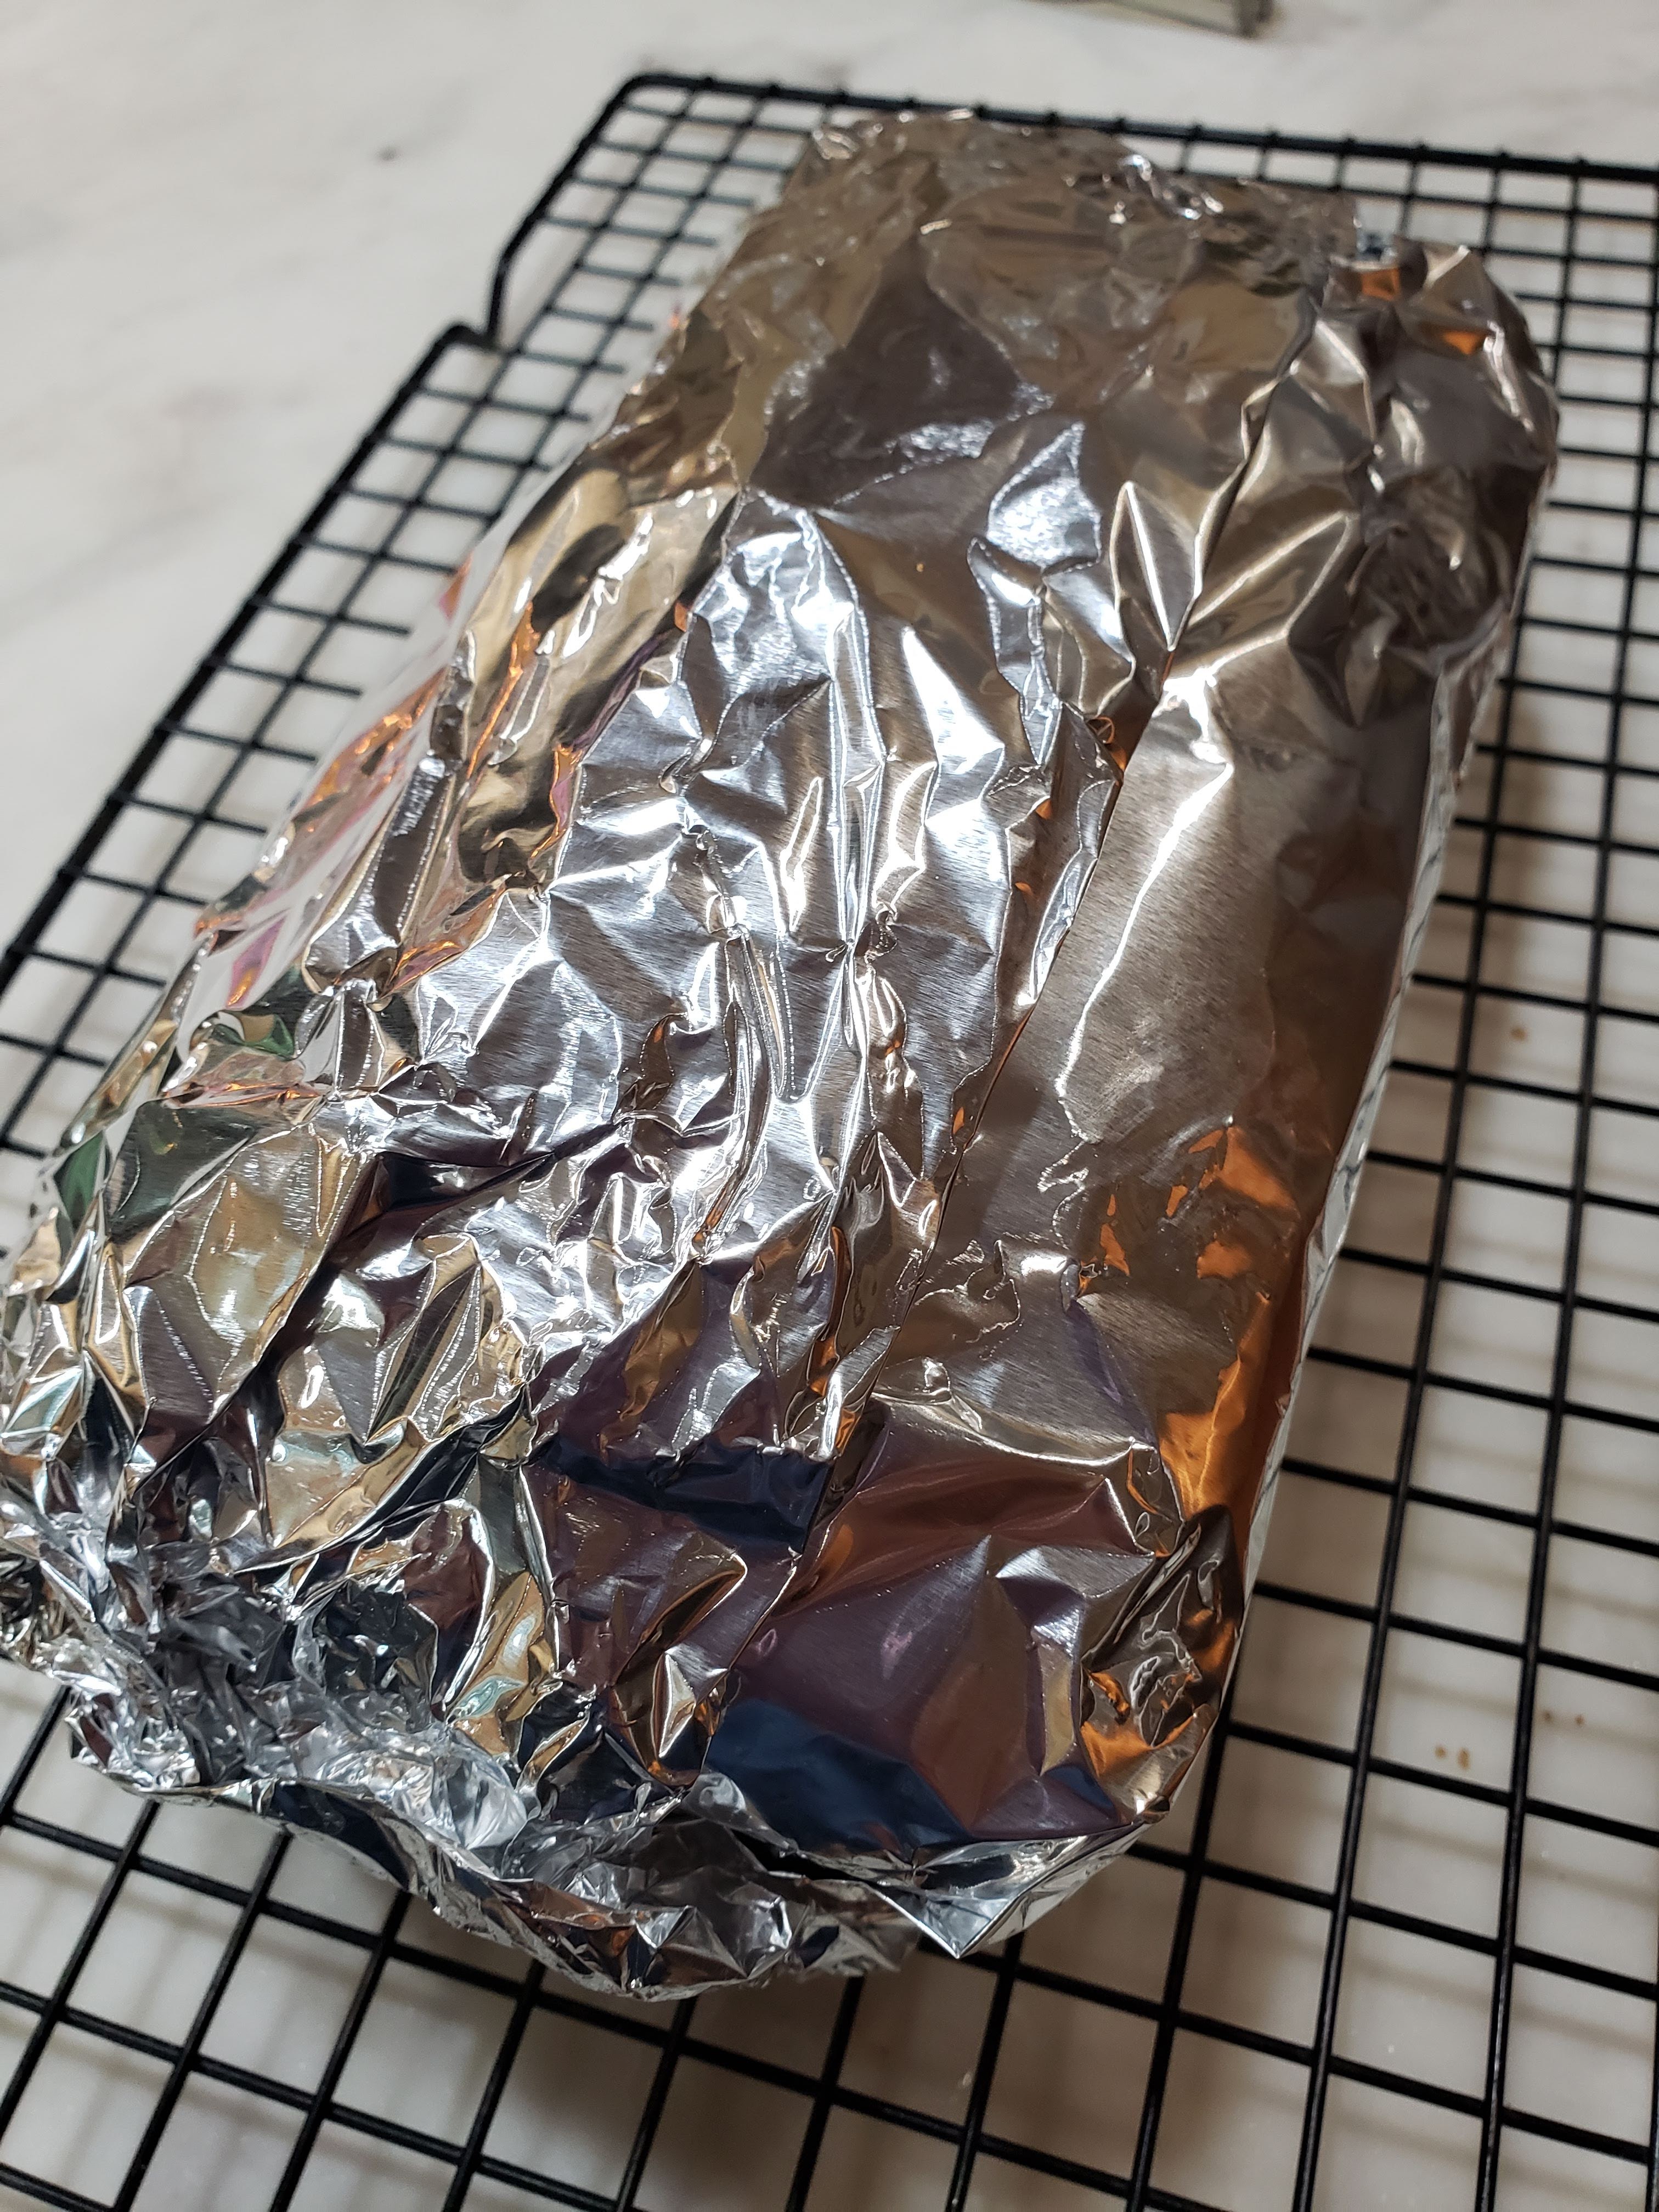
It just amazes me that I can pick up a cookbook and find recipes that sound interesting that I had not noted before with some little post-it tabs. That's what I did. The one I chose to make on Friday was from the Amish Cooking cookbook for Cherry Zucchini Bread. Fortunately I had all of the ingredients - even a zucchini and a 5-oz bag of dried cherries. The recipe said to wrap the bread in foil after it cooled and store in the refrigerator so I made the bread Friday afternoon, wrapped it in foil, and put it in the refrigerator and didn't cut it until the next morning at Hillcrest.


When we got to the thrift shop, I went to the Community Room where the volunteers gather for a break and Volunteer Doug (sporting goods) and another man were sitting in there talking. When Doug saw me he said, "Hello, Patricia. Did you bring us something? I've been waiting for you." 😊 They came over for a piece before I could get it all cut and gave me the Hillcrest Volunteer Seal of Approval. 

When I finished cutting it, I sneaked a piece and had to agree with them. You don't taste the zucchini at all, which is not unusual when you use it in recipes, but the dried cherries were a delightful addition!


CHERRY ZUCCHINI BREAD

2       eggs

3/4    cup sugar

1/3    cup vegetable oil

1/3    cup lemon juice

1/4    cup water

2       cups flour

2       teaspoons baking powder

1/2    teaspoon baking soda

1/4    teaspoon salt

1       teaspoon cinnamon

2/3    cup shredded unpeeled zucchini

2/3    cup dried tart cherries

1       tablespoon grated lemon peel (I used dried lemon peel)


Preheat oven to 350 degrees F. Grease and flour the bottom only of an 8-1/2 x 4-1/2 - inch loaf pan. Set aside.


Put eggs in large mixing bowl. Beat with an electric mixer on medium speed 3 to 4 minutes or until eggs are thick and lemon colored. 


Add sugar, oil, lemon juice, and water; mix well.

Combine flour, baking powder, soda, salt, and cinnamon with a whisk.

Add flour mixture to egg mixture; mix well.

Scrape the sides of the bowl as necessary.

Stir in zucchini, cherries, and lemon peel.

Pour batter into pan.

Bake for 55 to 65 minutes or until a too
thpick inserted in center comes out clean.

Let cool in pan on wire rack 10 minutes.

Loosen edges with a knife or metal spatula.

Remove from pan and let cool completely on wire rack.

Wrap tightly in plastic wrap or foil and store in refrigerator.


Slice to serve.


Here's a picture of Wayne and me sitting at the table waiting to sign up someone to vote. In our three hour shift, we signed up five new voters.


Tuesday, September 8, 2020

DAY 180 - SIX-BANANA BANANA BREAD

I hope everyone had a marvelous Labor Day Weekend. It was a busy one for us, I guess, because we were pet sitting for our younger son Patrick and his family. They went camping for the weekend and we shared responsibilities for the pets with Lori's mother. Carol went to their house in the morning and we took the evening shift. She lives closer than we do so we don't have to get up as early to let Dakota, the dog, out for a bit and feed him. They now have two cats, but they can take care of themselves fairly well. They eat canned cat food so that does mean we have to feed them also. We usually go up around 5 to let Dakota out and then stay until 8 or so to let him out one more time before bedtime.

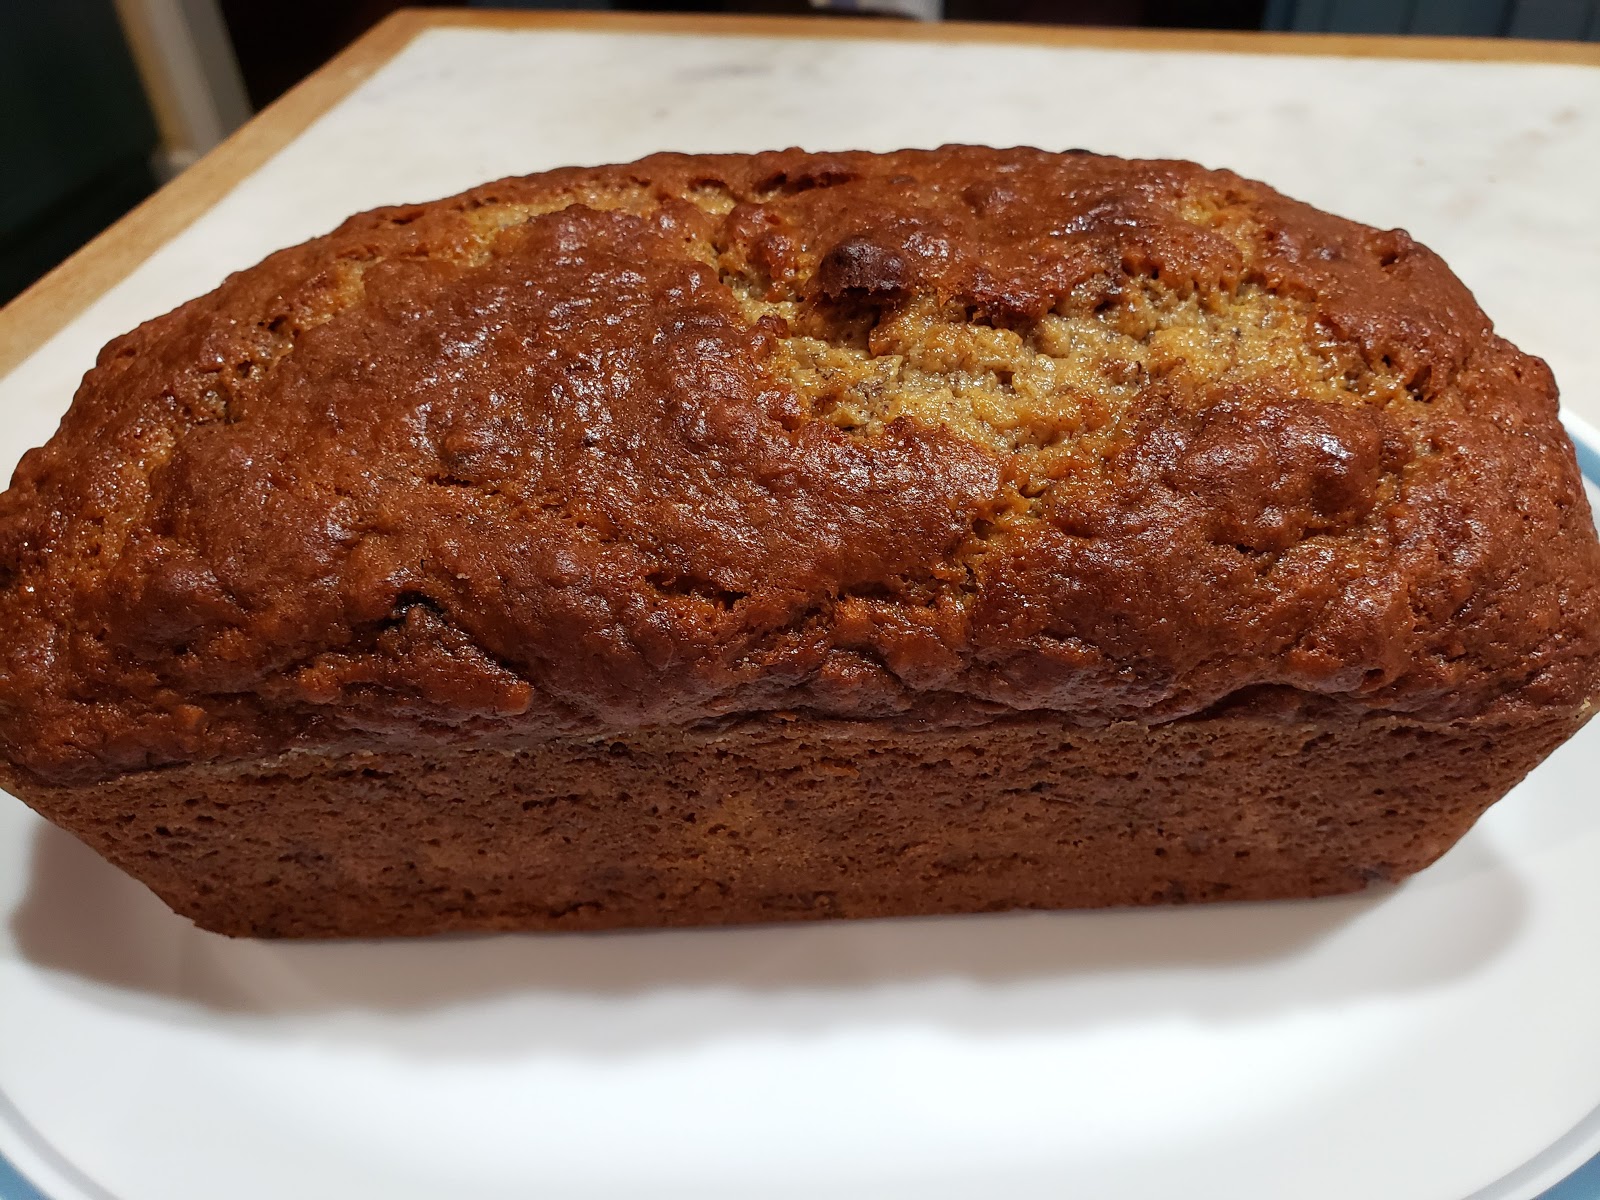
Sunday morning I decided to do a little baking and thought I would make a banana bread recipe that Friend Ellen shared with me a couple of weeks ago. I didn't have six fresh banana, but had some I had frozen in the freezer to add to my two fresh ones. I like to make quick bread the day ahead and wrap it in foil and then cut it the next day. That way it seems so moist. I thought I would cut us two slices and then rewrap it and take it to Hillcrest on Tuesday. BUT after eating my slice I decided I was  going to keep it. Hillcrest won't know about it.

After I gave Ellen my verdict, I asked her if she had used sour cream or yogurt. She told me she actually used Coconut Greek Yogurt. Wow! Wayne would have really liked that if I had used that. He is always telling me to add coconut to recipes. Next time I will.


SIX-BANANA BANANA BREAD

1/4     cup unsalted butter (1/2 stick), melted.
3/4     cup granulated sugar
1/4     cup light brown sugar, packed
1/4     cup sour cream or thick Greek yogurt (coconut Greek yogurt is great)
2        large eggs
1        tablespoon vanilla extract
6        medium/large very ripe bananas, mashed (1/2 cups mashed bananas)
1        3.4 ounce box vanilla instant pudding mix (not cook 'n serve) (I used sugar free)
2-1/4  cups flour
1-1/2  teaspoons baking soda
1        teaspoon cinnamon
pinch of salt, optional and to taste


Preheat oven to 350 degrees F. Grease and flour a 9 x 5 loaf pan, set aside.


Melt butter in microwave. Pour into a large mixing bowl and add sugars, sour cream or yogurt, eggs, and vanilla.
Whisk to combine.


Add the bananas and stir incorporate.


Combine the dry pudding mix, flour, baking soda, cinnamon, and optional salt with another whisk. 
Add to liquid batter and
fold in with a spatula or
stir gently with a spoon. Don't overmix or bread will be toucher.


Pour batter in pan and
bake 60 to 75 minutes or until top is domed, golden, and the center is set. A toothpick stuck in the center should not come back with any batter.

Allow bread to cool in pan on wire rack for 20 minutes before removing from pan.
I ran a knife around the inside of the pan to make sure the bread was loose.

Store wrapped in foil.


I also was in the mood to make some new crocheted top towels this weekend.


Here are some of the large sunflowers blooming in my son and his family's yard. Granddaughter Madison just loves the sunflowers.


HERE is a link to my post on how to make the hanging towels. Have fun!

Thursday, September 3, 2020

DAY 175 - KISS O' LEMON POUND CAKE

Monday was the first time I have signed in at the thrift shop since maybe the beginning of the year. I was looking at my calendar on my phone and I don't show any scheduled days in January and February. We were doing so much traveling so we were gone more than we were home from Christmas to March 6. I guess it is possible I had not volunteered any during that time. Anyway Monday instead of going to the Y and walking against the current for 30 minutes in the Lazy River, I went to Hillcrest and worked 1.5 hours doing some deep cleaning. I told several people I don't even do that kind of work at my own house. 😉

But I think it was finally time for me to get out. About a week ago I decided to not look at my newsfeed on Facebook. I just was so tired of all the negativity and rudeness. I do still go to my profile page and posts positive things and also my fan page for this blog. I really miss not seeing the positive things my friends are posting, but I feel so much better since I am not seeing the hatred. Hopefully after the election, I can go back. Will see. 

As usual when I go in to volunteer, I took a treat for the other volunteers. I found this 1990's recipe in that folder I have mentioned before of Recipes to Try Soon. Needless to say, Life happened and I am finally getting around to trying some of them. It was on a page advertising Quaker Oats. The recipe suggested serving it with raspberries, but that's kinda hard to do at the thrift shop. The volunteers thought it was delicious just as it was.


KISS 0' LEMON POUND CAKE

1       cup quick of old fashioned oats, uncooked (I used old fashioned)
1-3/4 cups flour
1       teaspoon baking powder
1/2    teaspoon salt (optional)
1-1/4 cups sugar
1       cup (2 sticks) butter, softened
3       eggs
2       tablespoons grated lemon peel
3/4    cup milk
powdered sugar
One 10-oz pkg. frozen red raspberries, thawed

Preheat oven to 350 degrees F. Grease and lightly flour a 9 x 5 - inch loaf pan. Set aside.

In a blender, blend oats about 1 minute.
Combine with flour, baking powder, and salt; set aside.

Beat sugar and butter
until fluffy. Add eggs and lemon peel; mix well. (Don't forget to scrape the sides of the bowl often.)

Add dry ingredients(3 times) alternately with milk(2 times), mixing until blended. 


Pour into pan.

Bake 1 hour and 10 minutes or until wooden pick inserted in center comes out clean. Cool 10 minutes in pan.
Remove to wire rack; cool completely. 


Sprinkle with powdered sugar. If using raspberries, blend raspberries until smooth in blender. Serve with pound cake. (I wrapped the loaf in foil and sprinkled it with powdered sugar before I cut it in slices to serve to the volunteers.)