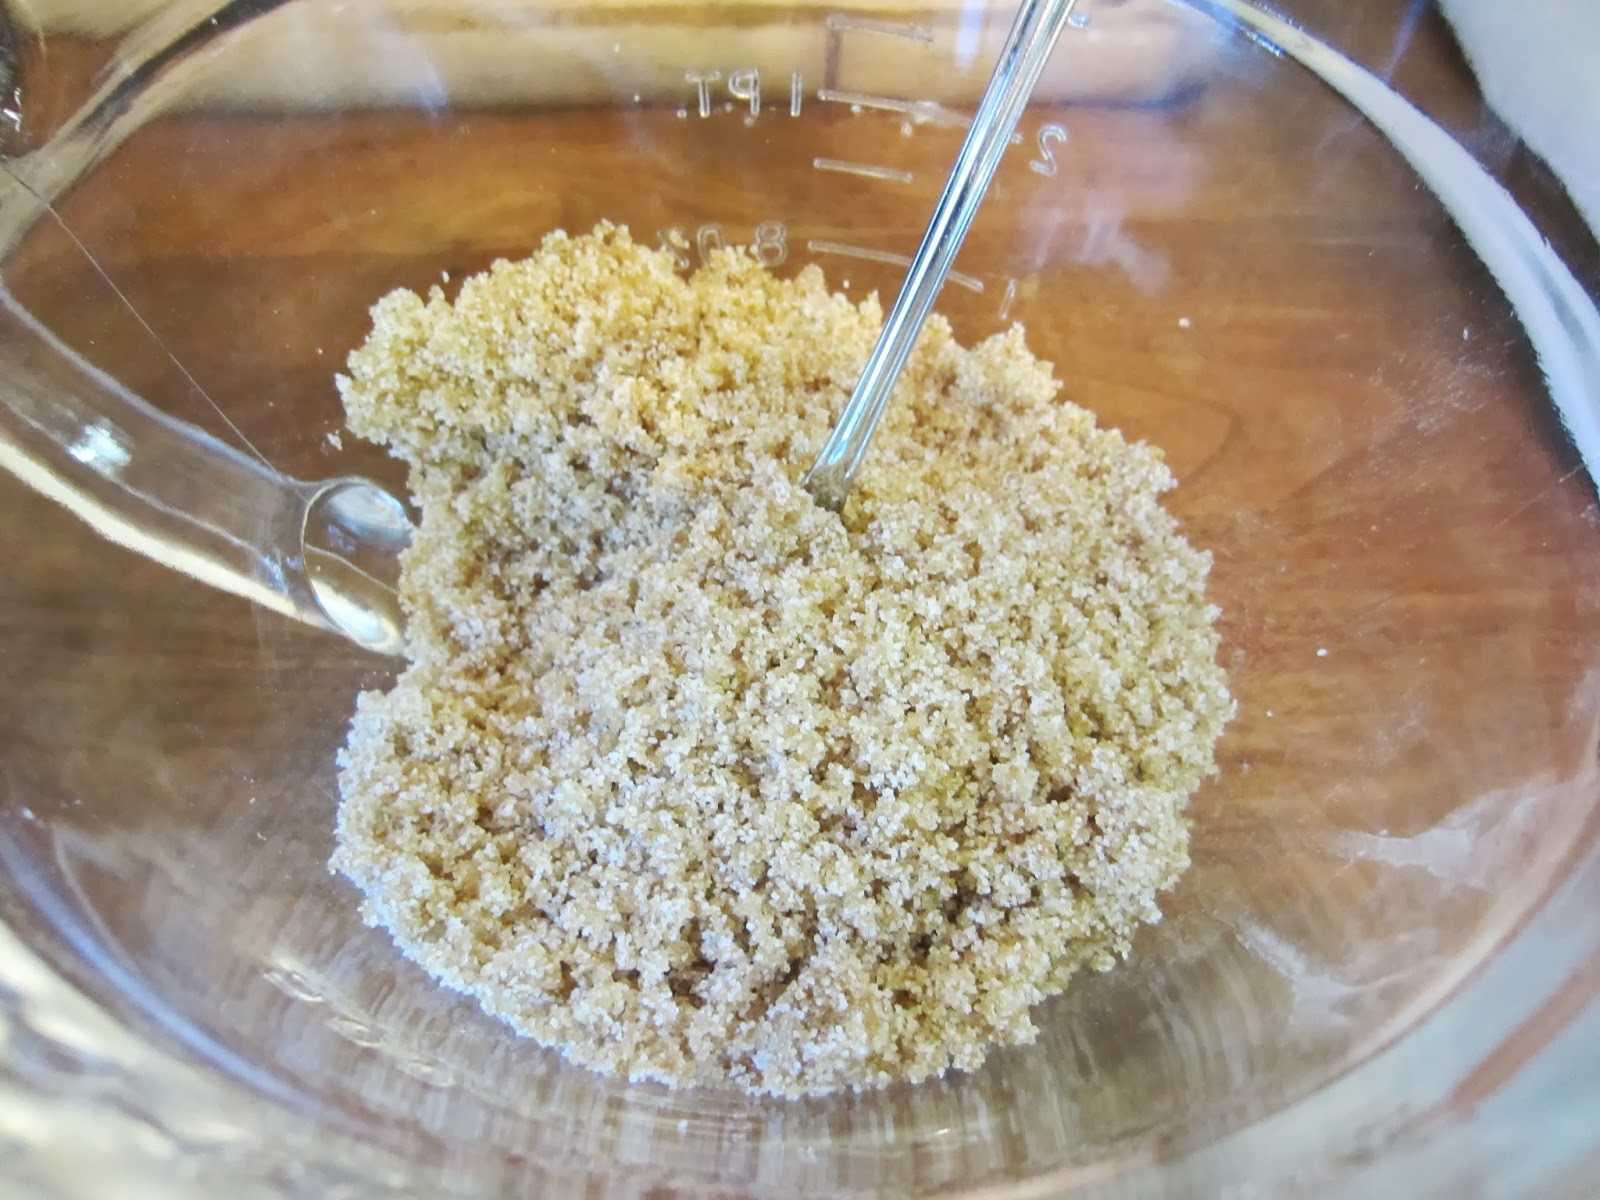
Thursday, September 19, 2013

LEMON CRISPS

It has been a busy Thursday for me so far. Having a free morning, I knew I wanted to get started on the machine quilting of my sudoku lap quilt. I took my drawn stitching design last night to handbell practice at church to get a second opinion. I had decided maybe I should just "stitch-in-the-ditch" instead of diagonals but Sharon told me she liked what I had "drawn up", the diagonals. I managed to get about 2/3 rds of it done this morning.

This afternoon the Northland New Neighbors' quilting group met. I thought we might get the "squares" sewed together to finish the quilt top for our quilt of valour we are making, but we didn't. Be looking for that next installment in the next couple of days. 

Now I am waiting for my husband to get home from the Y, so I can tell him we are going out for dinner. Until then I thought I would share with you a cookie recipe that I made a few weeks ago. I love just about anything LEMON and so the title caught my eye. They were very good.

I found this recipe in a 9/16/1997 Woman's Day magazine.  It was one of the recipes in a feature called Cookie Jar Cookies.


LEMON CRISPS

1        stick (1/2 cup) butter or margarine (not spread), softened (I do use a 60% vegetable oil margarine)
3/4  cup sugar (I used stevia)
1       large egg
1       tablespoon lemon peel
1-1/2 tablespoon lemon juice
1       teaspoon lemon extract
1/2   teaspoon baking powder
1/4   teaspoon baking soda
1-1/4 cup all-purpose flour (I used soft wheat pastry flour)

Garnish: 1/2 cup sliced almonds or 1/4 cup sugar (I used the sugar for this)

Preheat oven to 350 degrees F.  Have cookie sheets ready (ungreased)

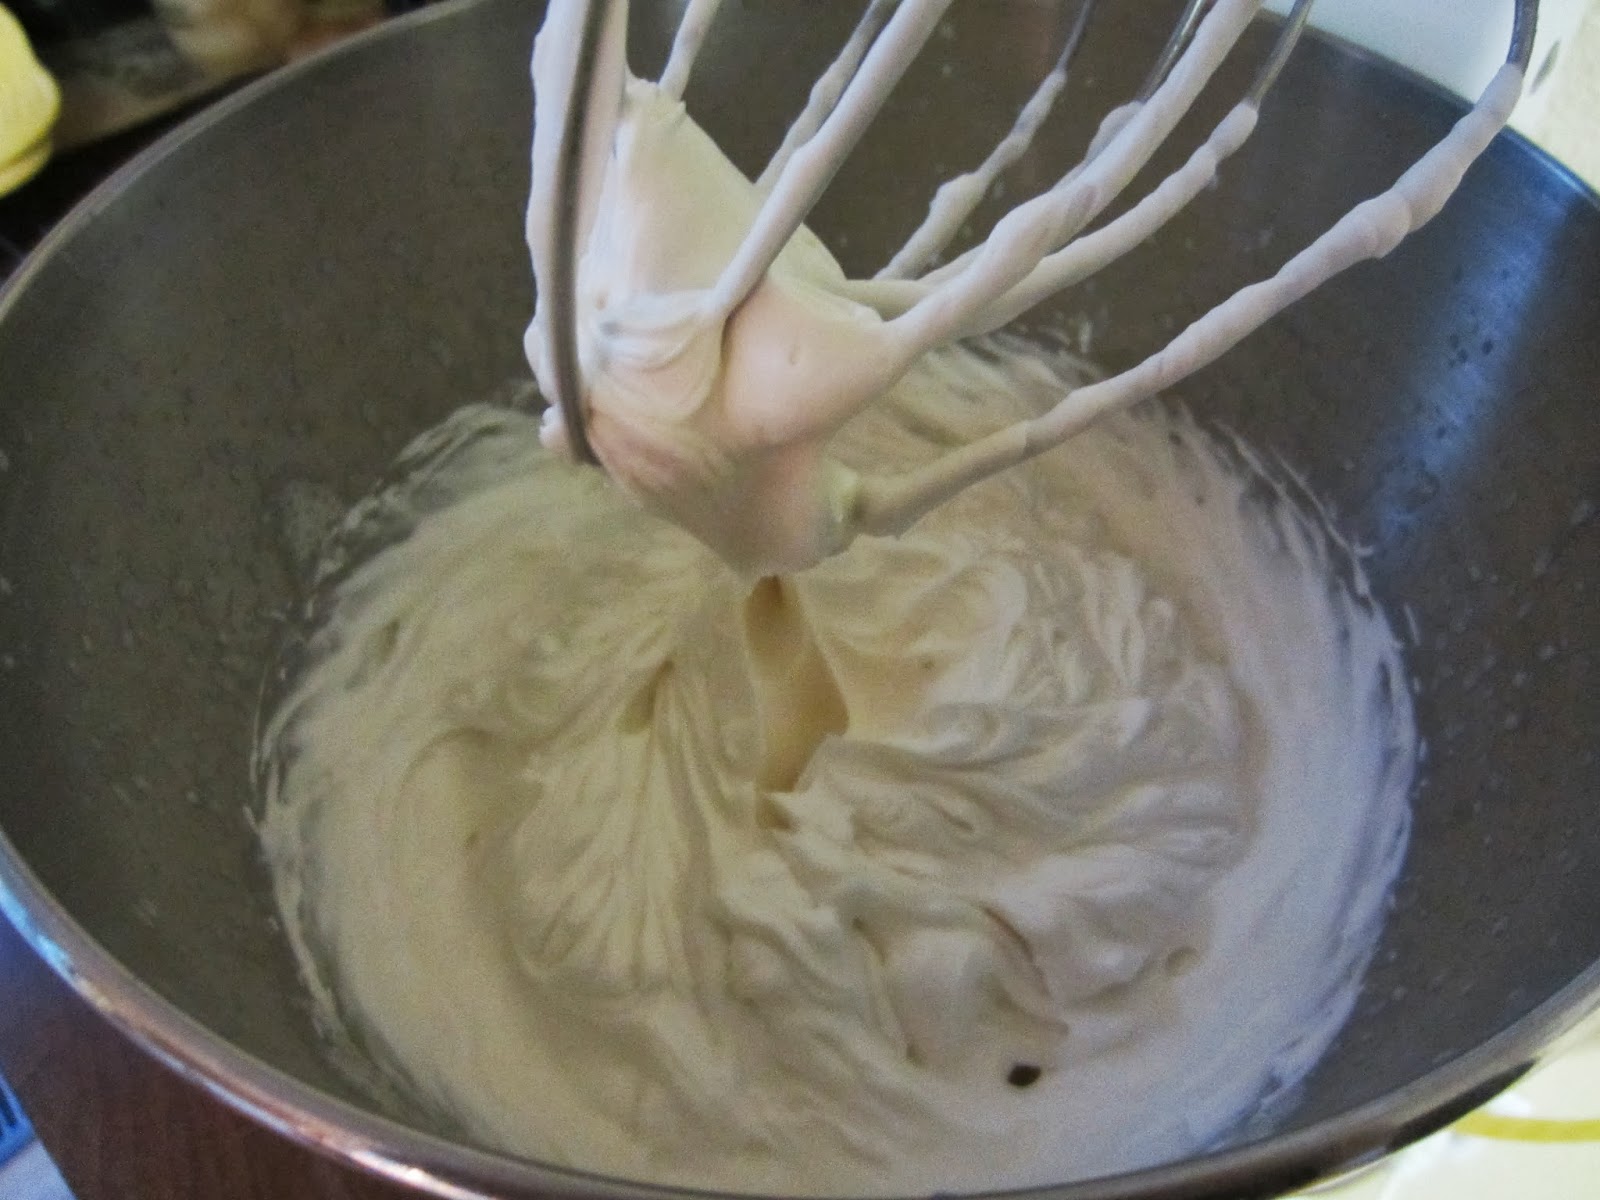
Beat the margarine and sugar in large bowl with mixer on high speed until fluffy.

Beat in egg, lemon peel, juice, and extract until well blended.

Combine flour, baking powder, and soda and add to mixture.  On low speed stir in the flour just until blended.


Drop by rounded teaspoonfuls 1-1/2 inches apart on ungreased cookie sheet.  (I used my 1 - inch scoop and then lightly pressed them down a little.  If you wet the fork with water, the dough won't stick to it.) Sprinkle with sugar or almonds.


Bake 10 - 12 minutes until edges are lightly brown.


Cool on cookie sheet 1 minute before removing to wire rack to cool completely.


Stir airtight at room temperature up to 1 week. Your cookie will be soft if you do this. I stored mine on a plate and they stayed crispy. Much more to my liking. Try both methods to see which you prefer. They are called Lemon Crisps though and I wanted the cookie to have a little crisp to it. The recipe will make about 3 dozen cookies.

Wednesday, September 18, 2013

CAJUN CASHEWS

I've been busy machine quilting my sudoku lap quilt this afternoon and just realized it was later than I thought it was. I have to hurry off to handbell practice at the church, but wanted to get this post published before I left.  As soon as I get my lap quilt finished, I will be showing how I finished it. If you missed the beginning tutorial, you can check it out HERE.  I'm really pleased with how it is coming out.

This is the last treat to share that we enjoyed at Sue's back in July when we gathered for farkle. I apologize Sue for taking so long to get it published. Please don't take my delay as anything other than I had a lot of other things going on that I wanted to share.  I was scrolling down my posts and saw it still as a draft and realized that I had never published it.

If you like to serve nuts that you have prepared instead of the "bought" ones, then you definitely need to try this recipe.


Cajun Cashews

1 T. butter
2 t. white vinegar
2 t. Tabasco
1 t. cayenne
1/2 t. garlic salt
1/2 t. salt
2 c. unsalted raw cashews

Put first 6 ingredients in a saucepan over medium heat and heat until butter melts. 

Add nuts and toss well. 

Put nuts on a foil lined jelly roll pan. 

Bake at 350 until golden brown; about 10-15 minutes. 

Scrape nuts and seasonings into a bowl; toss well. 

Serve warm or at room temperature. Store in an airtight container.


Tuesday, September 17, 2013

PEACH SAUCE

While l have pears running out my ears, I thought I would make something with my last 4 peaches that I had in the refrigerator. This recipe for peach sauce I found in a cookbook that I bought at an estate sale.  It is called The Southern Heritage Just Desserts Cookbook. It's from Southern Living and was published in 1984.

The recipe was towards the back of the cookbook in a section called "topping it off". They had all sorts of all-occasions sauces. The only ingredient that I didn't have for the peach sauce was the orange juice.  So I had to add it to my grocery list when I went to the store a few days ago.

Sunday after we get home from church I decided it was a perfect time to make the peach sauce.  Here's the recipe.


PEACH SAUCE

4       medium peaches, peeled and mashed 
1/2    cup of sugar 
1/2   cup orange juice 
2      teaspoons of lemon juice 
1      teaspoon vanilla extract


I peeled the peaches (see tip below) and mashed them ( a few at a time) in the pan I was going to use to cook the sauce.


Combine the peaches, sugar, and orange juice in a medium-size saucepan.


Bring it to a boil, reduce the heat to low and simmer for 15 minutes or until sauce thickens.


Remove from heat.

Stir in lemon juice and vanilla.

Cool.


Serve warm or chilled over ice cream.  It makes 2 cups of sauce.


TIP ALERT!

Here is a secret I recently read about how to easily remove the pit from peaches. The secret is where you cut the peach in half.

The first one I did was real easy because the "seam" line was already split so even after I peeled the peach, I could see it.


On the second peach, the "seam" was minor and so after I peeled the peach, I couldn't see where it was.  I didn't cut it in the correct place.


So I decided I would cut the peach in half first before I peeled it. That way if the "seam" wasn't major, I would be sure to cut it in the right place.  It really wasn't hard to peel the peach after it was cut and the pit comes out so easily.


Instead of sugar I decided that I would use twelve individual packets of stevia that I had. 


After it simmered for 15 minutes it wasn't quite thick enough so I decided I'd simmer it a little bit longer.  So I cooked mine about 25 minutes.

I cooled it for about 15 minutes or so and then decided I couldn't wait any longer to serve it over a little ice cream along with one of my last Arkansas Travelers that I made the other day.  Did you see that RECIPE?  They are so good.  I made the cookies to share with the volunteers at Hillcrest Thrift Shop. 

Well, the combination was delicious....the mint chip ice cream, peach sauce and an Arkansas Traveler cookie.

Monday, September 16, 2013

CHERRY DESSERT

My friend Fran was hosting this month's gathering for Mexican Train. Fran doesn't cook as much as she used to and she knows I like to bake. Recently when we met at her house, she asked me if I would be willing to furnish the dessert. Of course, I said, "You bet!" Remembering that, I offered to make the dessert for this gathering.

I have so many cookbooks! They have definitely become a "weakness of mine"....not being able to resist buying them.....usually at estate sales. I don't know why I should....I have plenty of my own and ones I kept that belonged to my mother.

Because I have so many cookbooks, I have trying to search them out for good sounding recipes .... sometimes I have a picture, but usually not.

This recipe called Cherry Dessert is another one from my Coldwater's Cookin'! cookbook. The recipe was submitted by Mrs. Janis Allen. I basically followed her recipe except that I added another can of cherry pie filling....one can is just not enough for a 9 x 13 - inch pan. I also reduced calories as much as I could by using fat free cream cheese, skill milk, and no-sugar-added pie fillings. I think it would taste good using blueberry pie filling, also.

It was a big hit at the gathering and my husband was especially glad that the group was small enough that I had some leftovers to bring back home for him.


CHERRY DESSERT

Angel food cake
2       pkgs. Dream Whip
1       cup skim milk
2       teaspoons vanilla
1       8 - oz pkg fat free cream cheese
1       cup sifted powdered sugar
2       cans (20-oz each) No-Sugar-Added cherry pie filling

Break angel food cake into pieces in mixing bowl.  

Mix cream cheese and powdered sugar together until smooth ....scraping sides of bowl as necessary. Remove to another bowl.

Beat the 2 pkgs Dream Whip, milk, and vanilla in a large mixing bowl. (Combine on slow til mixed and then increase speed to high for 3-4 minutes.)

Add the cream cheese mixture to the whipped Dream Whip.


Fold in the cake pieces.


Pour mixture into a 9 x 13 - inch pan and spread out smoothly. (The Pyrex dish I used is a 2 - quart size and slightly smaller than 9 x 13. It just means the finished dessert will be thicker.)

Spoon almost 2 cans of pie filling on top.  (The original recipe only called for 1 can, but 1 can just isn't enough to give a good cover to the dish.  I used all but about 1/4 to 1/3 cup of the second can and was very pleased with the finished top.)
Refrigerate until ready to serve. Store leftovers in the frig. 


(I made the dessert the night before I planned to serve it.  I wanted to make sure it was set and would come out cleanly.....


and it did.)


Friday, September 13, 2013

MRS JONES' PINEAPPLE CAKE

The Northland New Neighbors League recently had a luau.  It was so much fun.  The club furnished a whole pig and everyone brought a dish. Aren't you surprised that I chose to bring a dessert?


I immediately thought of my mother's pineapple filling and decided that would be perfect for a luau.  She always just used a yellow cake mix but I decided to try a pineapple cake instead.


Janice told me she had a pineapple sheet cake she liked to make and I asked her if she would share the recipe with me.  Before she emailed it to me, I was looking in my the Best of Ruby Jones cookbook and found her recipe for Pineapple Squares.  When Janice sent me her recipe, I noticed it was very similar.  (Mrs. Jones' recipe used less sugar than Janice's did.)

Mrs. Jones poked holes in her cake as soon as she brought it out of the oven and then iced the cake still in the pan and still warm.  Her icing contained 1 cup sugar, 1 stick margarine, 1 small can evaporated milk, 1/2 cup chopped nuts, 1 can coconut, and whipped cream.  She boiled the sugar, margarine, and milk til it began to thicken.  Then she added the nuts and coconut and poured it over the warm cake.  She served hers cut in squares and added a dollop of whipped cream.  She called her dessert Pineapple Squares.

I liked Mother's pineapple filling I used and everyone else did too. 


MRS. JONES' PINEAPPLE CAKE


2        cups flour
1-1/2 cups sugar (I used 3/4 cup stevia/sugar blend)
1        large can crushed pineapple (20 oz. undrained)
2        eggs
2        teaspoons baking soda
1/4     teaspoon salt
1/2     cup vegetable oil (I used canola oil)
1        teaspoon vanilla

Preheat oven to 350 degrees.

Combine the flour and sugar and then add the rest of the ingredients in a large bowl.


Pour batter into a 9 x 13 - inch greased and floured pan.

Bake until done.  (I baked mine for 25 minutes.)

Cool in pan (about 20 - 30 minutes) on wire rack.  Then turn out on cake tray.  Ice with the following pineapple filling after cake has cooled completely. 

(This is not the icing Mrs. Jones put on her cake, but this is my favorite.  My mother always made it.  She would make a 2 - 3 layer 8 - 9 in round cake using a yellow cake mix and then make this filling.)


MOTHER'S PINEAPPLE FILLING FOR CAKE


2     cups sugar (I used 1 cup stevia/sugar blend)
1/2  cup flour
1     #2 can (20 - oz) crushed pineapple, undrained
4     egg yolks
1/2  stick margarine (light margarine works well)


Combine the sugar and flour in the top of a double boiler.


Add the rest of the ingredients.


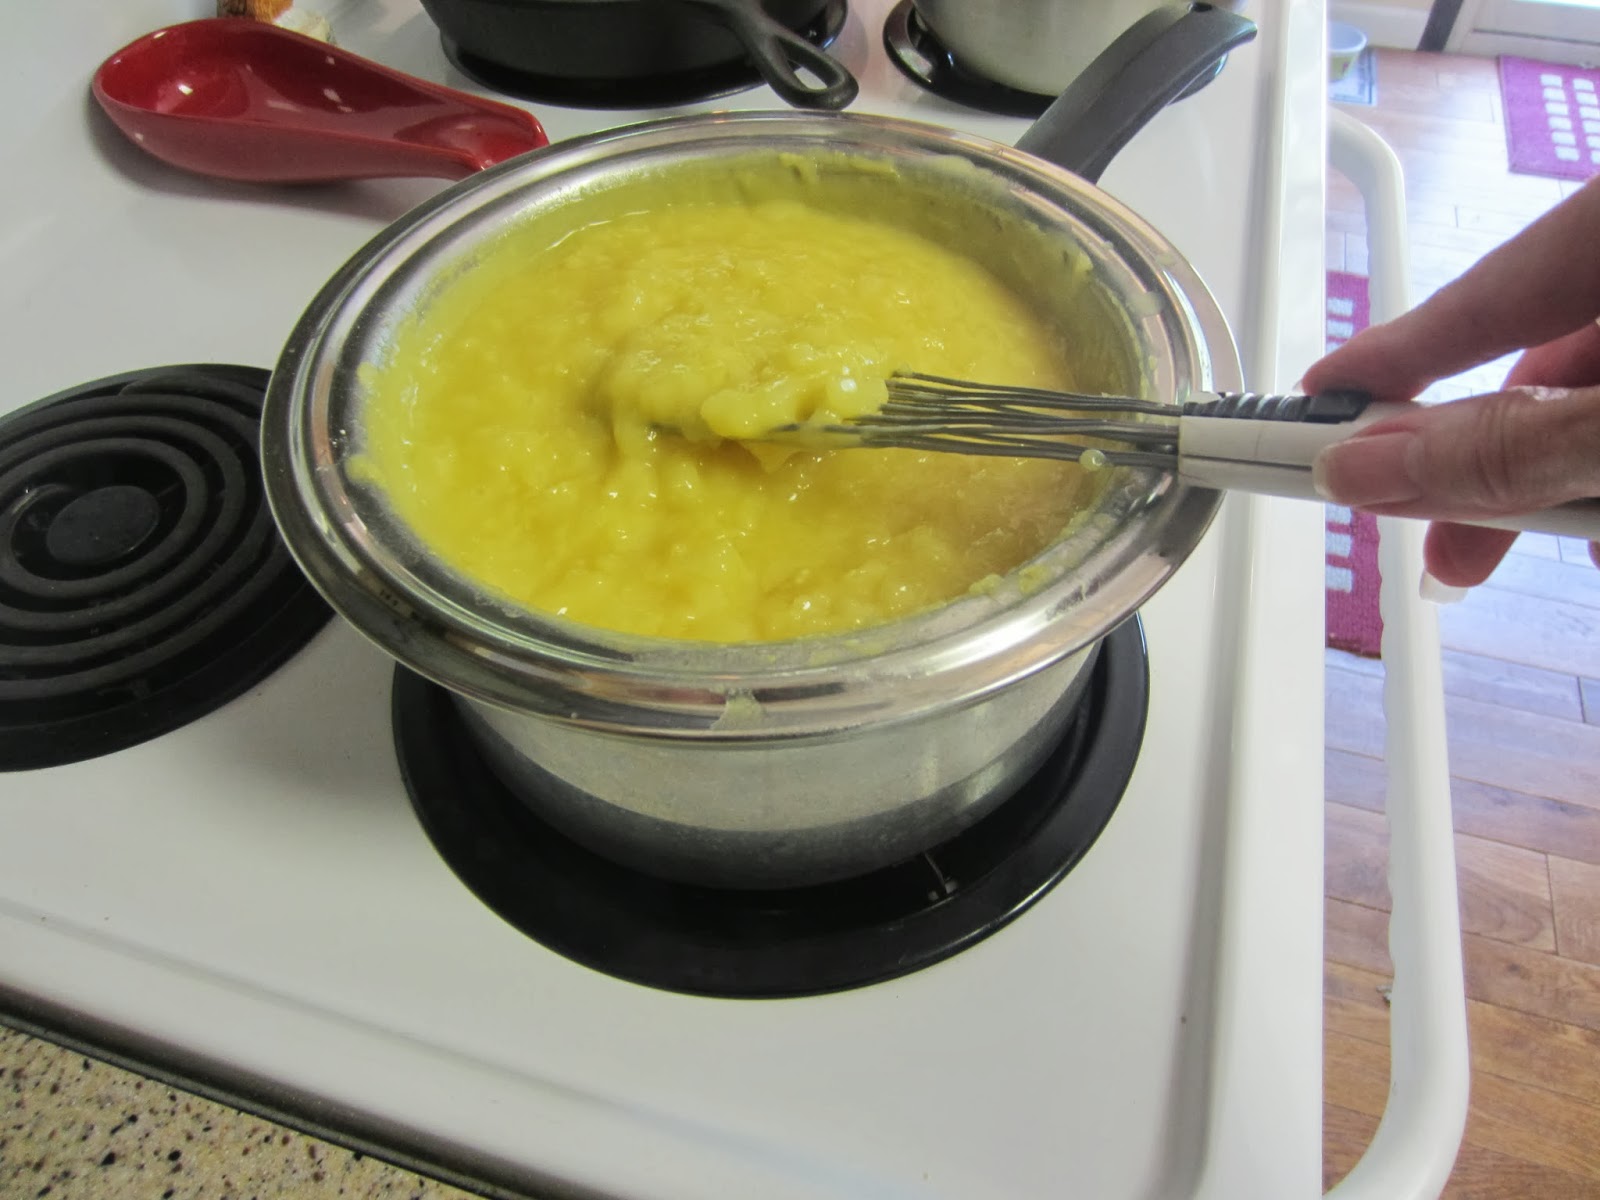
Cook in double boiler until thick. (It took mine about 7 minutes to get thick, stirring fairly steadily.)


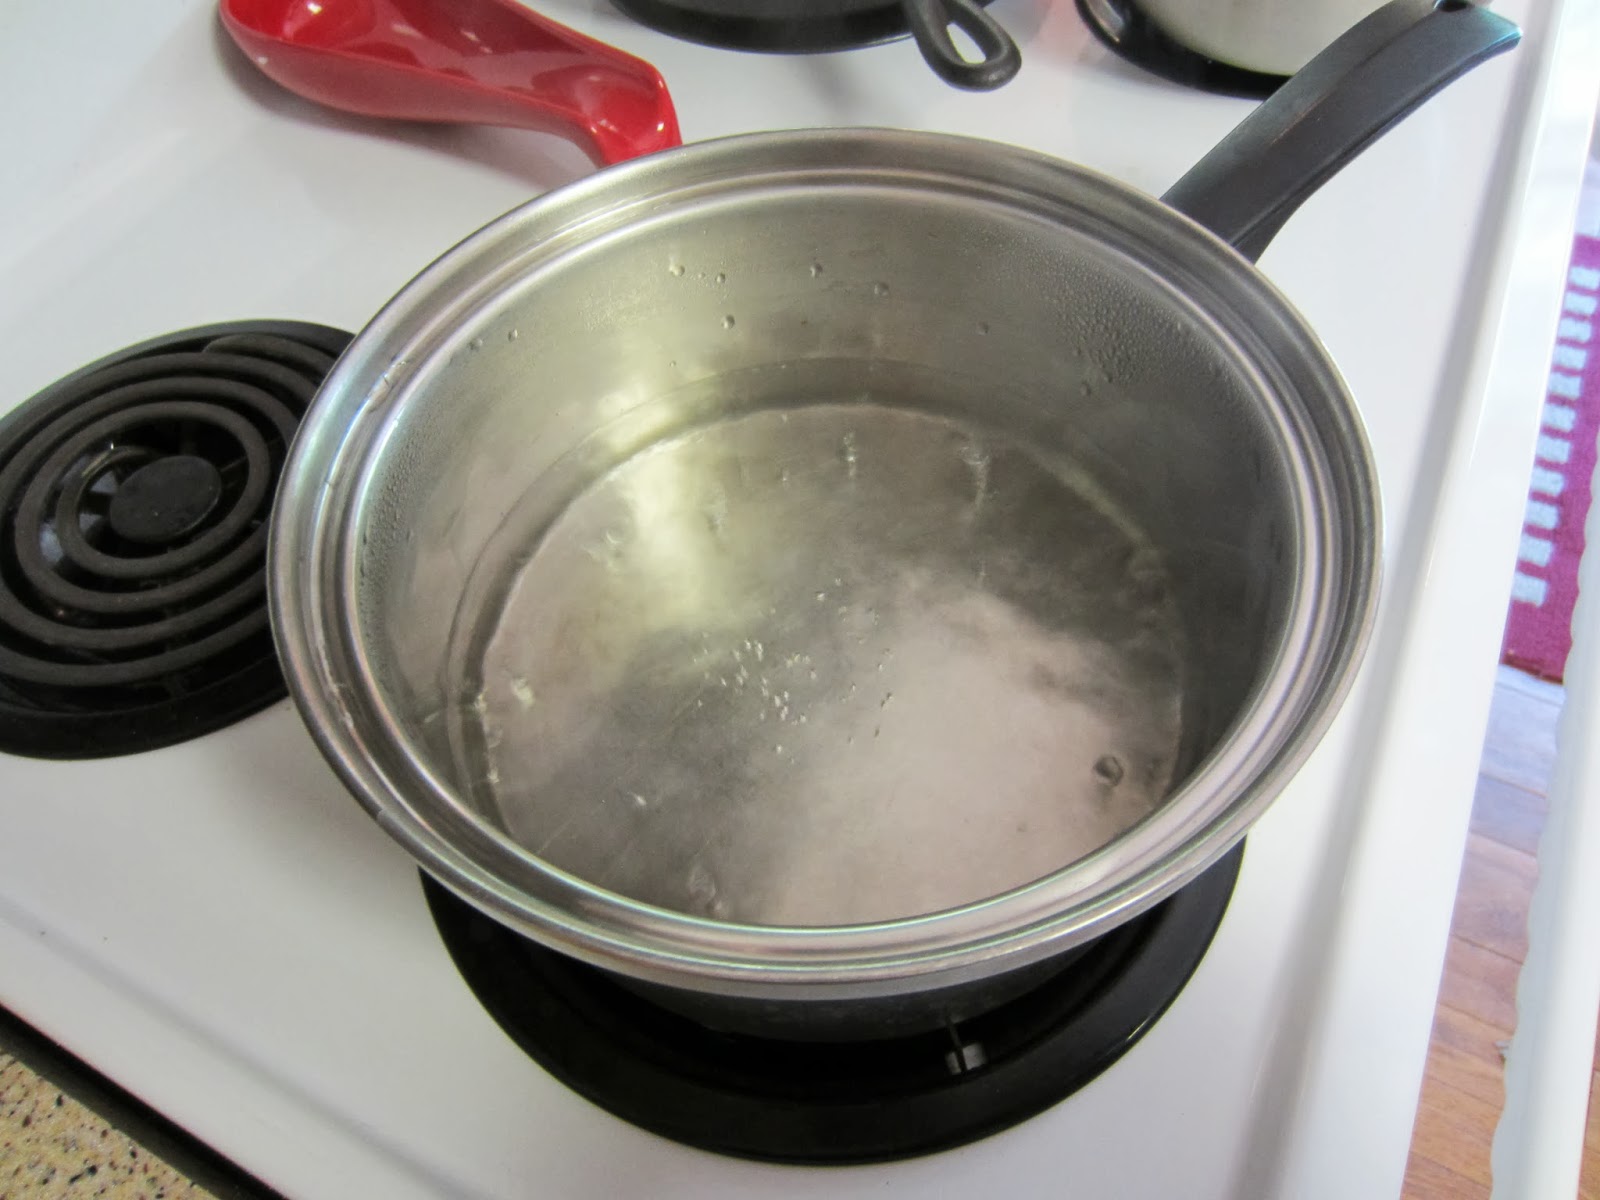
Start with an inch or two of water in the bottom pot.  Bring water to a boil.


Stir all of the ingredients in the top pot


After it cools somewhat, you can spread it on the cooled cake.


Thursday, September 12, 2013

OATMEAL PANCAKES

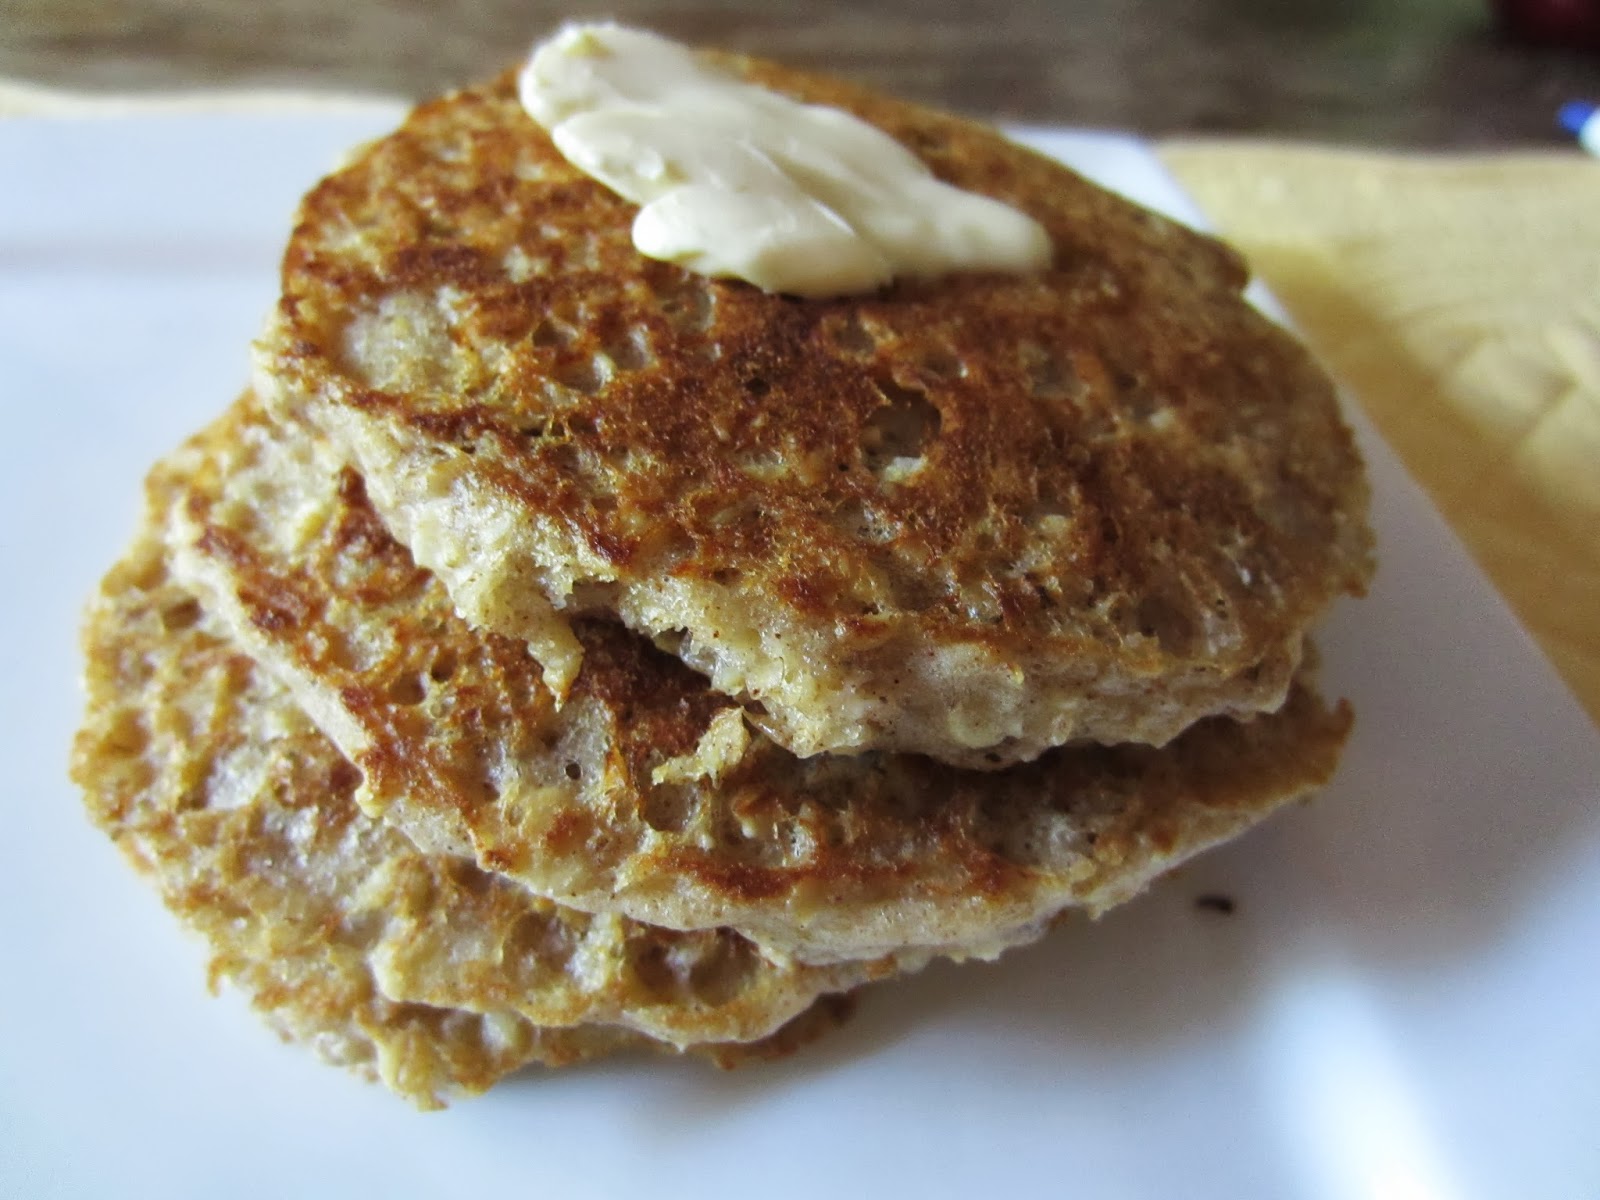
Tuesday when I was working my shift at Hillcrest Thrift Shop, business was a little slow. I had taken recent copies of People magazine and Entertainment Weekly to read .... just in case. Towards the back of the People magazine, was an insert from People and Cooking Light with several recipes. This recipe for Oatmeal Pancakes was one of them.  

I decided to just copy the recipe down since it wasn't too involved so that when I left the copy in the community room, it would be there for others who might be interested.

I like eating "breakfast" for dinner so when I wasn't prepared for dinner last night, I asked my husband if pancakes would be okay.

These pancakes were really good. I didn't use whole wheat pastry flour for the 1/4 cup of flour, but will next time. I did use soft wheat pastry flour but think you could use any kind you wanted to. That is why I wrote the recipe and just said flour.


OATMEAL PANCAKES


1/4     cup flour
1        cup quick oats
1        tablespoon stevia or sugar
1/2     teaspoon baking powder
1/2     teaspoon baking soda
1/4     teaspoon cinnamon
1/8     teaspoon salt
1        cup 1% buttermilk
2        tablespoons margarine, melted
1        large egg

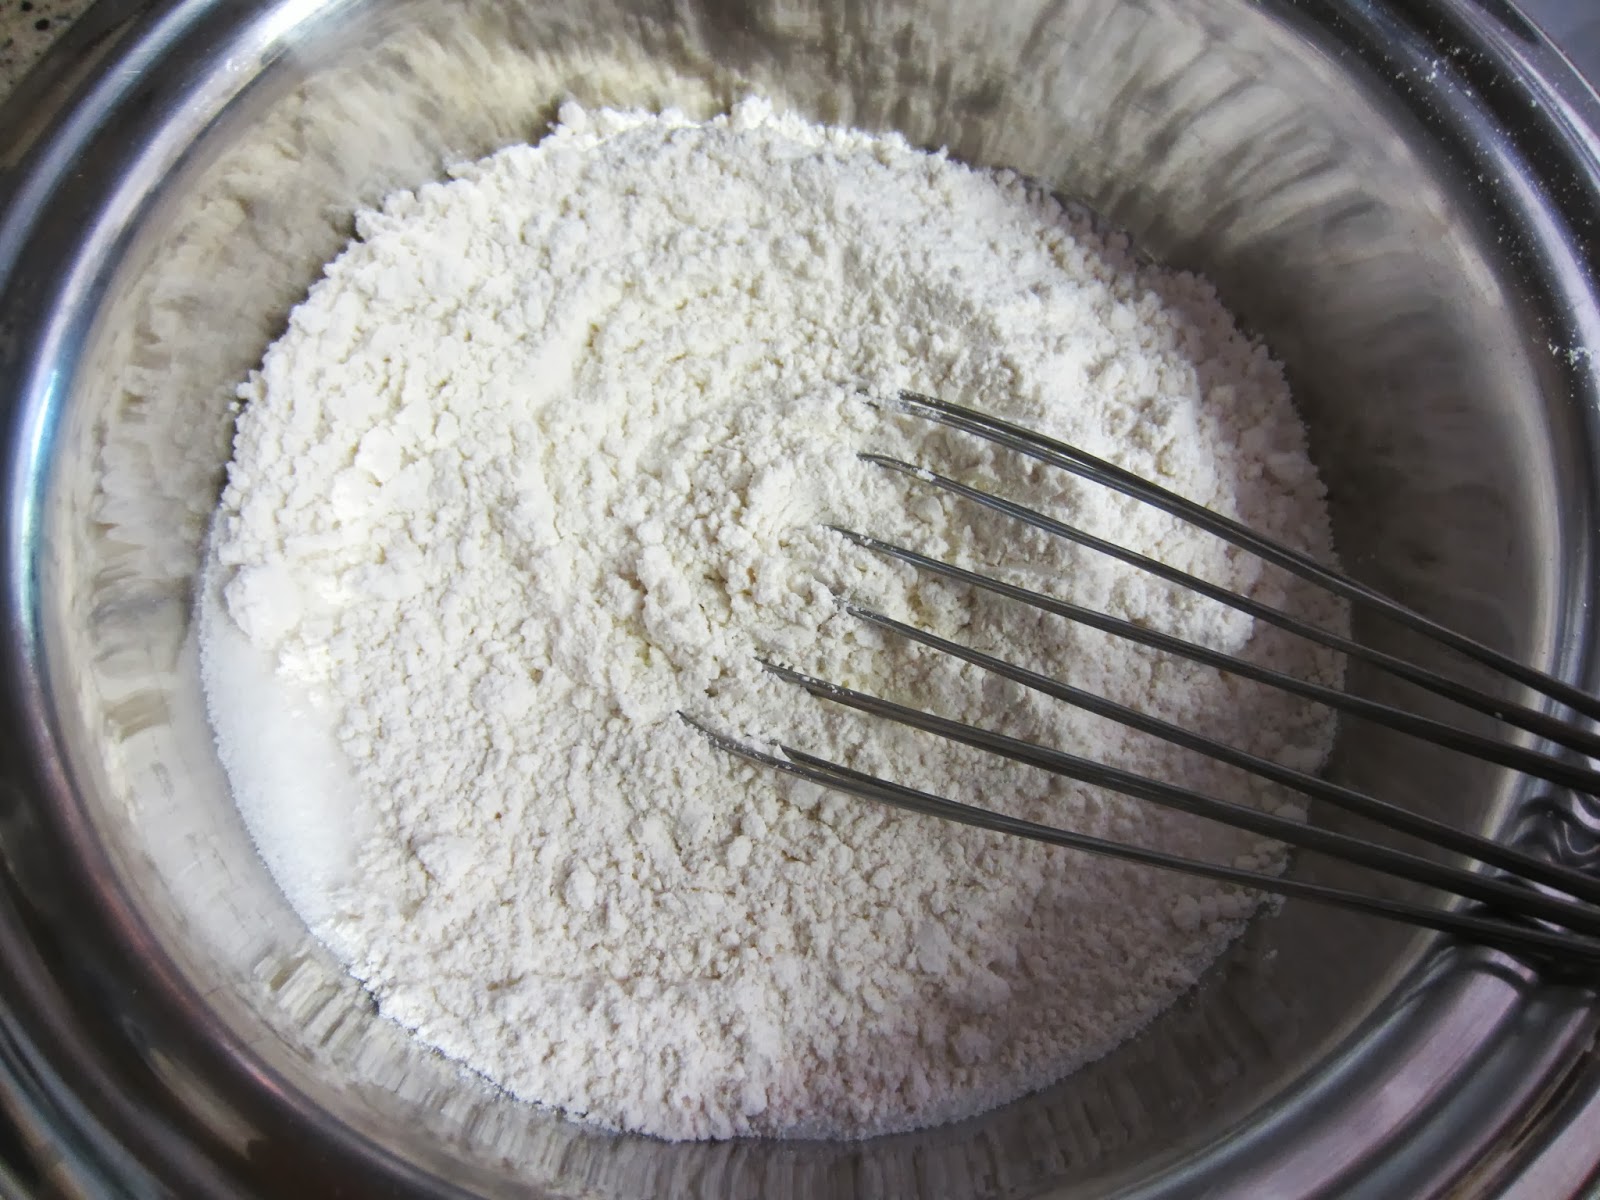
Combine the flour, oats, stevia, baking powder and soda, cinnamon, and salt in a large bowl with a whisk.

Combine the buttermilk, margarine, and egg in a small bowl with a whisk.

Add the wet mixture to the dry mixture and stir just til moist.  Batter will be thick. (I like to let it set for about 5 minutes before using.)


Spray with cooking spray or add a little oil to a large skillet over medium heat.

Drop a scoop of batter and flatten with back of scoop. (I have a medium ice cream scoop I used.) Cook on one side about 2 minutes or til edges are brown when you lift up the edge of the pancake.


Carefully turn and cook about 2 minutes more.

Makes 10 - 4-inch pancakes.

Tuesday, September 10, 2013

ARKANSAS TRAVELERS

Being from Arkansas, the title of these cookies caught my attention when I was looking thru my Coldwater's Cookin'! cookbook.  I have shared several recipes that I found in it.  It was published in 1978 by Iota Omicron Beta Sigma Phi in Coldwater, Kansas.  One of the little girls I took care of named Megan gave it to me back in '84.  Her grandmother was one of the contributors.

This recipe was contributed by Betty J. Brass.  It is a different spin on your peanut butter cookie.  

I decided to make them this morning to take to Hillcrest Thrift Shop to share with the other volunteers. The original recipe made 5 dozen cookies. Since I didn't want to make that many and the ingredient amounts could easily be halved, that is what I did. I am sharing the original recipe but just remember you can cut the amounts in half if you want to make less. I actually made 39 cookies.  

My additions/changes are in parenthesis.  I didn't show the halved amounts though.


ARKANSAS TRAVELERS


1         cup butter (or light margarine)
1         teaspoon vanilla
1         cup brown sugar
1         cup white sugar (I used sugar and stevia blend.)
2        eggs
1-1/2 cups peanut butter (smooth or crunchy)
3        cups sifted flour
2        teaspoons baking powder

Preheat oven to 375 degrees (I actually baked mine at 350 degrees. See note below.)
Grease or spray cookie sheets

Cream butter (until smooth).


Add vanilla.

Add sugars (that you have combined in a small bowl) gradually, creaming well.


Beat in eggs, mixing thoroughly.


Add peanut butter and mix well.


Sift together the flour and baking powder.  Stir into creamed mixture.


Roll into small balls.  (I used my cookie scoop and that worked perfectly.  Less messy since dough was soft.)

Place on cookie sheets (about 2 inches apart).


Flatten with tines of a fork that has been dipped in water.  (This keeps the dough from sticking to the tines.)


Bake for 8 - 10 minutes at 375 degrees and 10 - 11 minutes at 350 degrees.  (I didn't notice the oven temperature when I preheated the oven.  That is why I baked mine at 350 degrees. The last pan I baked at 375 degrees.  They were a little browner and ready after 8 minutes.)