Thursday, December 15, 2022

APPLE CROSTATA

 Last week our quilters' canasta group met at Friend Susan's beautiful home that was decorated so pretty for Christmas. I should have taken a picture of her Christmas tree, but didn't think to ask. It must have been seven feet tall at least. 

I especially enjoyed seeing it since we are not putting up our tree again this year because of the cats. Hopefully next year we can since they will be two next summer. We placed our small one on the front stoop today so our neighbors can enjoy it as they drive by. I'm not sure how much inside decorating I will do either.

For dessert, Susan made this beautiful crostata. A tart (or pie) generally is made in a pie shell with sides giving it some structure, but a crostata or galette is baked flat on parchment paper atop of a cookie sheet or sheet pan. I've been wanting to make one for a while but just hadn't gotten around to it so I was really excited to see it on the counter. I was so excited about eating it that I forgot to take a picture of an individual serving. The only picture I took was this one:

It was so delicious! She also served it with a scoop of vanilla ice cream. The recipe calls for apples but Susan said she used apples and pears.( Pears that I had given her from our pear tree.) She also added a few fresh cranberries. I like fresh cranberries in my apple pies, too.

APPLE CROSTATA

Crust:

2-1/4   cup flour, divided

1/2      cup sugar, divided

3/4      teaspoon kosher salt, divided

1-1/4   cup unsalted butter (2-1/2 sticks) diced, very cold, divided

Filling:

1-1/2   lbs. McIntosh or Gala apples

1/4      teaspoon grated orange peel

1/4      teaspoon ground cinnamon

1/8      teaspoon ground allspice

Prepare the crust: In a food processor, pulse 2 cups of flour, 1/4 cup sugar, and 1/2 teaspoon salt until combined. Add 1 cup butter. With a fork toss the butter to coat with the flour. Pulse 12 to 15 times or until pea-size clumps form. With motor running, add 1/4 cup ice water through feed tube. Pulse to combine, stopping just before dough comes together completely.

Transfer the dough to a floured surface; pat into 2 even disks. Wrap each with plastic wrap. Refrigerate 1(one) disk at least one hour; freeze the other disk for another use.

Preheat oven to 450 degrees F. Line cookie sheet with parchment paper. On a lightly floured surface, with a rolling pin, roll dough into an 11-inch round. Transfer to prepared cookie sheet.

Prepare filling: Peel, core, and cut apples into quarters. Cut each quarter into 3 or 4 chunks. In a bowl, toss apples with orange peel. Arrange apples on dough round, leaving 1-1/2-inch border.

In the food processor, combine the cinnamon, allspice, and remaining 1/4 cup sugar, 1/4 cup sugar, and 1/4 teaspoon salt. Add remaining 1/4 cup butter, pulsing until mixture is crumbly. Transfer to a medium bowl. With fingers, rub mixture until clumps form. Sprinkle evenly over apples. Gently fold the edge of the dough over apples, pleating and pressing to make a circle.

Bake 20 to 25 minutes or until crust is golden brown and apples are tender. Let crostata cool on pan on wire rack 5 minutes. Slide parchment paper with crostata onto wire rack and cool completely.

PRINT recipe.


Monday, December 12, 2022

SIMPLE CHICKEN/TURKEY SOUP

 Friday morning we attended the dedication ceremony of our newly opened library about a mile from us. We are really fortunate in Kansas City and the surrounding area to have a library system called the Mid-Continent Public Library that covers three counties - Platte, Clay, and Jackson counties. The city limits of Kansas City is in all three counties but the library system covers many more cities in these three counties. 

The library near us was thirty years old and needed updating and enlarged so after voters approved tax money to build a newer, considerably larger state-of-the-arts library a mile or two away and right down the road from us. Green Hills Library Center is the result. The Culinary Center is the only one in the region and will open next year. It is going to be really spectacular. I am so looking forward to it. At the bottom of this post I will share some pictures of my first visit with grandkids Madison and Tyler. They were so excited about going as they watched it being built every time we drove past it this year.

We ran an errand to Menards afterwards and then went home to make some turkey soup with the leftover turkey from our belated Thanksgiving. Wayne immediately started looking for a recipe but I stopped him with, "Wait! I have a recipe I recently found that I wanted to try."

Finding the recipe our turkey noodle soup became a chicken soup using turkey instead of chicken. I had started cooking some rotini to use in place of the noodles but then changed my mind when I read the recipe and saw the ingredients especially the mixed vegetables. (I told Wayne he could just eat them with some butter.

Jump to the end by the time the soup was finished I had dished out some for him and added the cooked pasta. So the simple chicken soup turned into still a simple recipe but not exactly what the recipe intended. BUT it is very delicious. AND the little bit of turkey we had leftover after a couple of cold turkey sandwiches made us meals for several days.

PRINT RECIPE.

SIMPLE CHICKEN/TURKEY SOUP


2     cans (14.5 ounces each) chicken broth. (I made my own broth using chicken bouillon cubes and hot water

1     tablespoon dried minced onion

1     package frozen mixed vegetables

2     cups cubed cooked chicken breast or turkey

2     cans (10 ounces each) condensed cream of chicken soup, undiluted (low sodium)

1     teaspoon Nature Seasons


In a large saucepan, bring the broth and onion to a boil. Reduce heat.

Add the vegetables; cover and cook for 6 to 8 minutes or until crisp-tender.

Stir in the chicken or turkey and soup;

add seasoning

heat through.


I cooked 1 cup of chickpea rotini and

added it to some of the soup and then

added the rest of the soup to it. The turkey I used was smoked turkey our son Patrick made for our Thanksgiving so it gave the soup an extra yummy taste to it. 

At the dedication we learned that the fork outside the front of the library is the fifth largest fork on display in the nation.


Cups hanging over the "cafe" which is opening in January. 


The kids found books and they wanted to read them to me. I'M MY OWN DOG by David Ezra Stein was the cutest book and I would highly recommend it. It is told from the dog's point of view.

Monday, December 5, 2022

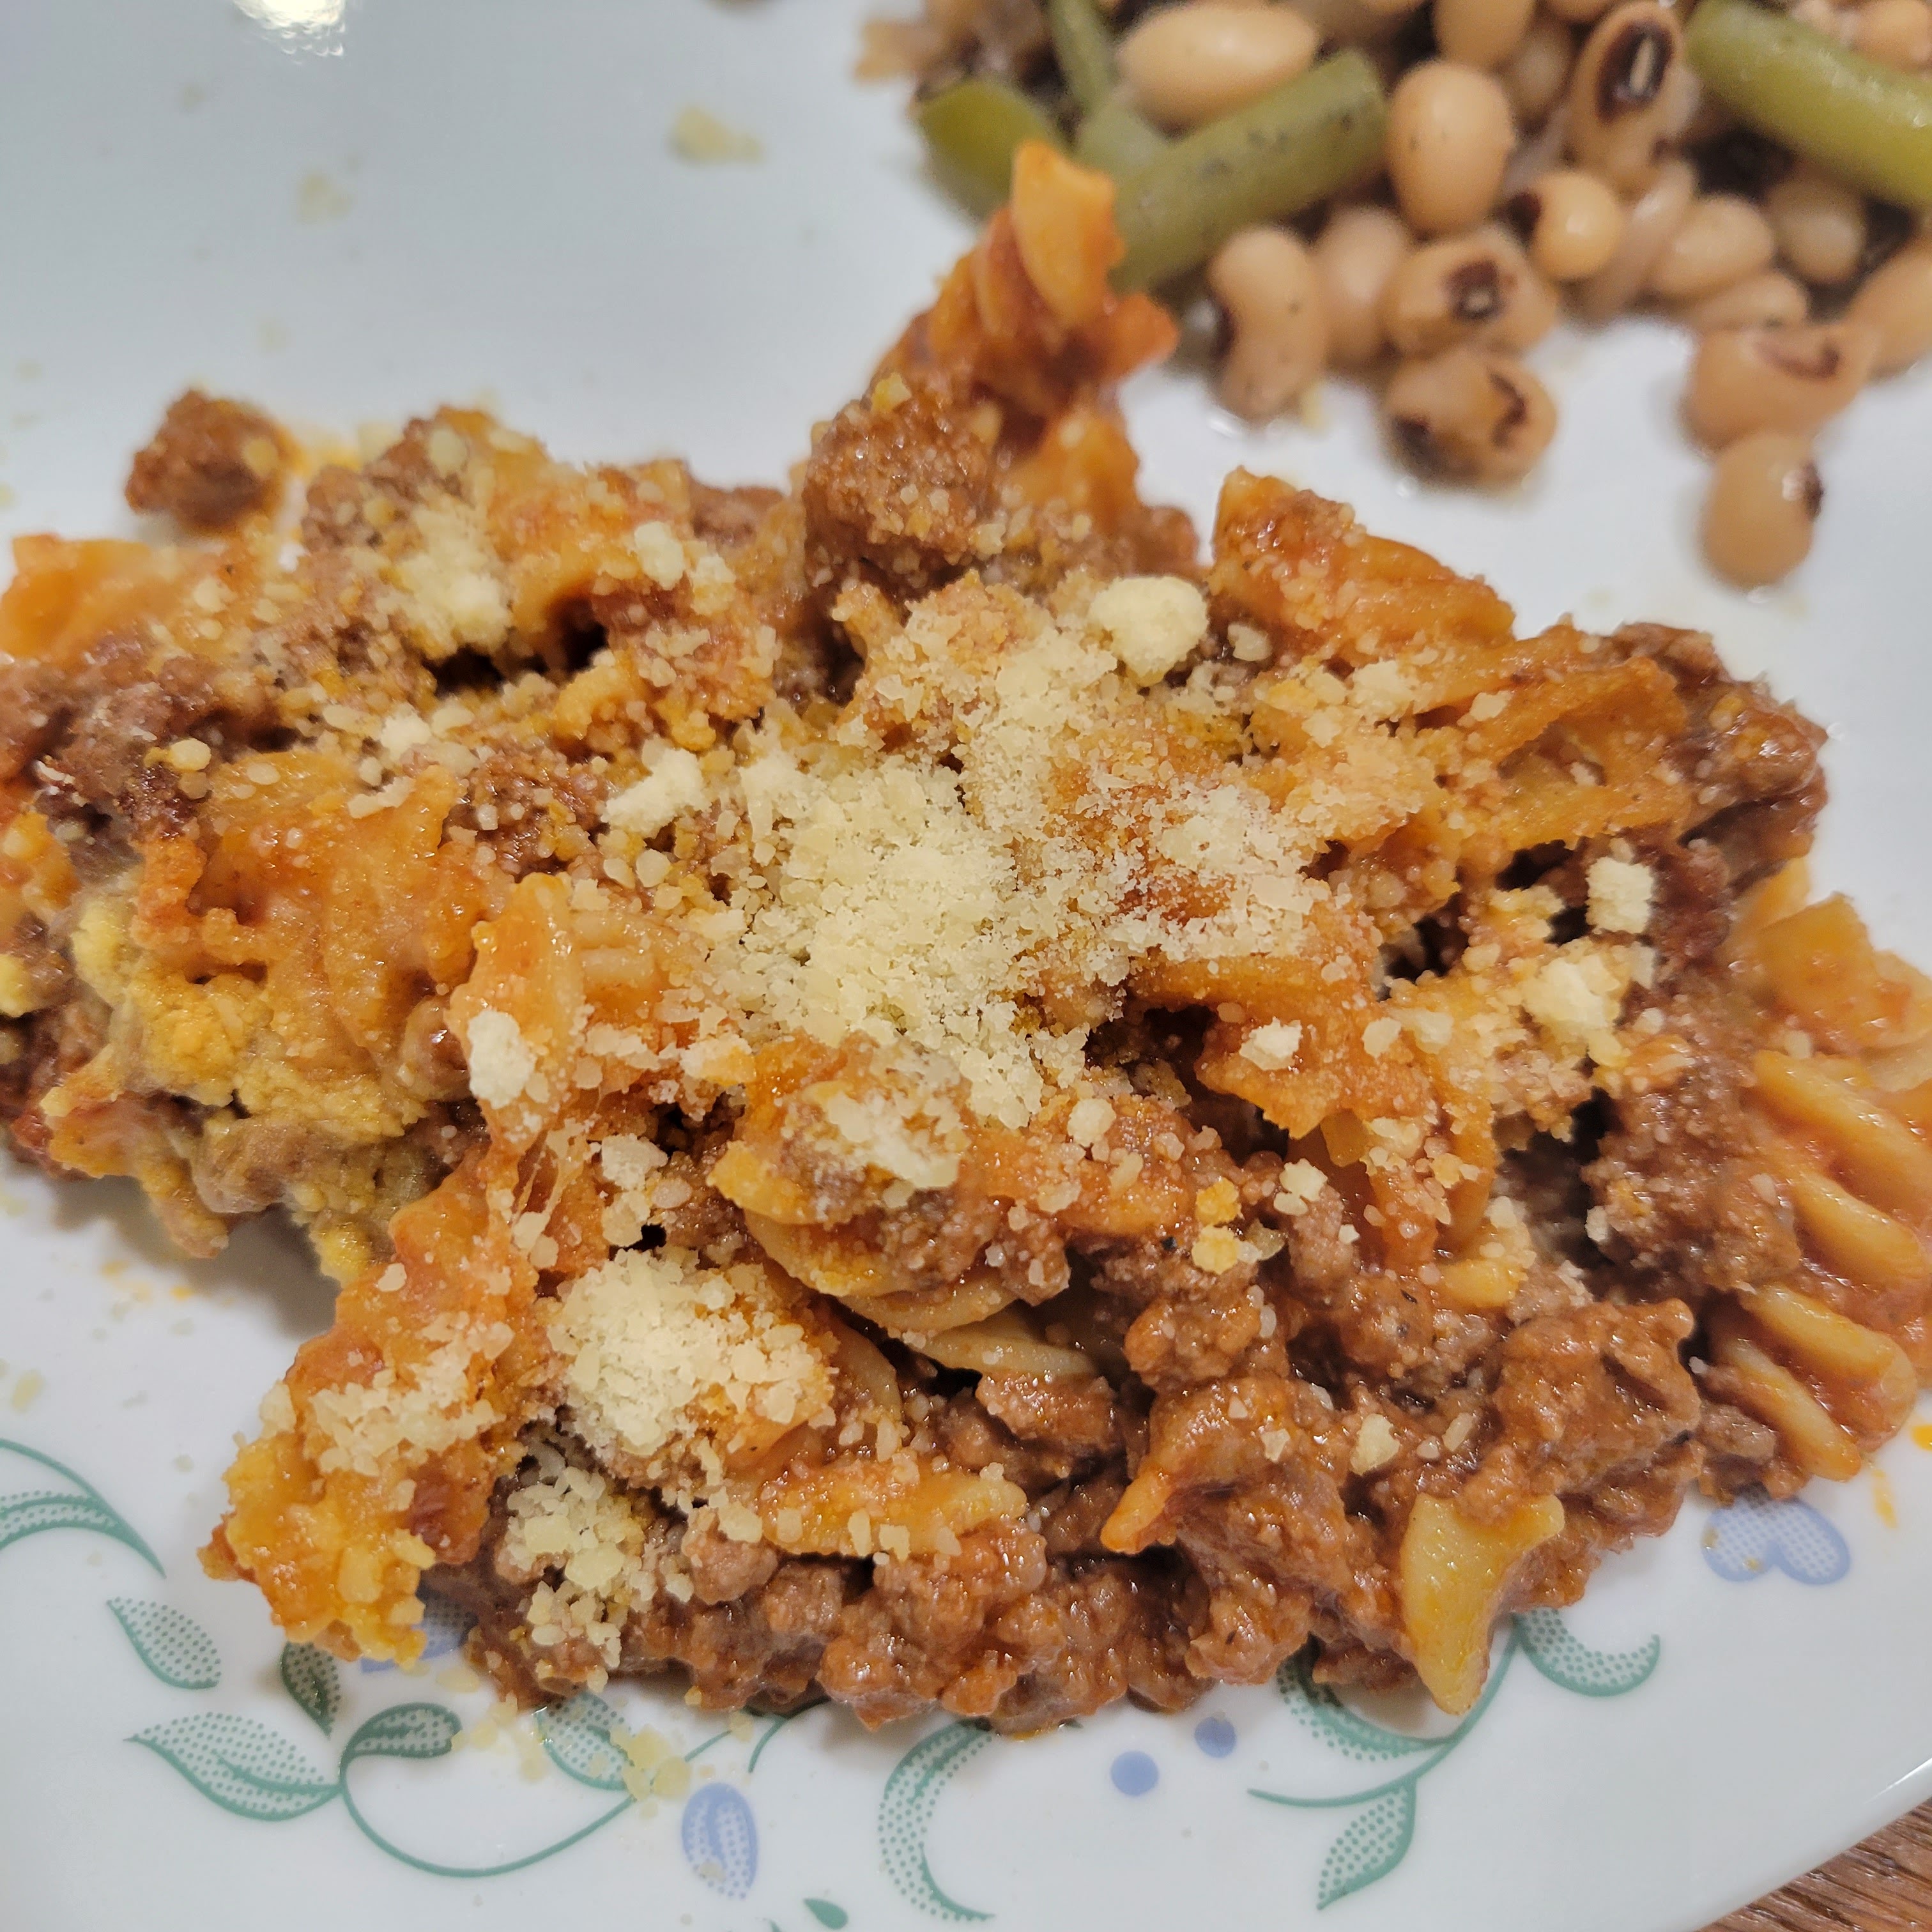
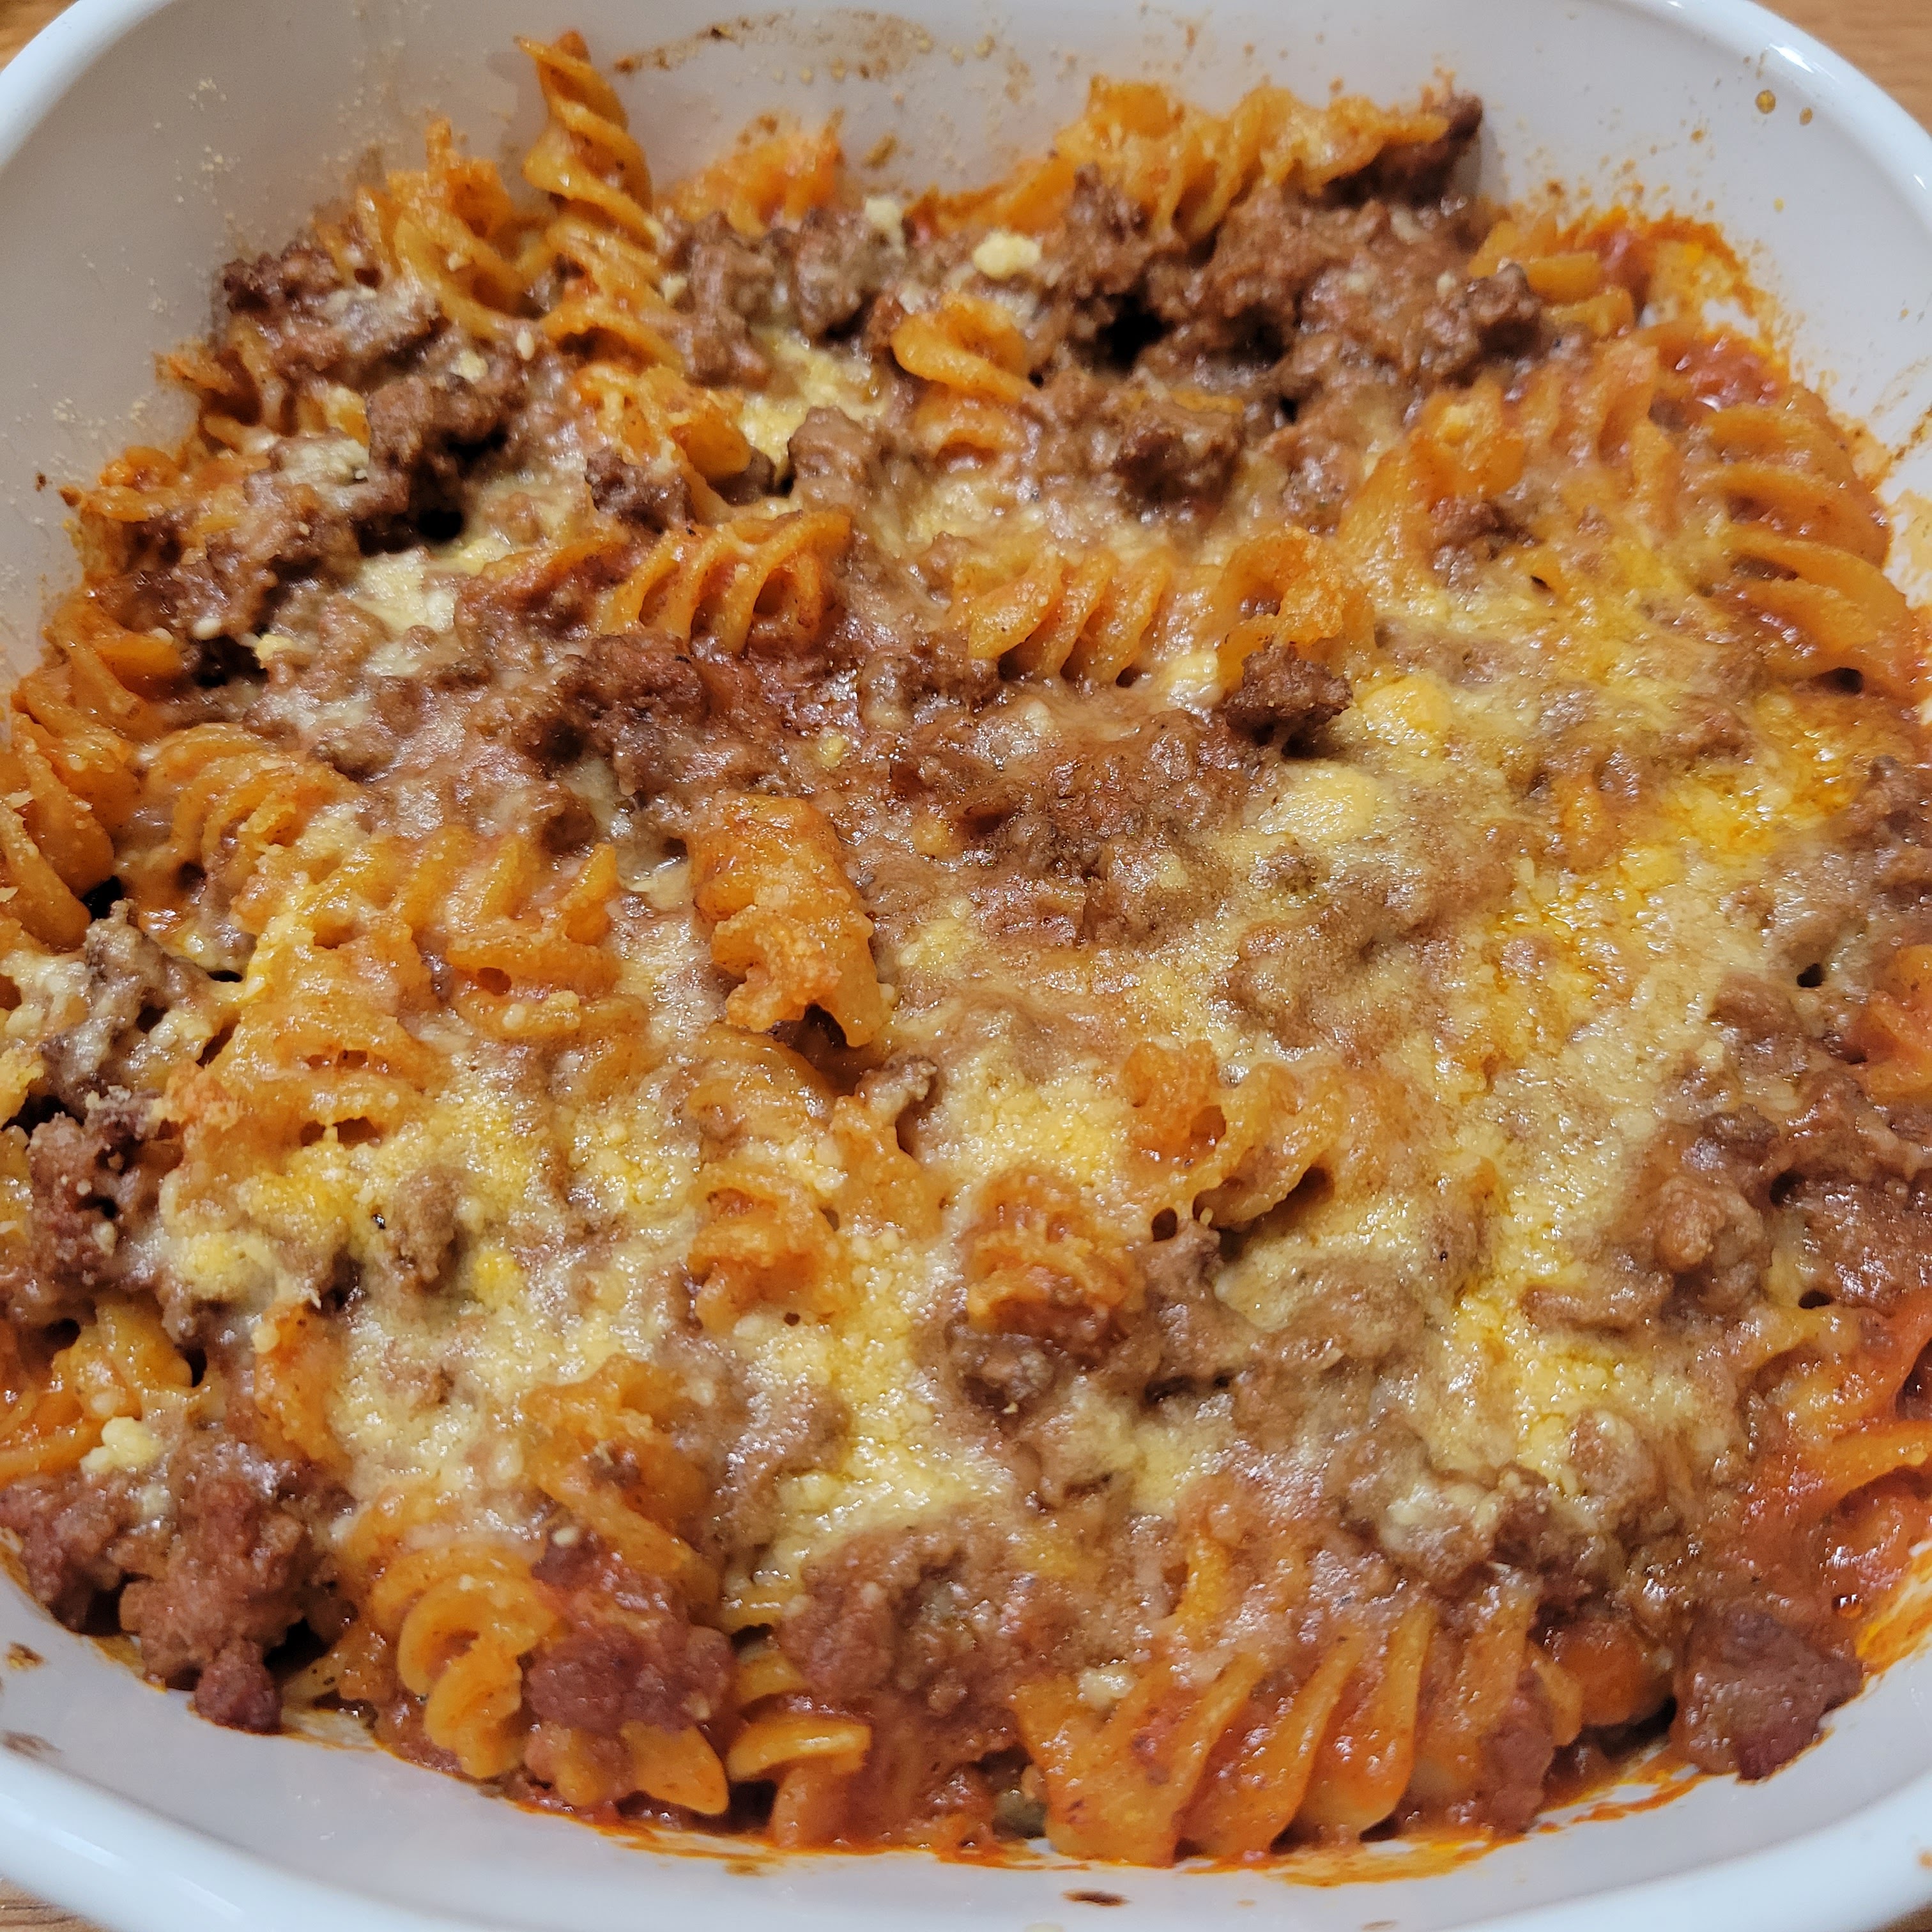
TACO BURGER ROTINI BAKE

 Whenever I find us eating out more often than I'm cooking us something to eat, I make myself do a search for some delicious looking main dishes that wouldn't be too hard but would be tasty and last us several meals.  As it turned out I found two but chose this one first.

I had to make it my own recipe though by changing the ingredients up some - maybe a little bit more than I usually do. I changed it so much that I had to rename the recipe. You see the title was Sausage Macaroni Bake and I didn't have any sausage and I didn't have any macaroni that I wanted to use. The only name I could keep would be "bake". I thought about Burger Pasta Bake or Taco Rotini Bake and finally decided to join them together together and call it Taco Burger Rotini Bake. Too much? Maybe so.

It was definitely quick and easy and  Wayne really liked it. It also lasted for two and a half meals which kept us out of restaurants and fast food places for a few days. Another fabulous thing was I tried some "pasta" I bought that was made with chick pea. I couldn't taste any difference in the rotini at all.

PRINT RECIPE HERE.


TACO BURGER ROTINI BAKE

3/4     cup uncooked pasta (rotini)

1/2     lb ground beef

1        teaspoon Nature Seasoning

2        teaspoons taco seasoning

1        can (8 ounces) tomato sauce

1/2     cup water

1        teaspoon pepper

4        tablespoons grated Parmesan cheese divided

Cook the rotini according to package directions; drain and set aside.


Cook the ground beef in a skillet over medium heat until no longer pink; drain if necessary.

Sprinkle the Nature Seasoning and taco seasoning over the cooked meat.

Stir in the tomato sauce and water.

Bring to a boil.

Reduce heat; simmer, uncovered, for 5 minutes. Sprinkle the pepper on top and stir in.


While the meat is simmering, preheat the oven to 350 degrees F.


Stir in the rotini and

Parmesan cheese.

Transfer to an ungreased 1-quart baking dish.


Sprinkle with the remaining Parmesan cheese.

Bake, uncovered, for 20 to 25 minutes or until bubbly.

Can sprinkle more Parmesan Cheese on top of individual servings.


Thursday, December 1, 2022

EASY MUFFIN-COOKIE MAGIC

 How many times have you watched a Christmas movie on television when the child reminds his/her mother or daddy that he is supposed to take cookies to school the next day? And s/he does this just before going to bed. Then before the parent goes to bed, you see these beautifully decorated cookies s/he made in no time at all. 

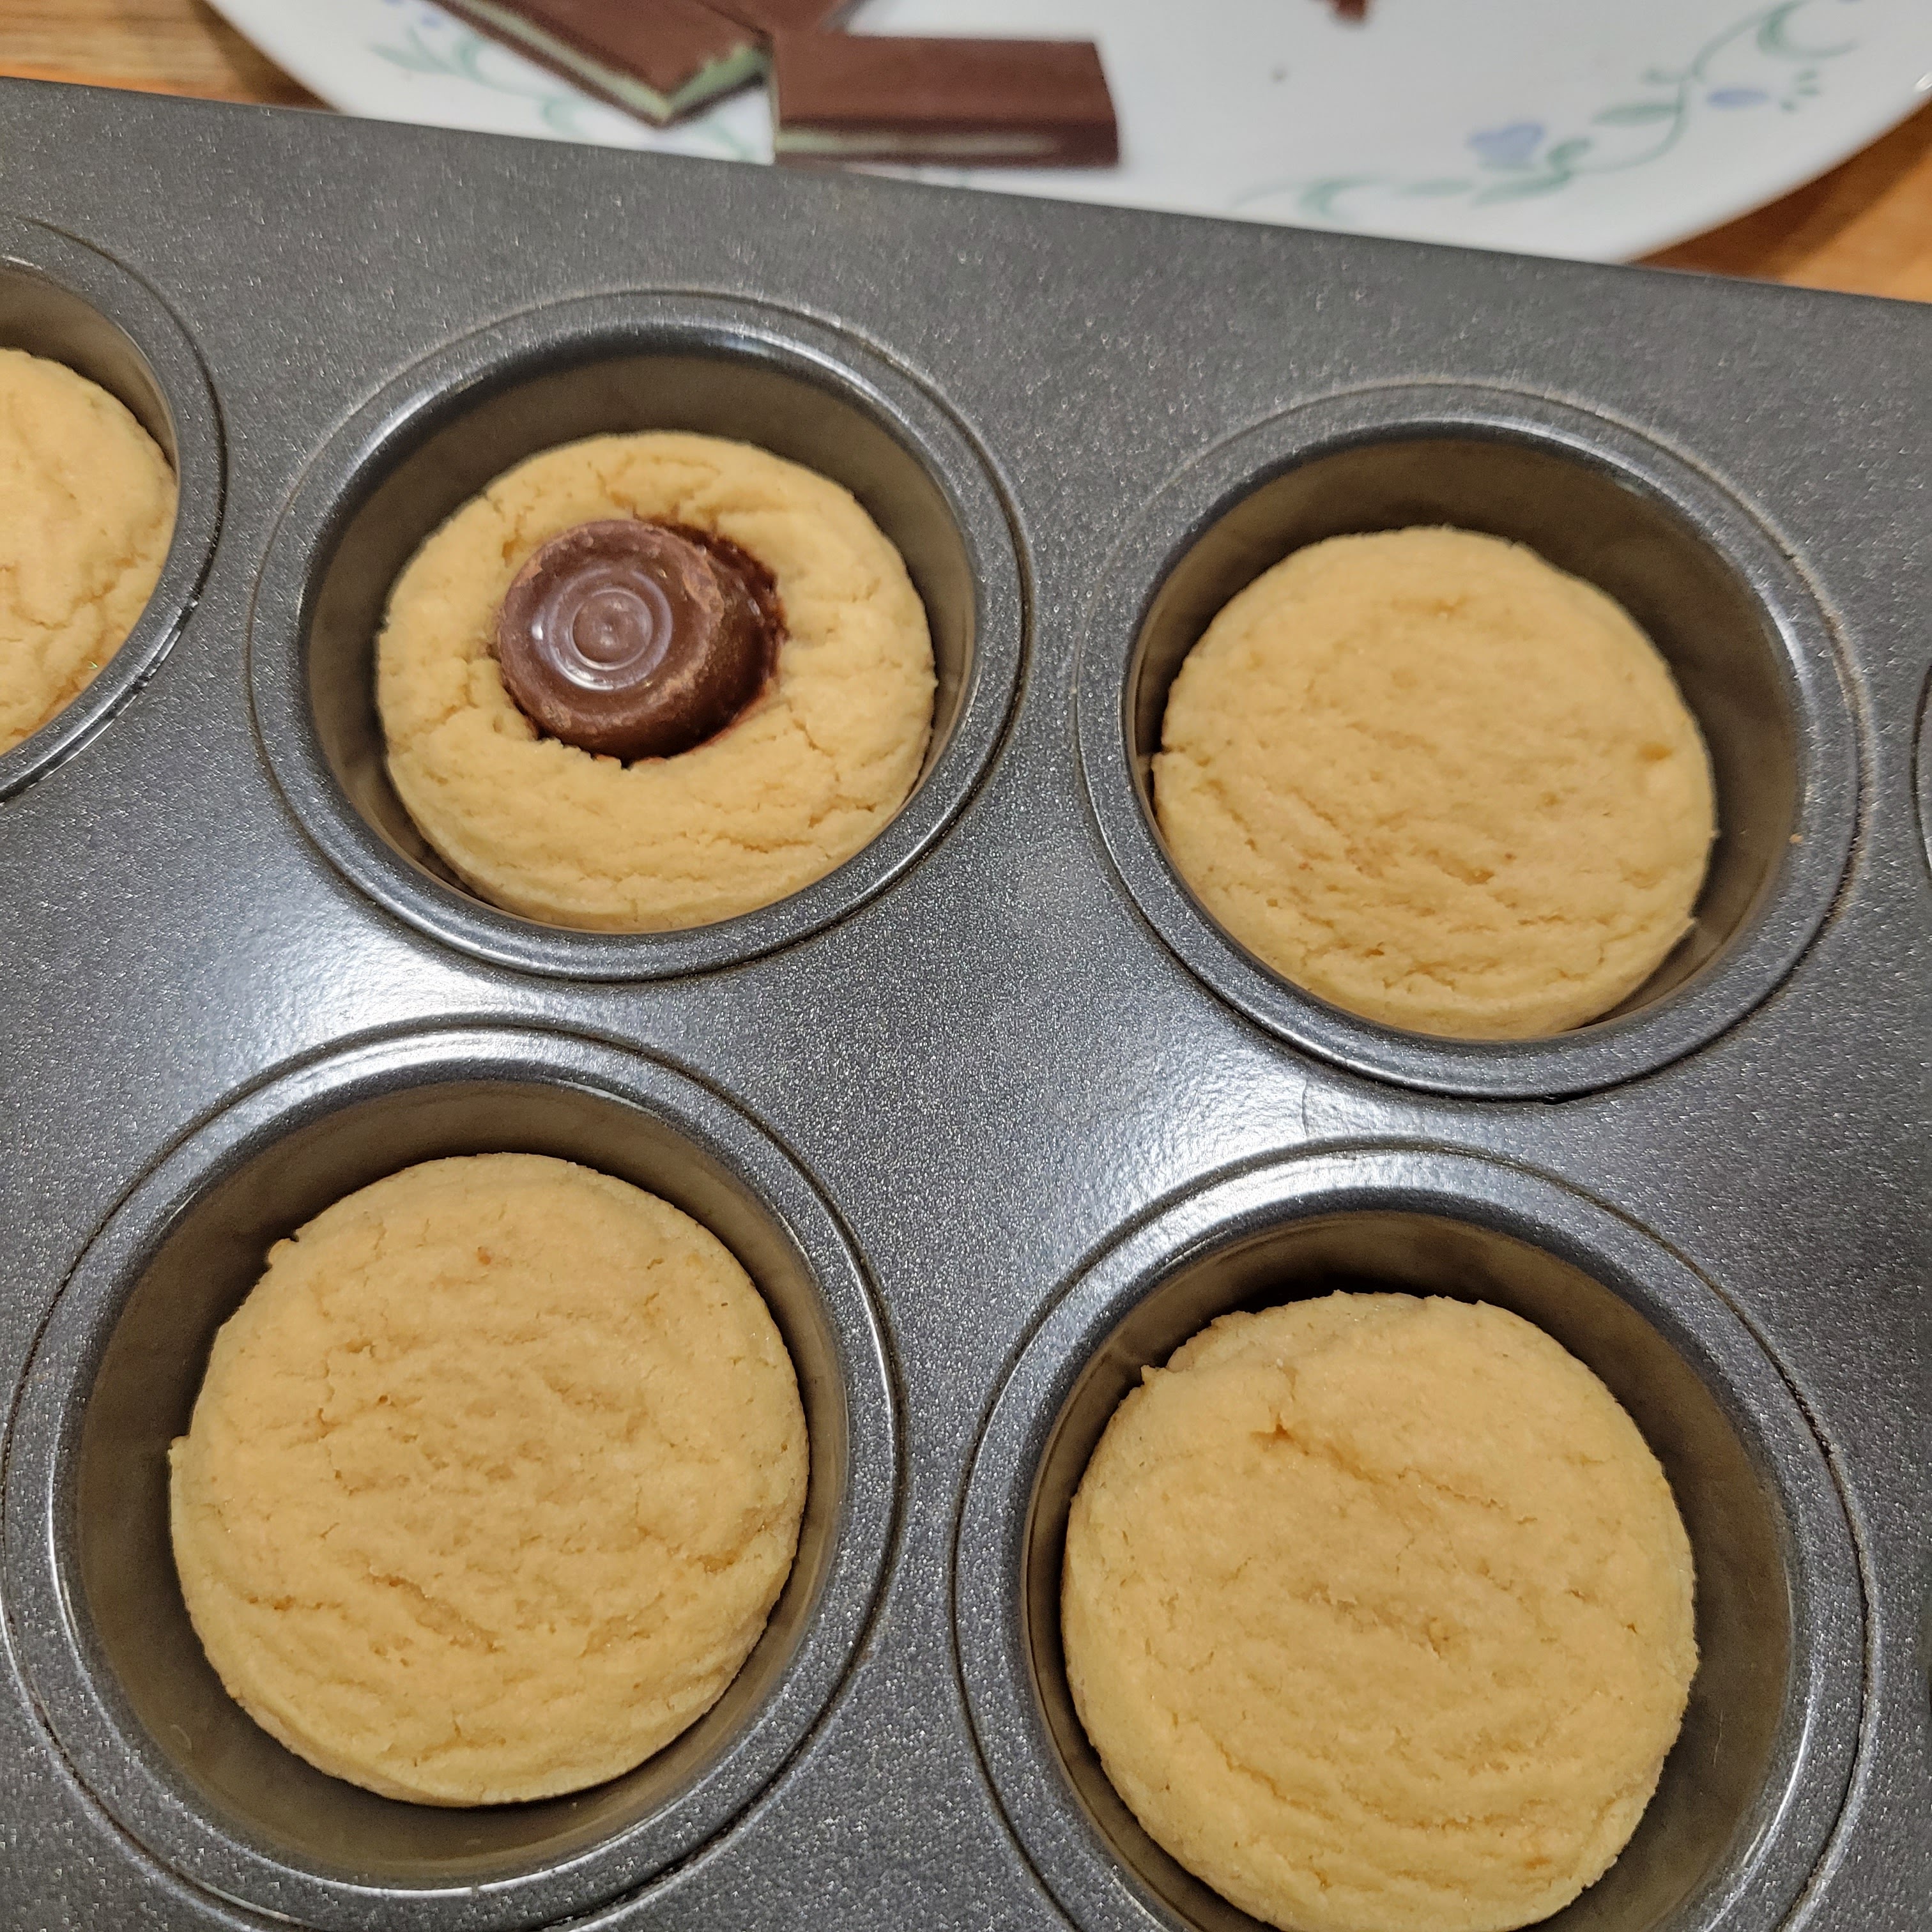
Well, these cookies are actually super easy, look great, and taste great and sure to be enjoyed by every child in the classroom. Even better you could have your child help you make them and then feel some pride in a job well done and most of all joy in doing something with you. It does help to have an assistant when you start pressing the candy in the center of the cookie. (I had my husband help me.)

I made these cookies using a peanut butter cookie mix, but the sugar cookie mix, the chocolate chip cookie mix, even the snickerdoodle cookie mix could be used. You can also use a variety of mini candy treats. I used Rollo and even a few Andes candies when I didn't have enough of the Rollo's and the mini unwrapped peanut butter cups. I was surprised  at the options I found.

PRINT recipe.


EASY MUFFIN-COOKIE MAGIC

1      17.5 package of cookie mix (sugar, peanut butter, chocolate chip, or snickerdoodle)

1       egg

6       tablespoons butter, melted or at room temperature or 1 stick (1/2 cup)

mini unwrapped candy such as Rollo's, peanut butter cups, Andes, etc

Preheat oven to 375 degrees F.


Combine cookie mix, egg, and butter in a large mixing bowl and

beat on low/medium til soft dough forms.


Using a small (1 tablespoon) cookie scoop, scoop dough and place in the center of the mini muffin cups pan (I used a 24 mini-cup pan).


Bake for 10 to 12 minutes or until set and very light golden brown.


Remove pan and place on a wire rack. Immediately press the mini candy in the center of each puffed cookie.

You can press the candy right side up or upside down in the cookie. I did both to see what they would look like.


Allow to cool a few minutes before removing from pan to finish cooling on wire rack.

If you wait too long and the cookies don't want to come out, place in oven at about 250 degrees F for a couple of minutes to reheat slightly. 


I think I like turning the candy upside down. The candy stays farther down in the cookie.


UPDATE:
I made these for the Cafe Treats and made them a little more festive. I used the sugar cookie mix since the Cafe Treats is a nut-free zone. I added 2 tablespoons of sprinkles to the batter and then sprinkled some red sugar over the cookies after we stuck the rollo in the center. They didn't last long.


Monday, November 28, 2022

BANANA CHOCOLATE CAKE

 Thanksgiving has come and gone. Well, maybe for you but not for us. We will be celebrating Thanksgiving on December 3rd this year because of Covid. But that will be fine. One thing I have learned the last few years of my life is you can celebrate anything on any day and it can still be meaningful. 

Since we didn't go to our younger son Patrick's house on Thursday, I C to make a cake for just us to have something "sweet" in the house to eat. Wayne ate a banana the other day and told me the rest were ready to use to make something. I only eat bananas when they are still a little green. Then I leave them for him to eat. I remembered seeing a recipe that called for bananas so I told him "perfect".

This recipe for Banana Chocolate Cake was in an old Cooking Light magazine that I was going through. I used the sugar substitutes as recommended by the recipe and used skim milk for the powdered milk. My baking cocoa was the Special Dark so my cake was darker, richer looking than the one with the recipe. The last change I made was decorating the top with whole half pecans. I thought it made the cake look decadent. Will have to do it more often.

PRINT recipe here.


BANANA CHOCOLATE CAKE

Sugar substitute equivalent to 3/4 cup sugar (I used 1 cup of stevia.)

1/3        cup packed brown sugar (I used brown sugar complete)

1/3        cup butter, softened

2           eggs

2           teaspoons vanilla extract

2           medium bananas, mashed (1 cup)

1/2        cup skim milk

1-1/3     cup flour

3           tablespoons baking cocoa (I used Special Dark cocoa)

1           teaspoon baking powder

1/2        teaspoon baking soda

1/2        teaspoon salt

3/4        teaspoon powdered sugar (optional)

12+       half pecans wholes (optional)


Preheat oven to 375 degrees  F. Lightly spray an 9 - inch square baking pan. (I used an 8" square pan so my cake was thicker.) Set aside.


In a large mixing bowl, beat the sugar substitute, brown sugar, and butter on medium speed for 3 minutes.

Add eggs and vanilla;

mix well.

Add bananas and milk;

mixing well.


Combine the flour, cocoa, baking powder, baking soda, and salt with a whisk. Add to sugar mixture, beating just until blended.


Pour into prepared pan.

Arrange pecan halves on top.

Bake for 23 to 28 minutes or until a toothpick inserted near the center comes out clean and edges of the cake are just starting to pull away from the sides of the pan.

Cool on a wire rack. Dust with powdered sugar if desired.


Cut in squares to serve.

Add a scoop of ice cream, if desired.


Store covered in the refrigerator.