Wednesday, June 1, 2022

PATRICIA'S HARDEE'S BISCUITS

 Today is June 1st, my birthday month along with two other cousins. School is out and even though it isn't officially summer, I'm sure many are thinking of it that way. Except for about four days that we had in May in the mid 90s, our temperatures have been pleasant. We have been enjoying sitting in our new swing from our huge pine tree and the view of the front yard. Monday was especially pleasant with a nice breeze and temps about 80 degrees.

We drove south to southeast Arkansas over the weekend for my maternal family reunion and it was especially nice and I didn't even see one mosquito. Yay. It was so good seeing everyone. I added a picture below.

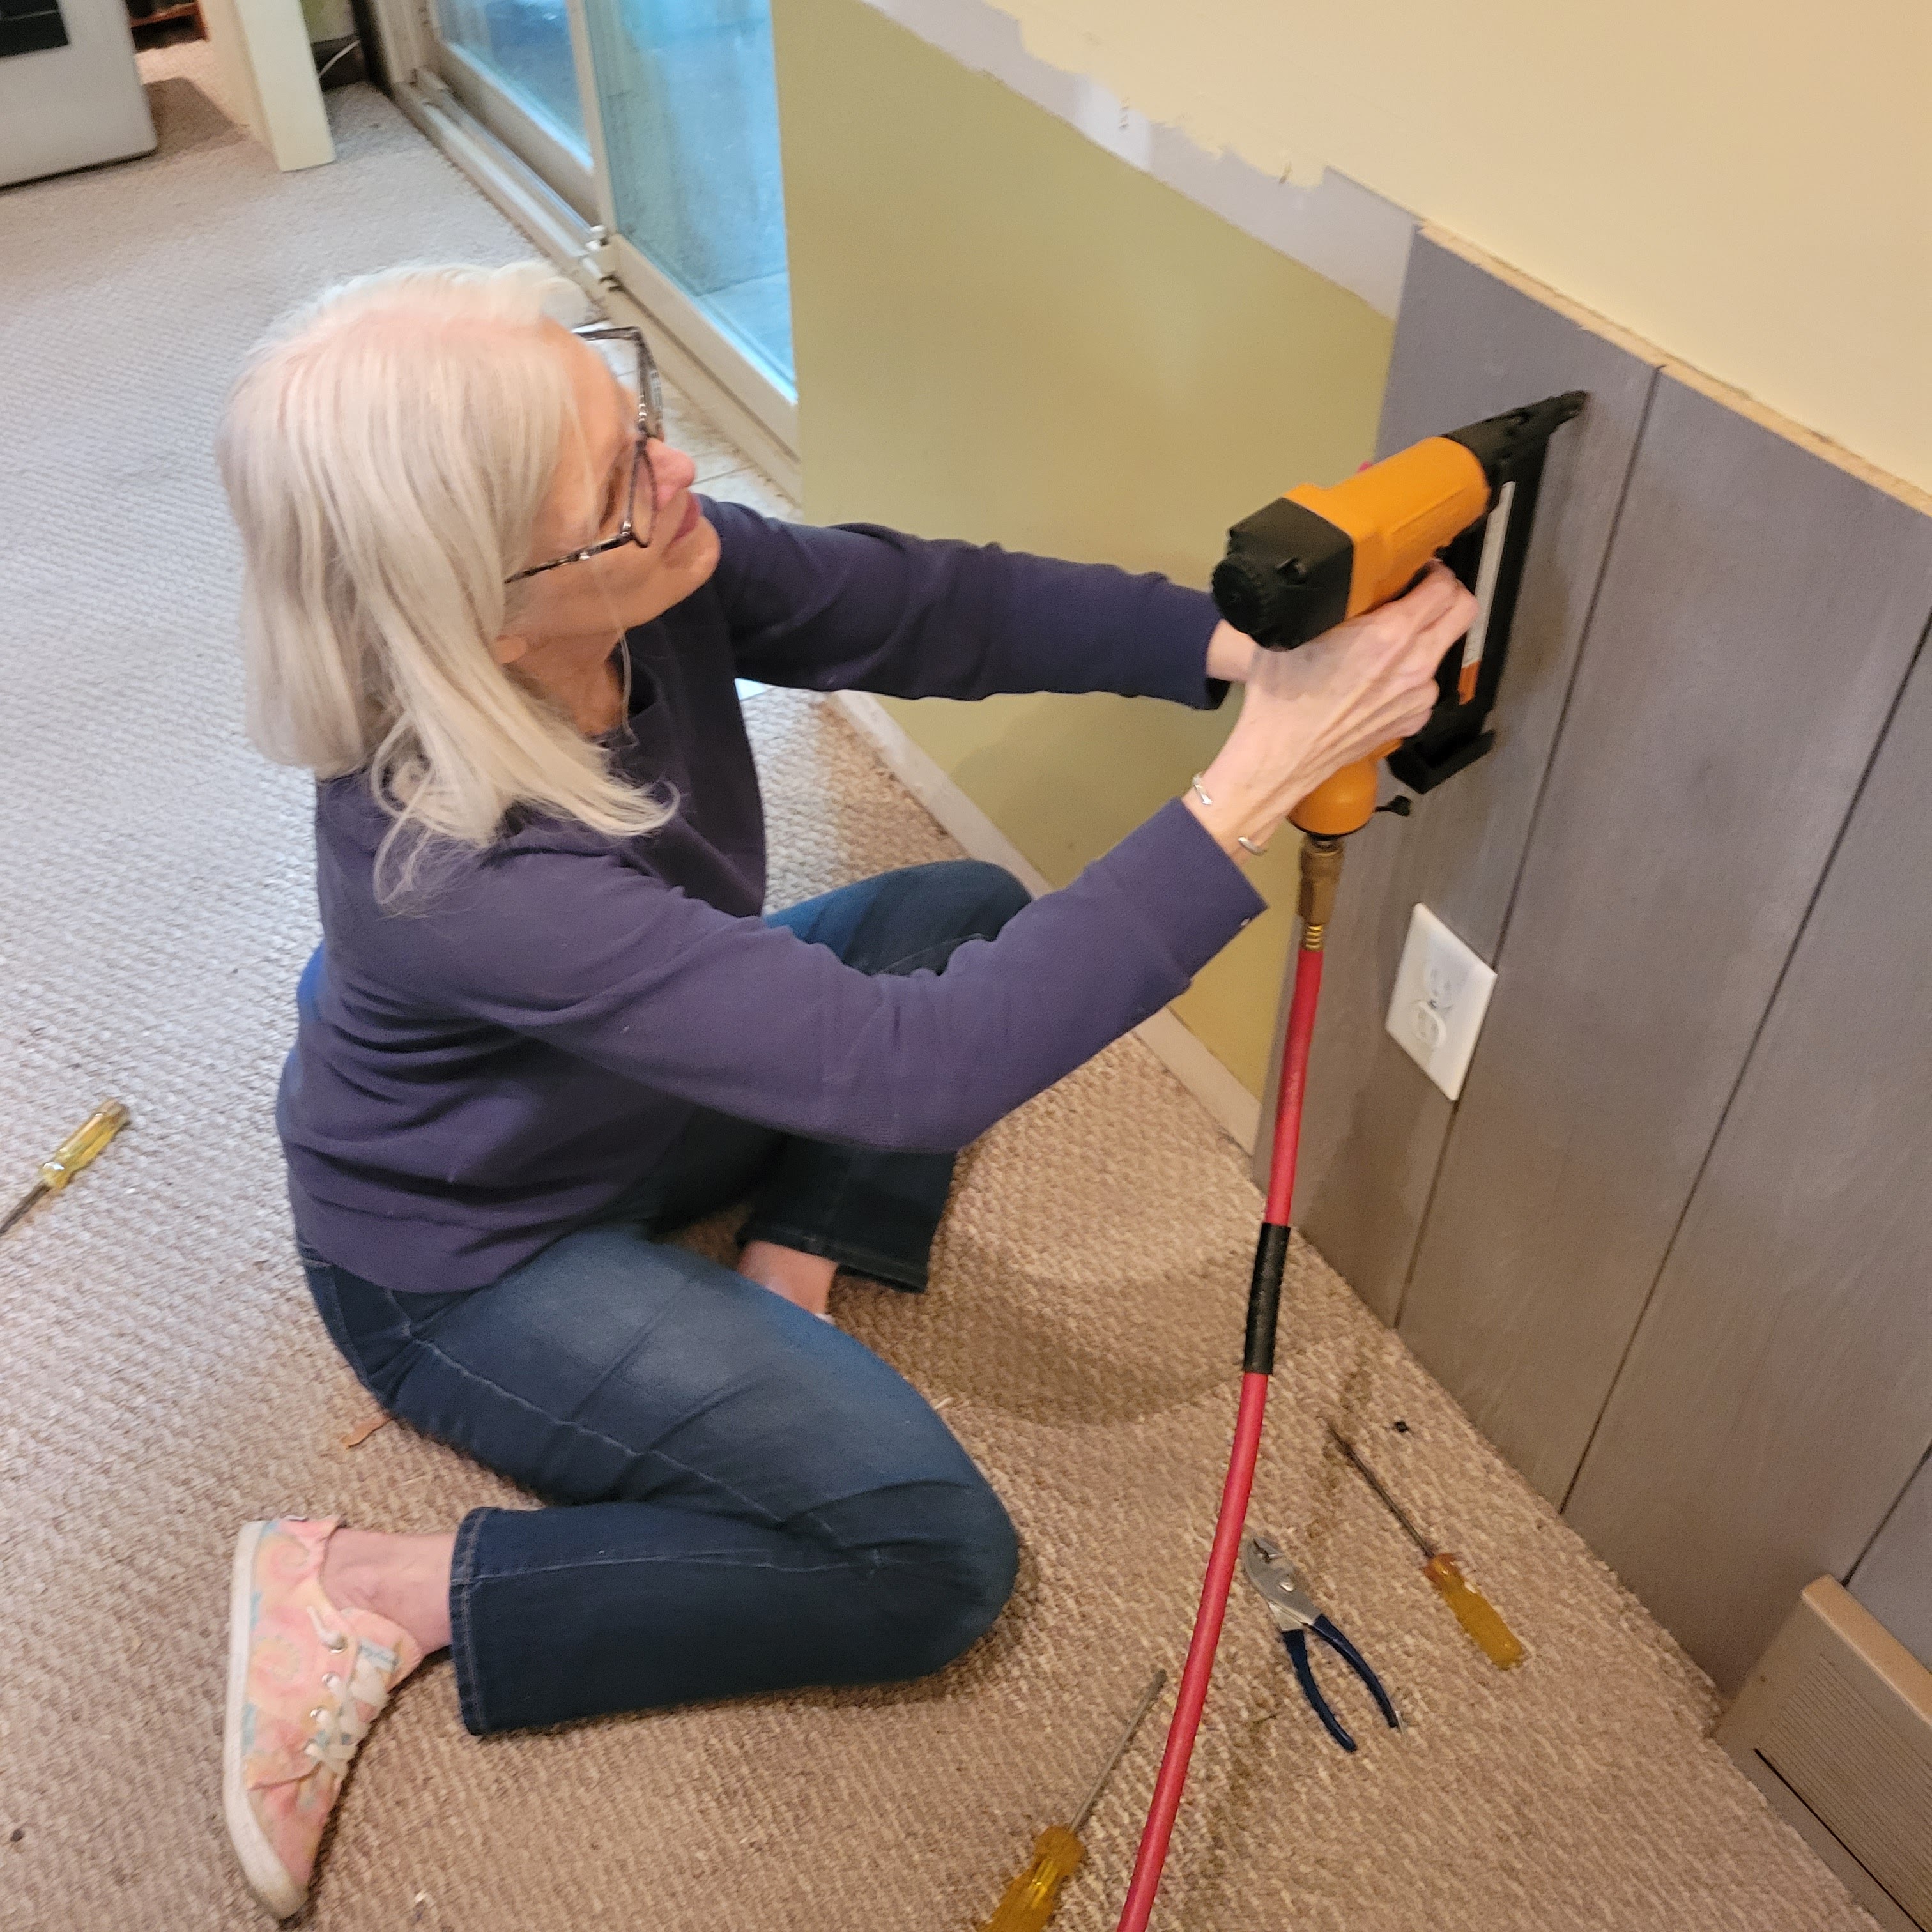
We have also been working on a remodel of the family room downstairs and will have to get back on it after our break/trip. Even though I am not working at break-neck speed, I am anxious to get it finished and get the room back in order. I have also included a picture or two below.

I'm not sure why I continue to try new biscuit recipes since I already have the best recipe ever that I created. Wayne always compares every biscuit he eats elsewhere to mine. I guess it is just my curiosity. Whatever the reason, I decided to try a copycat recipe for Hardee's biscuits I saw. If you are not familiar with Hardee's, it is a fast food hamburger joint. I think it is tied to Carl Jr's in other parts of the county. I don't remember the last time I ate a biscuit at Hardee's, but that's okay anyway. So I guess I can't say it tastes exactly like a Hardee's biscuit since I don't remember how they tastes, but the recipe makes a decent biscuit. Not as good as mine, Wayne says, but good.

I couldn't help but fall into some of my ways while making them and did my way instead of the recipe's instructions so that's why I called them Patricia's Hardee's Biscuits instead of Hardee's Copycat Biscuits.

PRINTABLE COPY OF RECIPE


PATRICIA'S HARDEE'S BISCUITS

2     cups self-rising flour

1/2  tablespoon sugar

1/2  tablespoon baking powder

6     tablespoons shortening

1     cup buttermilk


Preheat the oven to 400 degrees F. Spray biscuit cast iron skillet pan, if you have one, or pan you use with non-stick cooking spray. (I strongly suggest you get the cast iron skillet pan if you are serious about making biscuits.) Set aside.


In a large mixing bowl, mix the flour, sugar, and baking powder with a whisk.

I measured out the shortening using my tablespoon cookie scoop and pressed each scoop of shortening on the side of the bowl. That helps to keep up with the count; plus I usually work in one tablespoon at a time and that makes it easier to do.

I followed the recipe and cut the scoops in with two knives, but

ended up using my fingers anyway to "cut" the shortening in.

Add buttermilk slowly and mix  until a dough forms.

Drop dough onto a flowered surface and

work until

smooth.

Press out to 1/2" thickness. Cut biscuit with a glass or cutter the size you wish.

Rework dough and continue cutting until all dough is used.

Place in pan and brush stops with a little buttermilk.


Bake in oven for 20 to 25 minutes. I baked for the 25 minutes because the biscuits weren't brown enough for my taste after 20 minutes.


Cut in half and butter. Wayne had to take a bite first.

Add your favorite jam if you like.


Family Reunion picture - cousins with our 93.5 yr old aunt (and mother to six of the cousins).


Me working hard on remodel...


The room is already looking brighter!

Monday, May 23, 2022

BANANA DREAM CAKE

After having such great result with my last effort in the kitchen make the Slow Cooker Chicken Extraordinaire, I thought I would make something sweet since it has been so long. We really did enjoy the chicken dish and it made enough for us to enjoy three meals from it. (RECIPE)

Now for a dessert. One with not too much sugar added but we wouldn't feel guilty eating it for a while.

I had four bananas that were getting ripe and needed to be used or frozen so that's where I first started looking -- recipes using bananas. I didn't want to make a quick bread. And I didn't really want to make muffins. So that just left cake or pie. I saw a recipe for a banana and something pie, but I don't really like bananas in pies. I almost decided to make a banana pudding, but the bananas were more ripe than I like to eat them and you really taste the bananas in banana pudding. 

Beside my glider on the (enclosed) back porch was a thin family cookbook collection from a dear friend Linda who played handbells on my right in our handbell choir. There was no index in the back so that meant I had to find the categories. 

It didn't take me long to find this recipe for Banana Dream Cake. I loved the story that went along with the cake. "Carolyn Shelton - When my brother-in-law was stationed with the Marines in Vietnam, I sent him this cake along with a can of ready to spread frosting. When the package arrived, him and his buddies didn't take time to frost the cake. They quickly devoured it then passed the can of frosting around."

Anytime I see a recipe that uses a yellow or white cake mix, I get excited because I know I can use a sugar-free yellow cake mix. The Dream Whip only has 2 grams of added sugar and I can use unsweetened coconut. The bananas will have natural sugar. Carolyn's Banana Dream Cake was definitely going to be my first attempt in quite a while for making something "sweet" to eat. She sprinkled the top with powdered sugar and even though that wouldn't have added much sugar, I decided not to do that. That is what I usually do instead of icing a cake to reduce the sugar though.

As with all of my recipe that I share with reduced sugar, you don't have to use sugar-free products or sugar substitutes as I do. But I know that are a lot of people who do have to watch their intake of sugar that read my blog.

PRINTABLE COPY OF JUST THE RECIPE


BANANA DREAM CAKE

1     pkg white or yellow cake mix (I used a sugar-free yellow cake mix)

1       envelope Dream Whip

4       eggs

1       cup mashed bananas (2 large ones)

1       cup flaked coconut (I used unsweetened coconut)

3/4    Tablespoon water

1/2     teaspoon vanilla


Preheat oven to 350 degrees F. Grease and flour a 10" tube pan. Set aside.


Mix all ingredients in a large mixing bowl and

blend until all ingredients are moist.

Beat mixture for 4 minutes.

Scrape the sides of the bowl.

Pour batter into  pan.

Bake for 40 to 45 minutes.

Cool in pan for 15 minutes on a wire rack.

Turn out cake on a cake rack or plate to finish cooling. May sprinkle with powdered sugar, if like.

Delicious served with fresh fruit and a scoop of ice cream if you choose.


Wednesday, May 18, 2022

SLOW COOKER CHICKEN EXTRAORDINAIRE

 Believe me or not, but I actually made time to cook this week. It didn't take me too long because I used my slow cooker. Because of the 30-Block Exchange Group I joined the last of February, most of my time since then has been spent in my sewing room. But for the most part I am finished with that. I have one more block that I the pieces for but haven't made yet. I also have a couple of blocks I still need to write tutorials for. And then of course when I receive my 28 blocks I will want to start on my Friendship Quilt with them.

I have also started another home improvement project that was planned for last summer but didn't happen. I am painting the walls downstairs in the family room, a.k.a. Wayne's man cave. Then nailing up some ship lap with a chair railing for the lower part. The room is so dark because it is partials below ground level and with what I have gotten done so far, it already looks brighter. Anxious to get it finished, but I am not rushing. I plan to write a post on the work as I go along so you can be looking for it.

But today I am sharing an awesome recipe for cooking chicken in the slow cooker that I made Monday afternoon. I had good intentions to start it Monday morning, but something got in the way. That's the good thing about cooking in your slow cooker. If I don't have enough time to cook, I just cook it on High instead of Low and that's what I did.

The recipe said to cook on Low for 8 hours. Instead I cooked it for 4 hours on High. I started out with the chicken breasts frozen and they were pull-apart tender 4 hours later. I used regular spaghetti that I cooked on the stove, but I think it would taste good also if you used rice, brown rice in particular. The recipe cooked enough for us to have full-serving leftovers so if you are cooking for four, it will be perfect and you wanted used two chicken breasts. How cool is that?

For a printable copy of just the recipe, click HERE.


SLOW COOKER CHICKEN EXTRAODINAIRE

2       chicken breasts

3       cloves of garlic, chopped or left whole

10.5  ounce can of cream of chicken soup

3/4    cup of chicken broth

1/4    cup (2 ounces) cream cheese

1/4    cup butter

1       0.6 ounce package of Italian dressing mix

 *     *     *     *

Spaghetti or rice


Spray the inside of the slow cooker with non-stick cooking spray.


Place the chicken breasts in the bottom of the cooker. They can be frozen or thawed. (I used frozen ones.)

Top with the garlic. I peeled and kept mine whole


Soften the butter and cream cheese in the microwave. Whisk until smooth. (Best to start with room temperature butter and cream cheese.)


Whisk in the soup, undiluted, and then add the dressing mix. (I used zesty Italian mix.) Then add the chicken broth. (I made my own using 3/4 cup of water and 1 bouillon cube in the glass measuring cup and heat to boiling in the microwave. Then stir to dissolve the bouillon cube. Whisk mixture well. 


Pour over the chicken breasts. 


Cover and cook on Low for 8 hours or High for 4 hours. Reduce temperature to Keep Warm if you are not ready to eat.


Prepare spaghetti or rice according to package directions.


I cubed the cooked chicken and since it was just the two of us eating,

I used as much of the chicken as I wanted to and added it along with some of the "gravy" to the spaghetti to serve it.

I also sprinkled a little parsley on top.

The leftover chicken, I added back to the slow cooker with a little bit of extra spaghetti I had and covering it, placed in the refrigerator to eat another day.


It was quite tasty and was so easy, I think it will probably become a regular way to cook chicken since we eat so much.


Here is a teaser for the upcoming post of our remodeling project downstairs. (I love those overalls. I have had them for many years. They fit so nicely. Whatever possessed me to use them as my painting attire? 


Friday, May 6, 2022

APPLE SPICE MUFFINS

 I have been so busy writing tutorials for the different blocks I made for the 30-Exchange Quilt Block Group that I have let my recipes on the side. The only problems is if I wait too long, I can't find the cookbook or recipe. BUT the good news is I did find the recipe for these delicious Apple Spice Muffins that I made for Wayne's friend (and mine) on his birthday. They just happened to be playing golf that afternoon so while I was making some quick biscuits for breakfast, Wayne asked me if I could make some cupcakes or muffins that he could take to the group. 

Since my time was limited I had to find something quick and also solicited Wayne's help. He ended up chopping the apple and pecans for me. I was taking the second pan out of the oven when he said he needed to go. 

Get a Printable copy of just the recipe HERE.


APPLE SPICE MUFFINS

1       package plain spice cake mix (no pudding included)

1-1/3 cups buttermilk

1/2    cup oil

 3      large eggs

1       teaspoon maple flavoring

1       cup finely chopped apple (peeled)

1/4    cup packed light brown sugar

1/4    cup finely chopped pecans

1/2    teaspoon ground cinnamon


Place a rack in the center of the oven and preheat oven to 375 degrees F. Lightly spray 22 cupcake cups with nonstick cooking spray and set the pans aside.


Place the cake mix, buttermilk, oil, eggs, and maple flavoring in a large mixing bowl and

stir with a wooden spoon until the eggs or beaten and the ingredients are just incorporated. Set the batter aside.


Place the apple in a small bowl along with the brown sugar, pecans, and the cinnamon. Stir to combine.


Spoon or scoop two tablespoons of batter into the prepared cupcake pan. A tablespoon scoop works great for this.


Then place a heaping teaspoon of the apple mixture

on top of the batter in the cups.

Repeat with 2 more scoopfuls of batter on top.

Top with another heaping teaspoon of the apple mixture. 


Place the pan in the oven and bake the muffins until the tops spring back when lightly pressed with a finger, 20 to 25 minutes. Remove the pan from the oven and place it on a wire rack to cool for 5 minutes.

Run a dinner knife around the edge of the muffins and lift them carefully from the pan using the end of the knife, and

place them on the wire rack to finish cooling.


I had just enough extra batter and apple mixture to make a single layer mini bundt muffin for the birthday boy.


Store the muffins in a cake saver or under a glass dome, at room temperature for up to three days. You can also freeze the muffins for up to 3 months. I placed some on a small cookie sheet and quick froze them in the freezer. Then I placed them in a ziplock bag to enjoy later. Let the muffins thaw overnight on the counter before serving.