A few weeks ago my husband and I were able to enjoy this delicious Carrot Cake that Friend Judy made. It was for our monthly Tasty Bunch but everyone in the group had a conflict, except us. Boy, did they all miss out. I was so glad that Judy shared the recipe with me.
CARROT CAKE
2 cups sugar (I would use 1 cup truvia sugar/stevia blend to reduce calories.)
1 cup applesauce
1/2 cup oil
2 teaspoons baking powder
2 teaspoons soda
2 teaspoons cinnamon
4 eggs, slightly beaten
2 cups grated carrots
1/2 cup coconut
Preheat oven to 350 degrees F. Grease either a 9 x 13 - inch pan or two 9 - inch round cake pans.
Mix oil, applesauce, and sugar.
Combine the dry ingredients and slowly add them to the sugar mixture.
Stir in the eggs, carrots, and coconut.
Bake for 30 to 40 minutes.
CREAM CHEESE FROSTING
5 ounces cream cheese (softened)
4 cups powdered sugar
1-1/2 teaspoons vanilla
Mix all together and add 1 - 2 tablespoons orange juice or milk to desired consistency.
Frost a cooled cake.
I am on the email list for Betty Crocker and receive recipes several times a week. Often it appears that the recipes are new. I say this because there will be no reviews and ratings.
Last week the featured recipes in one of the emails I got was for four or five different "mug" and microwave treats. I checked them out and decided there were two of them I definitely wanted to try.
Saturday after getting home from walking in the Y with my friend Janice, I noticed my husband had not used all of the egg beaters. He told me I could use them if I needed to. He meant for me to make an omelet or something, but I told him I had another idea.
Well, the Cinnamon Banana Nut Mug Muffin are just the cutest thing! Besides being low calorie, they are so delicious. I even made them using stevia instead of sugar. I wanted to use more than a tablespoon of chopped nuts, but I didn't. If you like nutty muffins though, I would say go for it.
One thing I really like about these little muffins is you make them up when you want to eat them. You don't have a mix that you store and forget about. I can't wait to try the S'mores Mug one. Will let you know how it turns out.
I do have to say that the picture Betty Crocker used was misleading. They said to use a 12-ounce mug and then their cooked muffin almost filled the mug. You might want to use a smaller mug/cup if that is what you want. My finished muffin filled maybe half of the mug if that much. BUT it was delicious....and just the right amount for me.
CINNAMON BANANA NUT MUG MUFFIN
1/3 cup biscuit mix
3 tablespoons sugar (stevia works fine)
1/4 teaspoon cinnamon
1/4 cup mashed banana (about 1/2 banana)
1 tablespoon butter, melted
1 tablespoon egg beaters
1/8 teaspoon vanilla
1 tablespoon chopped nuts
Spray a 12 - oz mug with non-stick cooking spray.
In a bowl, combine the biscuit mix, sugar, and cinnamon.
Add the banana, butter, egg beaters, and vanilla.
Stir til well mixed.
Stir in the nuts.
Divide the batter evenly (about 1/3 cup) between the two mugs.
Cooking one at a time, cook on HIGH for 45 - 60 seconds. The top will be set and the muffin will be pulled away from the sides of the mug.
Rest it 1 minute and then enjoy it warm right from the mug. You can drizzle a little melted butter on top if you like.
Delicious!
Last week I told you we would be eating a lot of chicken this month as I had found several different recipes for chicken dishes. I shared the Chickenetti then. My husband and I really enjoyed it.
Well, this week I am sharing the second dish I tried. We might like it more. It's hard to say. The stuffing I used gave it a really good flavor. Since I don't usually cook with onions and peppers (this recipe didn't call for any of those), my husband does like when I make something that isn't too "bland". I did make a couple of changes, but I don't think those changes changed the integrity of the recipe.
This recipe also came from my Farmhouse Kitchen cookbook and was contributed by Mary Lengacher. This is a cookbook from the Amish community of Greenville, PA.
CHICKEN BREAST CASSEROLE
4 boneless chicken breasts (I had 2 really fat ones that I sliced and made 4 thinner breasts.)
4 slices cheese (I used about a cup of shredded Colby Jack cheese)
1/2 cup sour cream
1/2 cup milk
1 can cream of mushroom or cream of chicken soup (I did use the latter.)
1 box chicken stuffing (I used 2 cups of Pepperidge Farm Herb Seasoned Classic Stuffing)
Preheat oven to 350 degrees F.
Place chicken breasts in bottom of pan, casserole dish, or small roaster.
Place a slice of cheese on each piece. (I just sprinkled the cheese over the chicken pieces. I forgot to take a picture. Oops.)
Mix together the sour cream, milk, and soup.
Pour over the breasts.
Melt 3 tablespoons butter and toss with 2 cups of the stuffing.
Put on top.
Cover with lid and bake for 1-1/2 hours. (Since I had sliced the chicken breasts into thinner breasts, I baked mine for 45 minutes.)
As I have said before here on my blog, we often eat breakfast for dinner. Last week when I wanted some pancakes for dinner, I used this recipe Judy Witkowski from Kennesaw, GA submitted to a Beta Sigma Phi cookbook called Let's Party. It is interesting because she said they were good for breakfast, lunch, or dinner.
The recipe made plenty. I just cooked up all of the batter and put the extra pancakes in the refrigerator and we enjoyed them for breakfast (2 different mornings). They are so light and delicate tasting - guess that is from the whipped egg white.
BANANA SOUR CREAM PANCAKES
1 cup all-purpose flour
2 teaspoons baking powder
1/2 teaspoon baking soda
2 tablespoons sugar
1/2 teaspoon salt
1/8 teaspoon cinnamon
1 cup mashed bananas
2 teaspoons lemon juice
1 egg, separated
1/2 cup sour cream
1/2 cup milk
1 teaspoon vanilla extract
3 tablespoons melted unsalted butter or margarine (I did use canola oil instead)
Mix the flour, baking powder, baking soda, sugar, salt, and cinnamon in a large bowl.
Combine the bananas, lemon juice, egg yolk, sour creak, milk, vanilla, and butter (or oil) and mix well.
Add to the dry ingredients, stirring just unil moistened.
Beat the egg white in a mixer bowl until soft peaks form.
Fold into the batter, being careful not to over mix.
Pour onto a hot lightly greased griddle. Bake until bubbles appear on the surface and the underside is golden brown. Turn (flip) the pancake over. Bake until golden brown.
Serve warm with syrup.
With the holidays over, it is time to get down to some serious cooking. The extra pounds that were added because of all of the goodies and eating out need to come off. That means I start looking for recipes for main dishes that will give us a number of meals. (I don't want to have to cook everyday.) I found several using chicken in The Farmhouse Kitchen cookbook from the Amish Community of Greenville, PA. We love chicken and had actually taken a break from it so guess what we are going to be eating in January?
This first recipe I tried from Matthias & Naomi Mast was called Chickenetti. It was definitely a winner. I decided to use shredded Colby Jack cheese instead of the Velveeta. We think it gave it a lighter taste.
CHICKENETTI
8 oz. spaghetti (I had an open box and guessed. I had almost 4 cups of cooked spaghetti which was plenty.)
1 tablespoon oil
2 tablespoons chopped onion
3 tablespoons butter
1 tablespoon flour
1 cup chicken broth
1 teaspoon salt
1 teaspoon Lawry's seasoned salt
1 teaspoon garlic salt
1 cup milk
1 can cream of chicken soup
1 cup Velveeta cheese (I used shredded Colby Jack cheese)
2 tablespoons parsley
3 cups diced chicken (I used a 13 - ounce can of chicken breast and shredded it up with my fingers)
1 cup buttered cracker crumbs ( I used regular saltines)
1 teaspoon chili powder (optional) (I did omit)
Preheat oven to 350 degrees F.
Cook the spaghetti in boiling salted water for 8 minutes. Stir in oil and drain. (I used whole grain spaghetti.)
Saute onion in butter in a skillet until tender (green and red pepper can also be added for color).
Blend in flour.
Add broth gradually, stirring constantly until thickened. (I used the water/broth that was in the can.)
Add salts, milk, soup, and cheese. (I added all but the cheese and stirred to mix well.
(I realized at this point that they never said to add the chicken and parsley so I added it before I added the cheese.)
Then I added the cheese.
Heat until the cheese melts;
combine with the spaghetti. (I did this in the casserole dish as my skillet wasn't big enough for all of it.)
Put in baking dish and
top with buttered cracker crumbs. (As I said, I didn't have the butter cracker so I just used saltines. I sprayed the top with cooking spray after 35 minutes.)
Bake for 45 minutes.
Since the recipe makes plenty, feel free to invite family or friends over to help you eat it if you don't like leftovers. This recipe will fill a Lifetime roaster if you make 4 times the recipe.
When we were celebrating Christmas with our older son and his family in CO, dil Sara had made this "to-die-for" treat she called Cracker Candy. When she told me how she made it, I remembered seeing a recipe from Miriam Miller's cookbook called The Wooden Spoon.
I love 17-year old Miriam's authentic Amish cooking cookbook, but so many of the recipes remind me of some of my mother's recipes....not totally complete with instructions. That is really hard for me since I generally consider myself a "rule follower".
Here is Miriam's recipe which she called simply
CRACKERS TO SNACK
1 stick oleo 3/4 cup brown sugar
Cook a few minutes. Pour over 24 soda crackers. Bake in 375 degree oven for 5 minutes. Take out; put chocolate chips and nuts on top. Put back in oven for a few minutes.
Since I had so many questions, I asked Sara to share her recipe with me. Sara's recipe isn't quite twice as much, it is close enough that I figure the two recipes are enough alike to be considered the same. (Miriam only used 24 crackers and I used 40. Sara's recipe was called Cracker Candy which I like.
CRACKER CANDY
2 sticks butter
1 cup + 2 tablespoons brown sugar
1 tube saltine crackers + a couple extra
1 6-oz bag chocolate chips (1 cup)
nuts (I chopped up 1/4 cup)
Preheat oven to 350 degrees F.
Line a cookie sheet with aluminum foil and then spray the foil with non-stick cooking spray.
Lay the crackers in a single layer on the foil.
Bring the butter and brown sugar to a boil in a medium saucepan over medium heat. (I stirred the mixture constantly until it came to a boil.)
Boil for 3 minutes.
Pour the mixture over the crackers covering them completely.
Place in the oven and bake for 5 minutes.
Carefully remove the sheet and sprinkle the chocolate chips over the top.
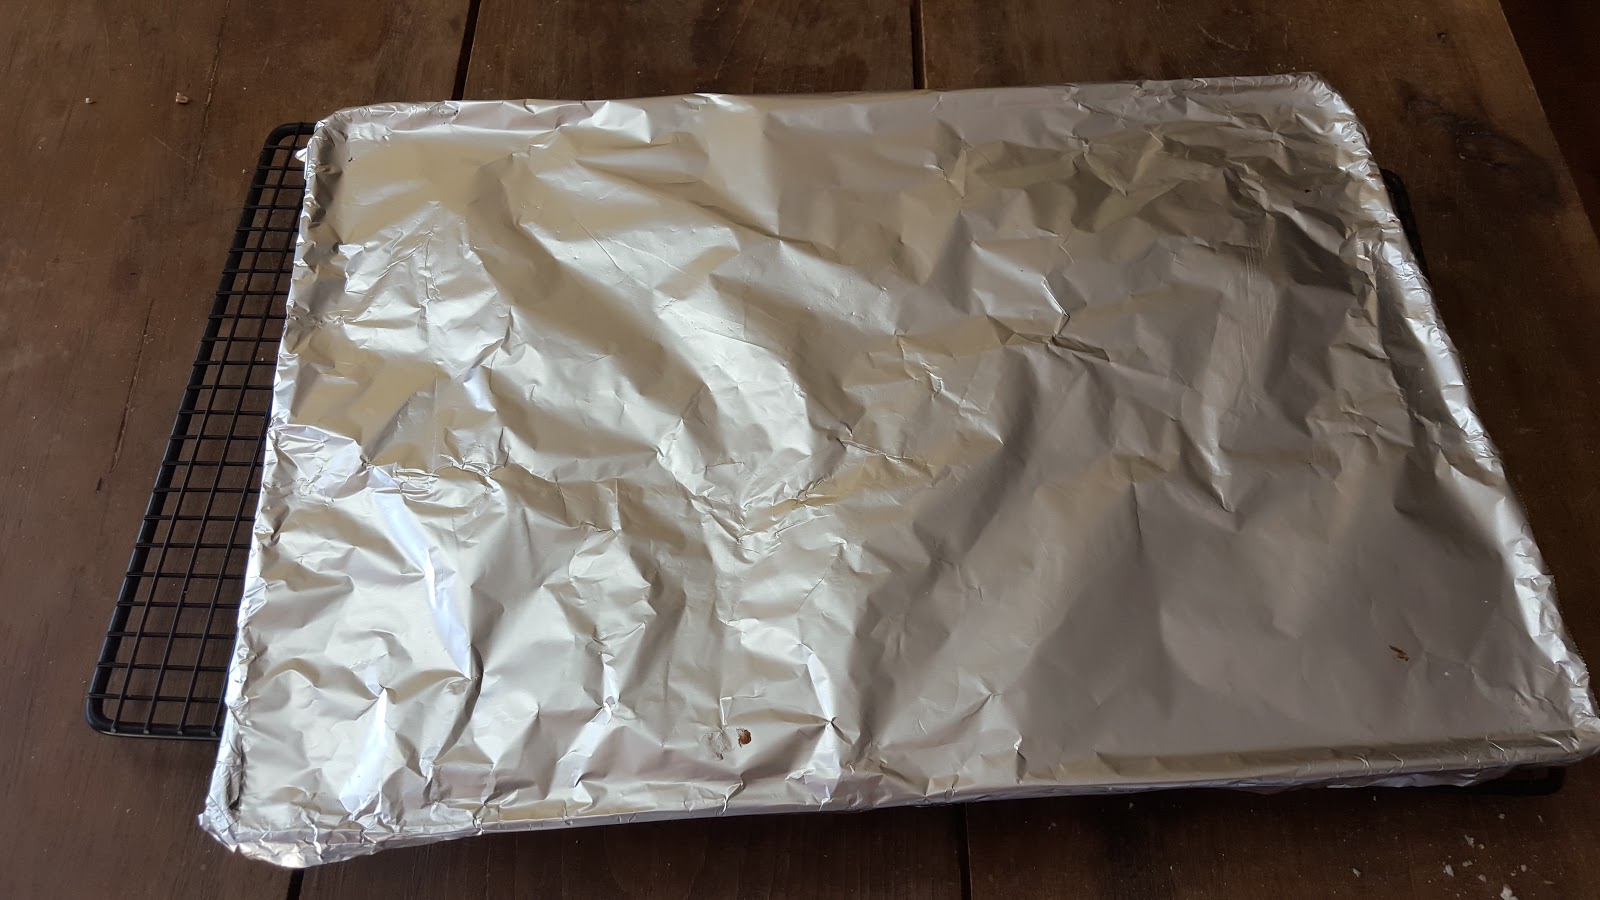
Cover with another piece of foil and let it set for 5 minutes.
Remove foil and spread the melted chips to evenly cover the crackers.
Sprinkle the nuts on top and lightly press them down.
Recover with foil and place in freezer for at least 30 minutes or until
the chocolate has completely set. (I placed another cookie sheet in the freezer and then placed the hot sheet on top to protect my freezer shelf.)
Remove and peel the foil off the cracker/candy.
Break into pieces and enjoy.
Each year after Christmas, everyone starts talking about resolutions or changes they are going to make in the new year. I bet the majority of them were made with good intentions, (my mother had a saying she always said about good intentions) but for various reasons they just don't get done.
This year I didn't really make any resolutions. In the past my resolution has been the same - Let go of things I have no control over. While it is always there in the back of my mind, this year I guess it is just a little further back. Going to estate sales with my friend Janice, we have been talking about getting rid of stuff we don't really need/use because our kids don't want it either.
I started the process back in December when I decided to bring all my Christmas and winter decorations down from the attic and getting rid of the things I haven't used in the last few years. That actually worked out pretty good. I took things three different times when I went to "work" my shift at Hillcrest Thrift Shop. Saturday I decided to swap out the Santa things with snowmen. I originally planned to get rid of all my snowmen this year, but was waiting until January to take them to the thrift shop. I always distinguish between Christmas and winter since I like to have the house decorated through the seasons. So they were still in the box.
Saturday wasn't quite as cold so I went up in the attic and brought down a couple of containers to begin that process of packing away Christmas. I managed to fill 3 containers. I have 2 tubs that I fixed up a couple of years ago to organize my uniquely shaped Christmas tree ornaments in the attic since I have decided to leave the Christmas tree up a little longer.
While I was up in the attic, I started looking at the other stuff (Spring and craft stuff) I have up there and started getting it better organized. The empty tubs came in handy for that. Before I left, I ended up bringing down all the empty boxes I had stored up there for that time when I needed a box for mailing something. You have those boxes, don't you? I couldn't believe how much I had. There were 9 shoe boxes. ( I did find a nice home for them. My church is going to use them.)
I shared this picture on Facebook and my sil commented re a website Declutter 365 that she liked. The website gives some good decluttering techniques. She offers a calendar that gives you a 15 - minute chore each day for the year to declutter. I joined her Facebook page but decided I would start with her first act for Sunday that was to declutter your silverware drawer yesterday. (I'm glad I didn't see it earlier in the day. I would always take Sunday for church, family and to relax.)
I am thankful to Sondra for steering me to the site, but depending on how bad your silverware drawer is, be prepared for it to take you longer than 15 minutes.
This is what my silverware drawer looked like yesterday.
At first glance it might not look too bad, but the area on the right side, was more stuff than it looks like.
I used to watch a show on HGTV for decluttering a house and they marked off the yard with KEEP, DONATE, and THROW AWAY. It was fun watching the family members labor over these divisions. Anyway remember I found a home for those shoe boxes I brought down from the attic. Well, the rest of the boxes ended up in the back of my husband's truck to be taken to the recycle place. Fortunately he had not gotten there with them yet because he had to go out and bring some back in for me ... for a little while at least.
One got marked Donate, one Keep, and one Throw away.
I realized this is a project that will change as I go through other drawers in my kitchen, but right now ... it looks so much better than it did.
I have another drawer next to the silverware drawer that contains knives and cooking items...measuring spoons and other things I use when I cook.
Even though I had already spent an hour or more, I decided to go on and tackle it. Here is a picture of my results so far. As I said, it will be a work in progress as I clean other drawers in my kitchen. I'm thinking about getting a narrower basket to hold the knives. I think I would have room for two narrow baskets actually so I can separate some things out better.
My KEEP box is not empty, but the DONATE box is full since I added a few more things from a box I brought down from the attic that I needed to go through.
The items in the this box will find a new temporary home at Hillcrest Thrift Shop when I go there later today to "work".
Since I did two drawers yesterday and I will be busy today volunteering at the thrift shop, I may take the day off and not do anything decluttering today. I don't want to get "burned out" which I think you could easily do if you worked everyday. Of course, she only intended me to take 15 minutes decluttering that silverware drawer in my kitchen.
Will keep you posted on my progress. Let me know if you decide to do any decluttering. Always anxious to hear any tips to make the job/chore easier.