MAKING A FRENCH SEAM PILLOWCASE
Our Northland New Neighbors League Quilting group has almost finished our second quilt of valour. All we have to do is take it to the "quilter" to be machine quilted and then sew on the binding. At our last gathering, Friend Sharon and I made the pillowcase for the quilt. It was a joint project with each of us offering suggestions for the process and each learning something along the way. That's the fun, exciting part. I cut the pieces of fabric and Sharon sewed. That freed me to take pictures of the sewing. I did the pressing and passed along some tips to Sharon that I will also be sharing with you.
We decided to make the pillowcase using three different fabrics. I cut the print (the main piece) 27 inches x wof (width of fabric), the red band or flap 2-1/2 inches x wof, and the blue cuff - 9 inches x wof.
The red piece for the band we folded in half with wrong sides together and pressed it. (This is just like what you do for binding.)
Sharon layered the three pieces together matching raw edges...
print right side up, then folded band/flap and lastly the cuff with right side to band/flap.
She pinned the four thicknesses together across the wof. (At this point Sharon had planned to sew these pieces together. I suggested that we bring the other end of the cuff over as shown next.)
Then Sharon flipped the pieces over so that the cuff was on the bottom and started rolling up the (body of the pillowcase) print.
Her tip to share was to not roll it up "neatly" but to roll it so that you have some sticking out the end. This will make "turning" the piece easier after it is sewed.
Once you have the entire "body" print rolled up, then bring the other end of the cuff over the roll to the raw edges you pinned together before.
Repin the pieces including this other edge of the cuff...
and sew through all thicknesses with a quarter inch seam.
For reinforcement, Sharon sewed again close to the first seam.
Then it was time to
"turn" the piece by pulling the extended part of the pillowcase.
Sharon discovered it was a lot easier doing this with someone. I couldn't get a picture of it but I pulled on the end of the cuff (near the edge of the picture).
All pulled though...
ready to be pressed (my job). Start at the band/flap. Make sure the underside is flat by pulling on the folded edge of the cuff to press along the band/flap. This will ensure that the cuff is flat when the folded edge is pressed.
Next with the pillowcase folded in half lengthwise with right sides together and matching the selvage edges, I cut the edges off to leave a clean edge for Sharon to sew. We also needed to cut off the excess since I cut each piece the wof (width of the fabric which wasn't the same for the three pieces.)
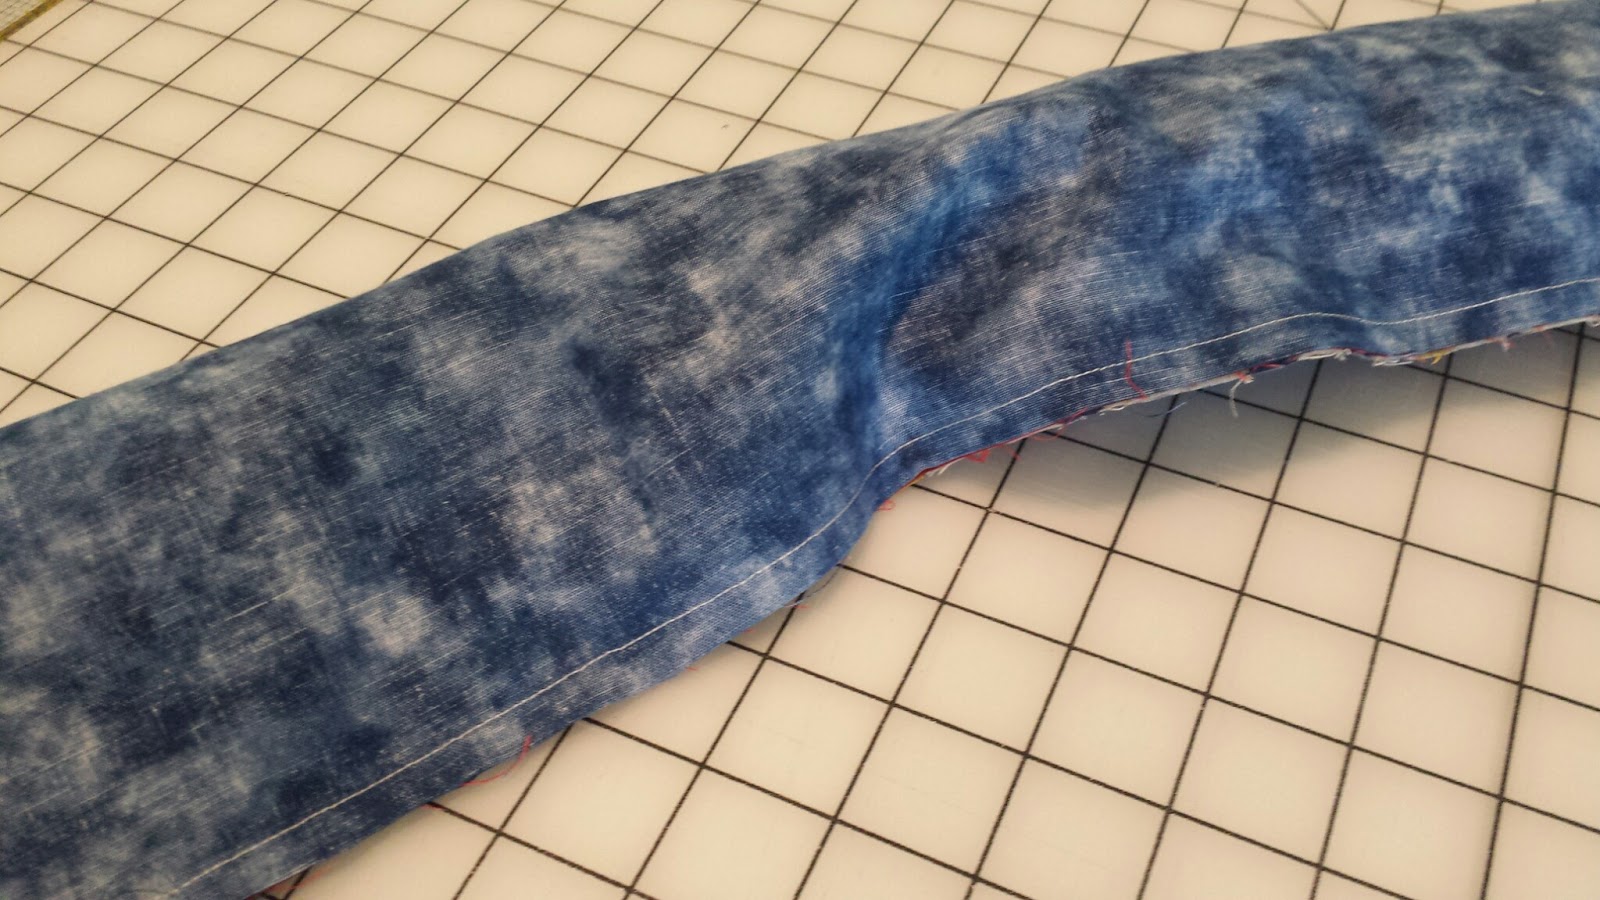
Since we were going to have French seams, Sharon turned the work so that the wrong sides were together and pinned the raw edges together making sure the cuff matched.
She stitched the edges together down the side and across the bottom with a quarter inch seam twice (as she did when she sewed the cuff and the band/flap to the body of the pillowcase)
Now I needed to press the pillowcase with the right sides together. Sharon told me she wanted it to be "perfect". That's when I remembered something I learned a l - o - n - g time ago when I took a sewing class on how to make clothes so they didn't look homemade from Singer. (That was the best class I ever took...I learned so much.)
Here is the tip...
Before you turn the "work", press the seam to one side keeping the fabric tight with no wrinkles underneath. Just press at the seam.
Then when you turn the "work" the seam will lay flat.
Since Sharon was going to sew this seam "again" on the wrong side, I pressed the seam on this side making sure the seam was on the edge. Then Sharon sewed again a quarter inch seam down the side and across the bottom. This will enclose that original seam she sewed.
Once again I pressed this seam to one side (doesn't matter to which side) on the wrong side before turning the pillowcase to the right sides.
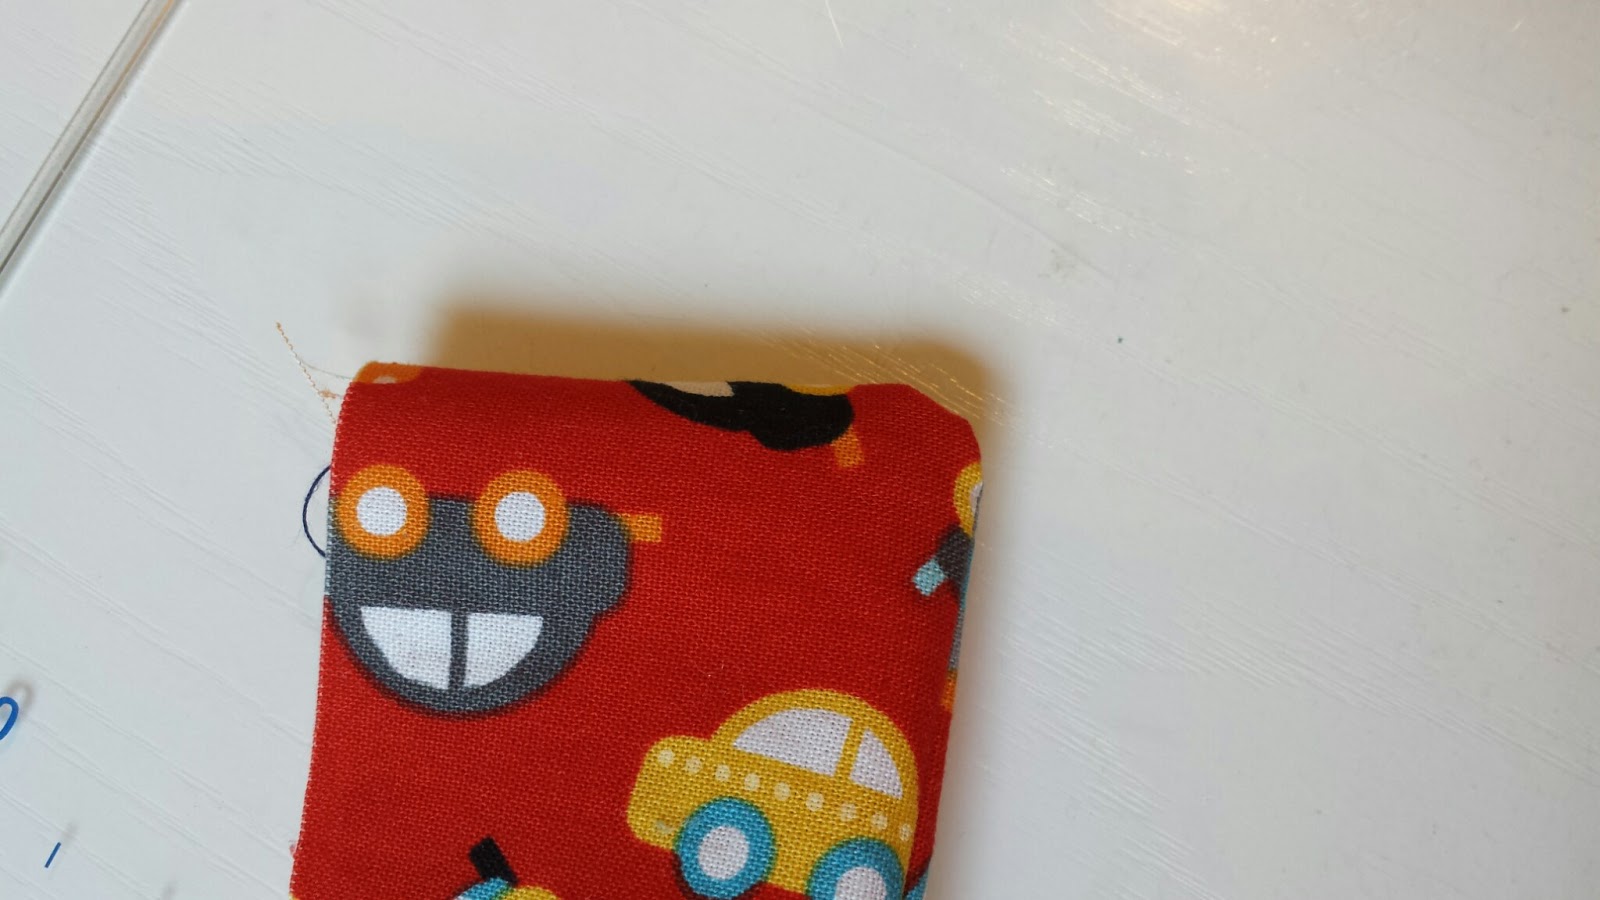
This is what the French seam looks like on the inside of pillowcase. There are no "raw" seams showing anywhere on the pillowcase. So much nicer than having to serge the edges of the seams.
And here is our pillowcase all finished.
This is our quilt top...part of it anyway
One more tip to share....
I didn't think about this until after Sharon had done the sewing and I was trying to get a "perfect" corners for her. I did tell her though so she would know the next time she did it.
I did up a sample to show you for this tutorial. Hope it will help you, too.
This may be what you normally do...
and then when you turn it to the right sides, it looks like this...
instead .... do this...
Sew almost to the turning point and stop... lift the presser foot with the needle down and (I turned the material completely "around" so you could see about how far I was away when I stopped.
Turn the piece so that you can make a stitch or two diagonally...
I took one stitch but if you are sewing with a shorter stitch, you will probably need to take 2 stitches. You want to be ready when you lift the presser foot and turn the material exactly where you want to be to sew down this side.
Then it is best to trim the corner a little to eliminate the bulk when you turn it.
Then when you turn it, you will still need to work with it a little but you will have a point like with the bottom one instead of a rounded corner with the top one.


No comments:
Post a Comment