
TWEED STITCH
Multiple: 2 + 2
Stitch Guide
wyif : with yarn in front
wyib : with yarn in back
sl : slip
Pattern:
Row 1 (right side): K1, *K1, wyif, sl 1 as to purl, wyib; rep from * to last st, K1.
Row 2: K1, purl to last st, K1.
Row 3: K1, *wyif, sl 1 as to purl, wyib, K1; rep from * to last st, K1.
Row 4: K1, purl to last st, K1.
Repeat Rows 1 through 4 to desired length.
Help/explanations for the less experienced knitter:
Multiple: 2 + 2 When you are deciding how many stitches to cast on, the number must be a multiple of 2 or in other words, an even number and then 2 additional stitches. (I cast on 22 stitches for my sample.)
wyif When you are going to purl, you have or bring the yarn to the front of the needles. Just bring the yarn in front of your work.
wyib When you knit, the yarn is behind your work or behind the needles. Move the yarn behind your work.

K1 Knit the first stitch.
*K1, wyif, sl 1 as to purl, wyib; rep from * to last st Knit 1 (the second stitch), then move the yarn to the front of your work and slip the next stitch on the left needle to the right needle by inserting the right needle in the stitch in front of the left needle (as if you were going to purl, but you don't follow through). Next move the yarn to the back (you can think of it as securing the slipped stitch on the right needle). Repeat this pattern until there is only one stitch remaining on the left needle.
K1 Knit the last stitch.
Row 2: K1, purl to last stitch, K1 You will Knit the first and last stitches and Purl all of the ones in between.
Row 3: K1, *wyif, sl 1 as to purl, wyib, K1; rep to last stitch, K1 Begin this as you do all rows by knitting the first stitch. Then bring the yarn to the front of the needles and slip the next stitch off the left needle as you did in Row 1. Next move the yarn to the back of the needles (securing the slipped stitch on the right needle) and knit the next stitch on the left needle. Repeat this pattern until there is only one stitch on the left needle and knit it. That means the last two stitches on this row are knit stitches.
Row 4: K1, purl to last stitch, K1 This is a repeat of Row 2.
This is the end of the pattern. Start back over by repeating Row 1, etc.
Two things to remember for the pattern:
I. The even rows are always the same -- Knit the first and last stitches and Purl the ones in between.
II. The difference between Row 1 and Row 3 is Row 1 has 2 knit stitches at the beginning of the row and only 1 at the end of the row and Row 3 has 1 knit stitch at the beginning and ends with 2 knit stitches. The number of knit stitches at the end of the odd row is the number you will have at the beginning of the next odd row. (Row 1 ends with 1 knit stitch so Row 3 starts with 1 knit stitch....Row 3 ends with 2 knit stitches so Row 1 ((when you are repeating the pattern)) starts with 2 knit stitches. I have to remember this because sometimes I am watching television when I knit and I can forget where I am. I am able to remember what I did at the end of the last odd row.
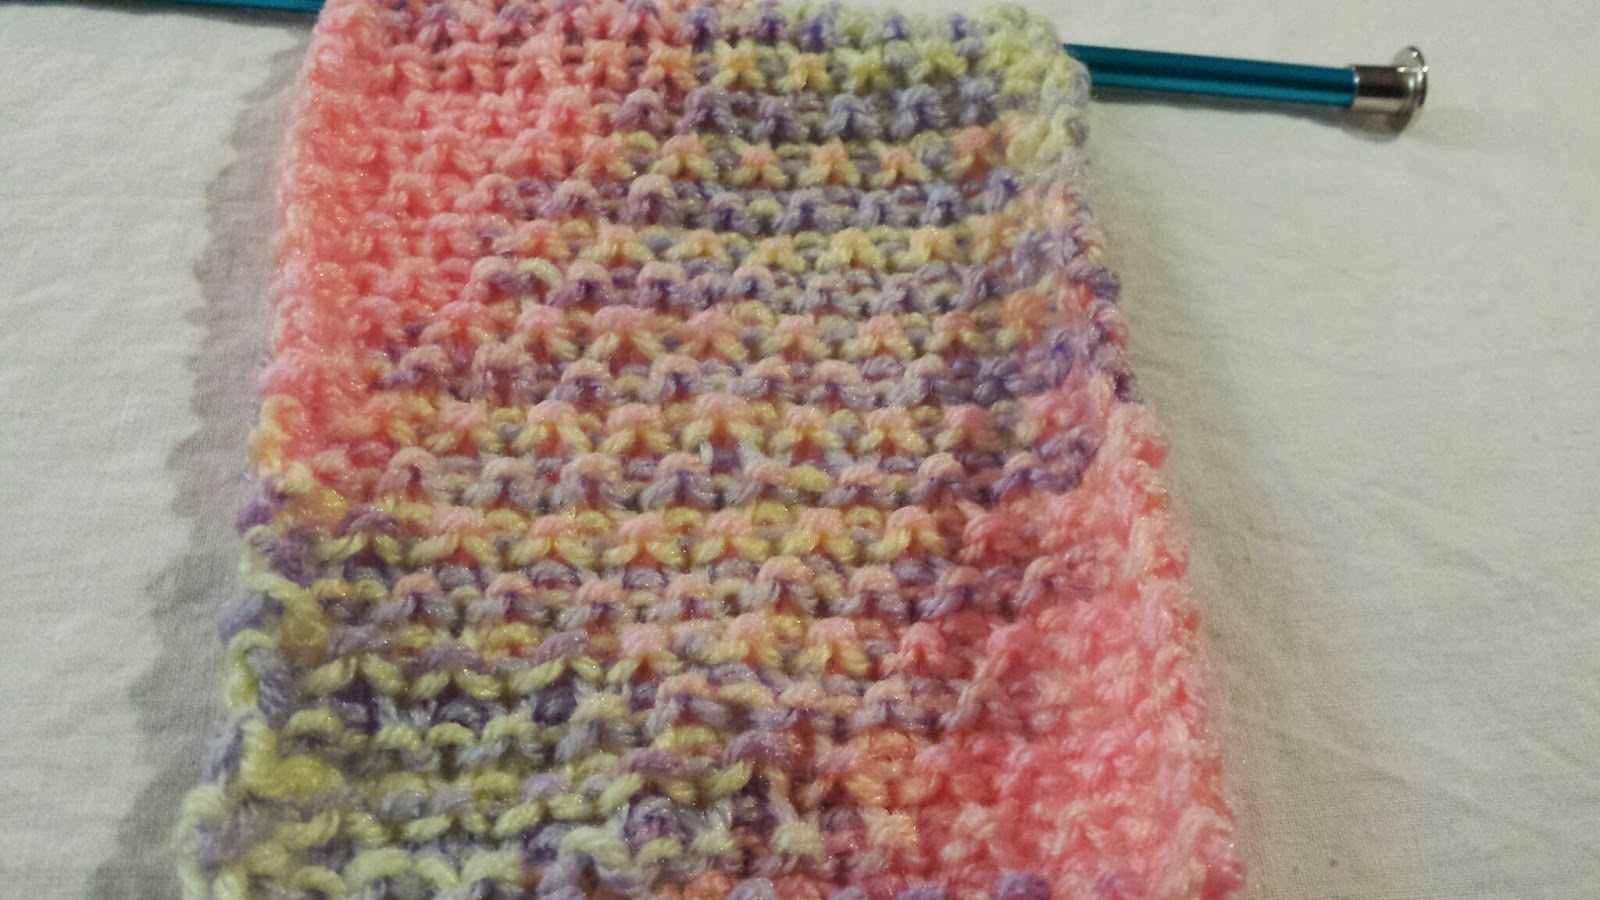


This is really a pretty pattern. I used a variegated yarn for my sample and you can see what unique pattern it is going to make with the colors. It would also look pretty in a solid color. You can use any size needle. I used a size US 10 , 5.75 mm.
No comments:
Post a Comment